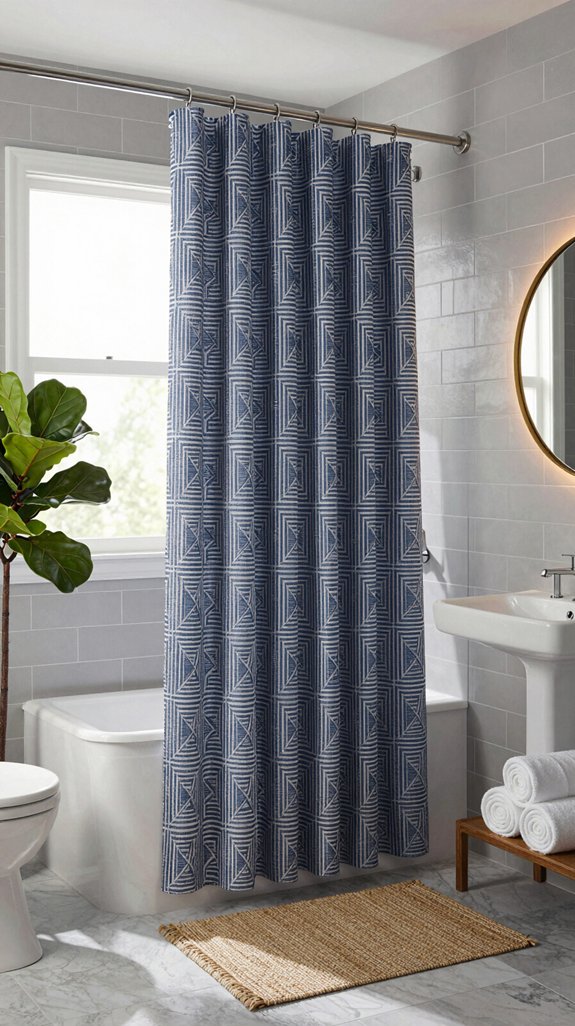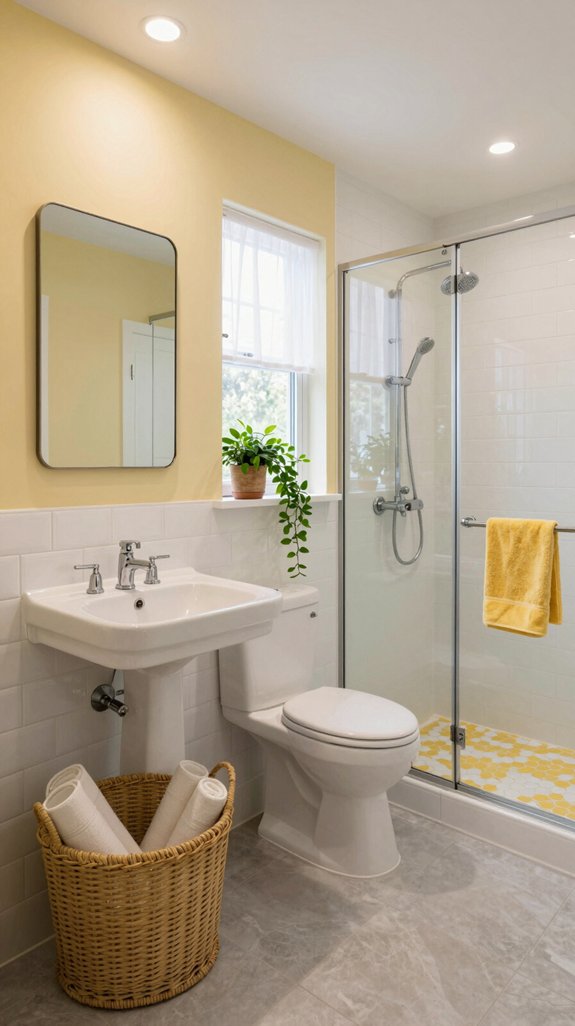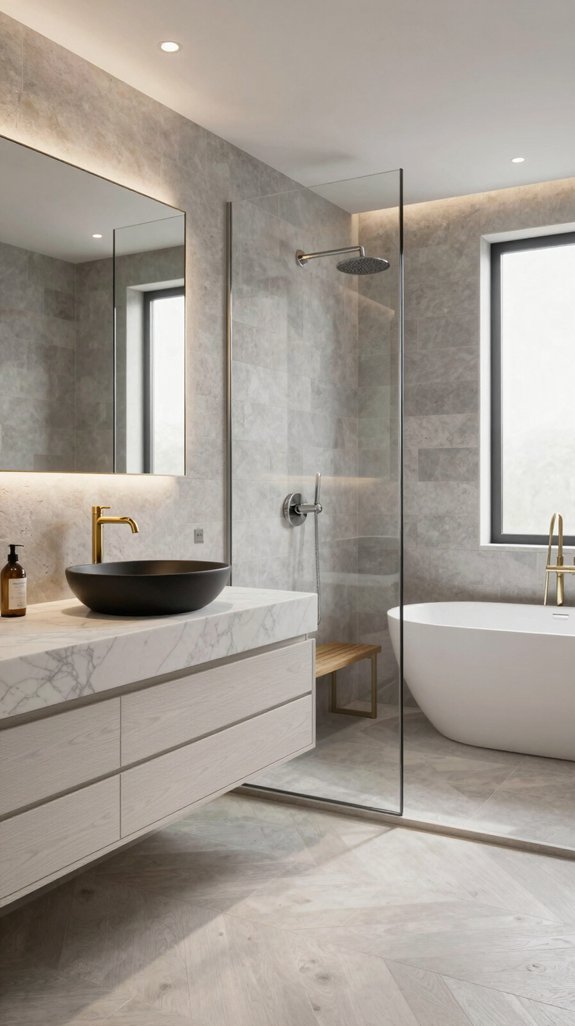
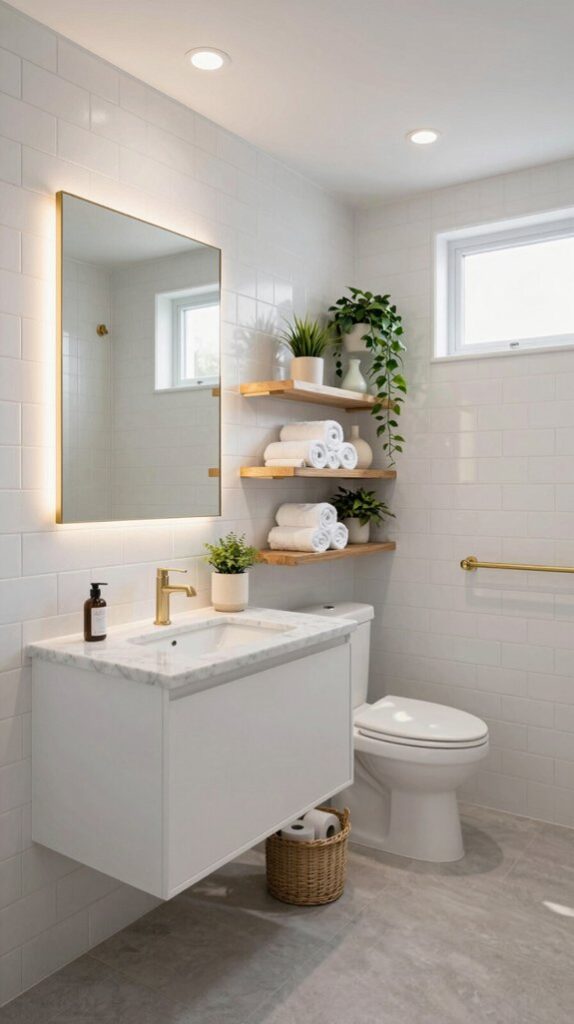
You’ll transform your cramped bathroom by installing wall-mounted toilets and floating vanities that free up 10-12 inches of floor depth. Mount medicine cabinets and wall shelves vertically to maximize storage without sacrificing square footage. Choose light color palettes, oversized mirrors, and large-format tiles to visually expand your space. Incorporate frameless glass shower doors and strategic layered lighting for an airy feel. Match your backsplash to countertops and extend them over toilets for seamless functionality. These foundational strategies set the stage for the thorough design solutions ahead.
Install Wall-Mounted Toilets to Free Up Floor Space
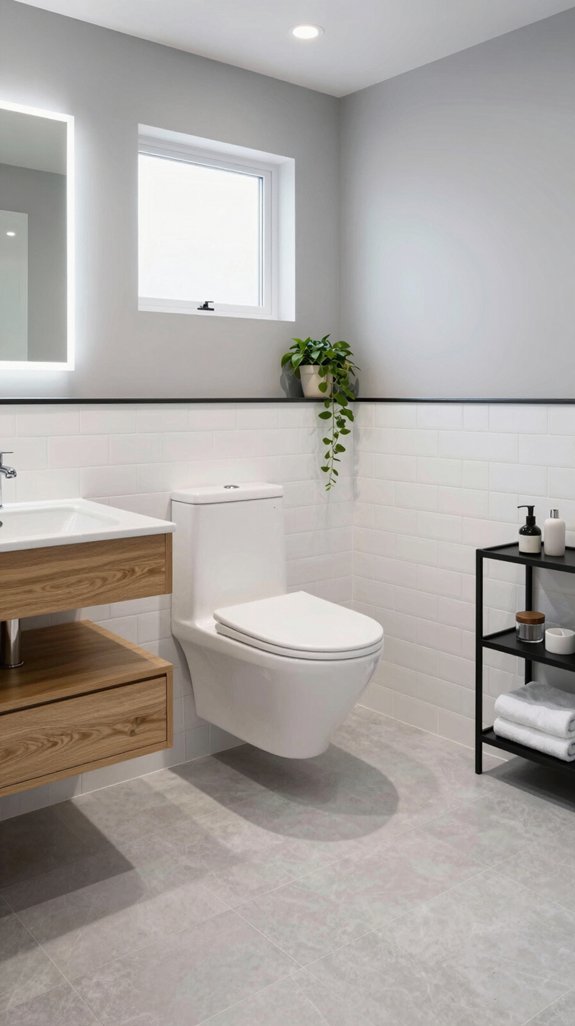
When you’re working with a cramped bathroom, every inch counts—and that’s where wall-mounted toilets deliver measurable advantages.
You’ll reclaim 10-12 inches of floor depth compared to traditional models, fundamentally transforming spatial perception. The floating design creates visual expansion while meeting critical building codes—maintaining 21 inches of clearance in front where floor-mounted units fail. Well-constructed wall frames are built to support substantial weight, often rated to hold over 200 kg when properly installed.
You’ll gain flexibility for maneuvering, storage integration, or enlarged shower areas. The elevated mounting eliminates base contact with flooring, streamlining your cleaning routine and reducing bacterial accumulation. Regular deep cleaning of bathroom floors becomes easier without obstacles around the toilet base.
Height adjustability ranges from 15-19 inches, accommodating diverse user needs and mobility requirements while delivering contemporary aesthetic impact.

PRACTICAL: Toilet paper holder with stainless steel knob at the bar end can easy to hold the roll paper prevents it from falling off. It has unique slot design with screw tightening on the bracket to prevent from rotation.

OPEN ARM DESIGN FOR EASY ROLL CHANGES: European-style single post design allows quick and simple replacement of toilet paper rolls
Choose Floating Vanities With Built-In Under-Storage
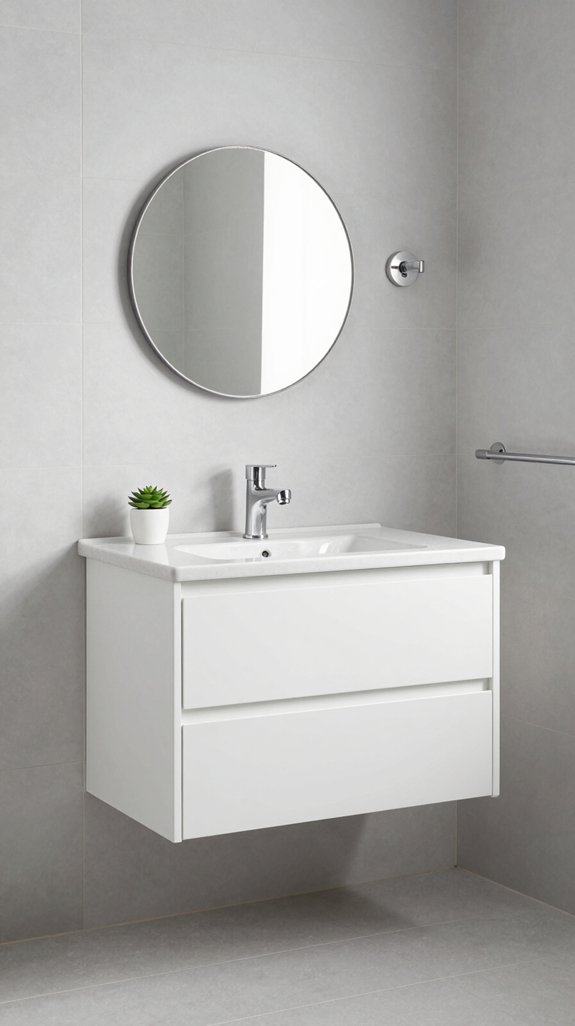
Floating vanities represent the next evolution in small bathroom optimization, building on the spatial principles established by wall-mounted toilets.
You’ll maximize floor visibility while accessing innovative storage solutions that traditional freestanding models can’t match. Built-in under-storage features full-extension drawers, U-shaped configurations around plumbing, and vertical stacking capabilities.
These design elements create uninterrupted cleaning access, eliminating dust-prone crevices and enhancing hygiene standards. Adjustable installation heights accommodate diverse user needs and accessibility requirements.
Consider pairing your floating vanity with abstract decor accents positioned on nearby shelving or wall space to add visual interest without consuming valuable floor area.
The result: you’re investing in multifunctional fixtures that deliver sleek aesthetics alongside superior functionality, transforming constrained bathroom spaces into organized, visually expansive environments.

Use Every Bit of Wall Space - Installing white and gold floating shelves (Size: 17"L x 6"D x 2.2"H) set of 3 can help you add both storage and style to your bathroom, bedroom, closet, nursery etc., and they don’t need to take up a single square foot. Forbena Floating shelves bathroom can hold everything from daily essentials like skincare serums and washcloths to decorative items like indoor plants, fresh flowers or framed artwork.

Material: Medium Density Fiberboard, outlasts wood in damp bathroom environments

Ample Storage Space: This space-saving hanging vanity has storage space next to the mirror to place the products you need, and there is a storage cabinet on it, which is enough to meet your needs
Mount Medicine Cabinets Above Sinks for Vertical Storage
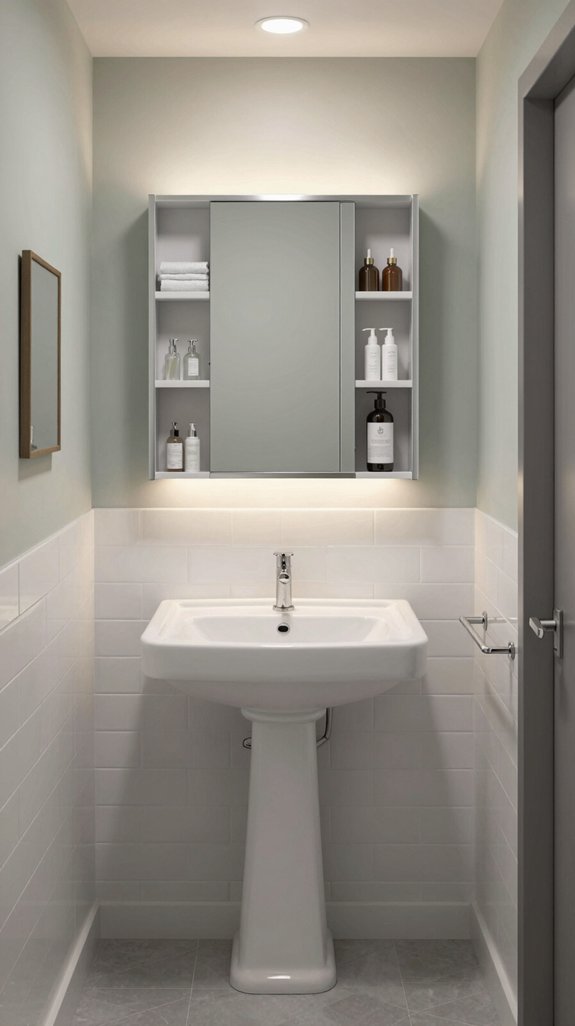
Medicine cabinets positioned above your sink capitalize on often-wasted vertical space while keeping daily essentials within arm’s reach.
You’ll optimize storage by selecting proportionate cabinets that complement your sink and vanity dimensions. Position the cabinet’s bottom three inches above your faucet, with the top approximately 72 inches from the floor—adjustable to your preferences.
Maintain at least three inches clearance above and below to avoid obstructing lighting fixtures. Choose between recessed installation, which requires cutting between studs, or surface mounting using wall anchors. Like other wall-mounted storage solutions, medicine cabinets offer efficient vertical organization that maximizes functionality in compact bathrooms.
Ascertain proper leveling and clearance for unobstructed door operation, transforming underutilized space into functional storage.

Crystal Clear Vision: The bathroom cabinet features a spacious 17.7" L* 23.6'' W mirror that captures every detail with stunning clarity. Whether for morning routines or evening skincare, it's your high-definition assistant, always by your side
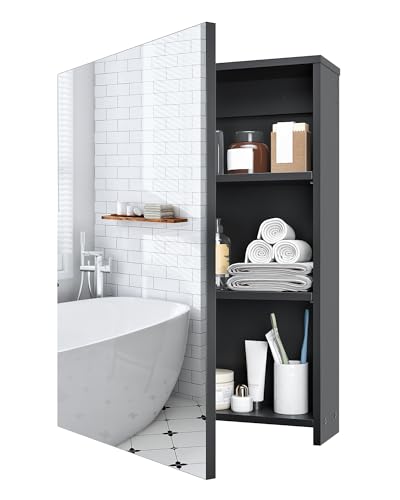
Crystal Clear Vision: The bathroom cabinet features a spacious 17.7" L * 23.6'' W mirror that captures every detail with stunning clarity. Whether for morning routines or evening skincare, it's your high-definition assistant, always by your side
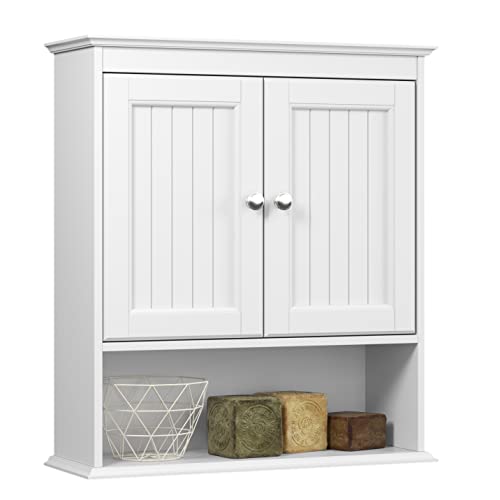
QUALITY AND CLASSIC WALL CABINET: Constructed of FSC-certified engineered wood, the bathroom medicine cabinet with decorative beadboard paneling and silver knobs is built to ensure great stability and durability.
Add Wall Shelves Above Toilet and in Corners
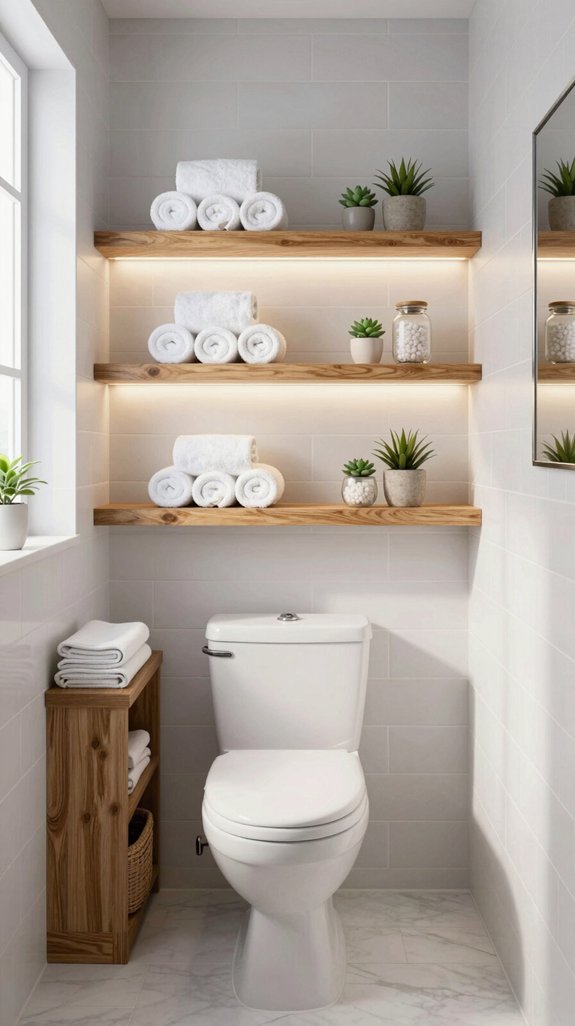
Wall shelves above your toilet and in corners open up otherwise inaccessible storage real estate in compact bathrooms. You can install freestanding or wall-mounted units without drilling, making them ideal for renters.
Corner shelves maximize unused angles, while over-toilet options support toiletries and linens efficiently. Multi-tiered designs provide vertical layering in tight areas. Select from bamboo, wood, or glass materials—each rated 4.5+ stars for durability and aesthetics.
Measure your space first to determine appropriate dimensions, ranging from 13 to 30 inches wide. Bracket-supported configurations handle longer runs, and integrated hooks enhance functionality by accommodating hanging storage solutions. For a botanical touch, consider incorporating vertical garden systems to bring natural elements into your bathroom while maintaining the space-saving benefits of wall-mounted storage.

Nexus Vinyl Tiles: Refresh your home for a low cost and no hassle with the Nexus Vinyl Floor Tiles. Our tiles can be used in any room in your home including the kitchen, dining room, bedrooms, bathrooms, foyers, and basements. No messy glue or adhesives needed. Includes 20 vinyl tiles.

Nexus Vinyl Tiles: Refresh your home for a low cost and no hassle with the Nexus Vinyl Floor Tiles. Our tiles can be used in any room in your home including the kitchen, dining room, bedrooms, bathrooms, foyers, and basements. No messy glue or adhesives needed. Includes 20 vinyl tiles.

Nexus Vinyl Tiles: Refresh your home for a low cost and no hassle with the Nexus Vinyl Floor Tiles. Our tiles can be used in any room in your home including the kitchen, dining room, bedrooms, bathrooms, foyers, and basements. No messy glue or adhesives needed. Includes 20 vinyl tiles.
Replace Your Bathtub With a Walk-In Corner Shower
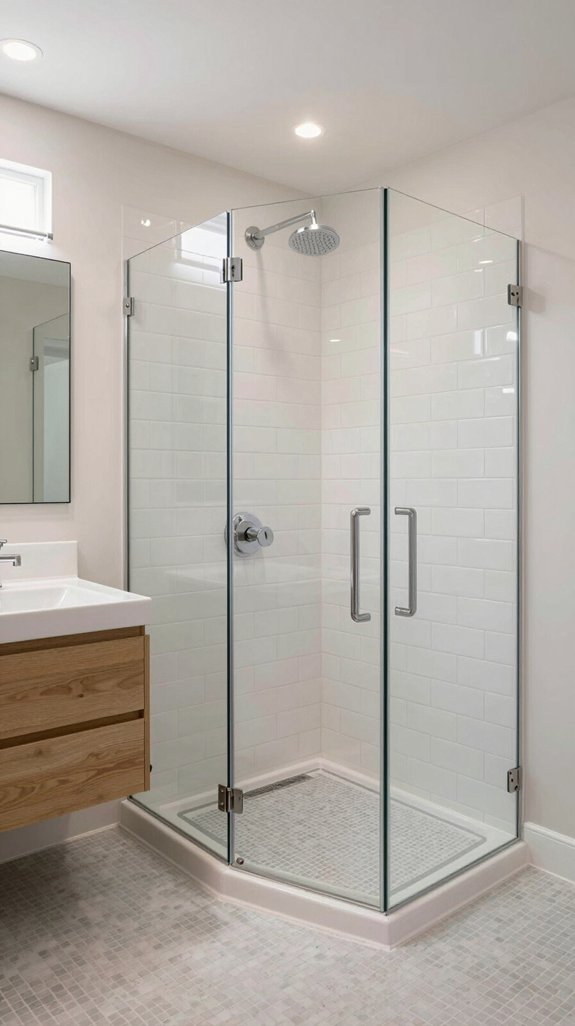
Replacing your bathtub with a walk-in corner shower transforms cramped bathrooms by reclaiming valuable floor space while maintaining the storage solutions you’ve strategically installed above.
Corner configurations optimize tight layouts, providing 5.5–12 square feet depending on your model selection. You’ll meet ADA standards with a 36″ x 36″ minimum footprint, though options extend to 60″ x 60″ for expanded comfort.
Sliding doors measuring 48″–72″ wide accommodate various entry widths, while built-in niches, recessed soap dishes, and shelving systems maximize functionality.
This renovation eliminates bulky tub infrastructure, delivering approximately 30–50 additional square feet of usable bathroom real estate.

【Adjustable Width & Frameless Design】The width of this glass shower door is adjustable from 56 to 60 inches via track trimming, enabling flexible adaptation to different bathroom layouts. The sleek frameless design of the brushed nickel shower door also elevates the bathroom aesthetics and boosts a sense of interior spaciousness

「Smooth & Silent Single Sliding」 Experience effortless operation with our precision-engineered single sliding design. Featuring one stationary panel and one sliding panel, this door utilizes high-strength rollers to ensure an ultra-quiet, stable, and friction-free glide. The minimalist frameless look provides a high-end, spa-like feel for any modern bathroom.

【Adjustable Width Frameless Shower Door】 This sliding shower door is available in widths ranging from 56 to 60 inches. The stainless steel top guide rail can be trimmed by up to 4 inches for a custom fit. The open frameless look makes bathrooms feel bigger.
Stick With a Light Color Palette to Expand the Room
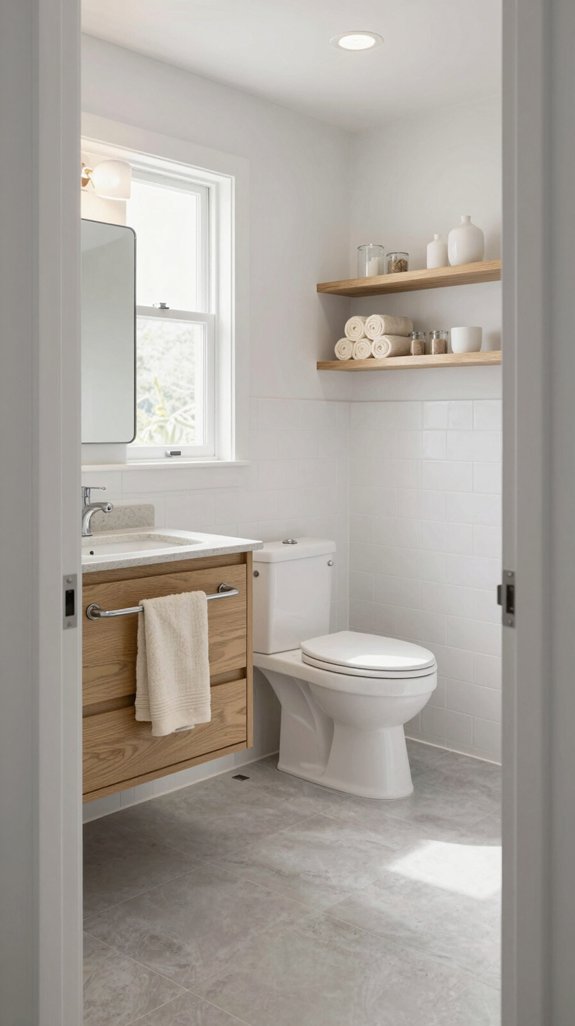
Light colors are your most effective tool for visually expanding a cramped bathroom.
Soft whites and pale blues reflect natural and artificial light maximally, brightening dark spaces while creating perceived depth.
Light grays provide neutral sophistication, pairing seamlessly with any hardware or tile selection.
Cool pastels like mint green and sage establish airiness without spatial overload.
High-gloss finishes amplify reflection, intensifying the spaciousness illusion.
Warm light shades—soft yellows and peach—introduce inviting brightness strategically.
These palettes recede walls optically, preventing visual closure that dark absorption causes.
Embracing minimalist design principles ensures your light color palette remains uncluttered and visually serene.
Strategic color selection transforms compact bathrooms into sophisticated, open sanctuaries.

●WALL MOUNTED TOILET BRUSH SYSTEM:Keep the disposable toilet brush wand, green refill heads, and holder together in a compact wall-mounted setup designed for everyday bathroom storage.

Material: solid iron metal ring, very sturdy, black electroplated finish, waterproof and rustproof

DURABLE TOILET CLEANING SYSTEM — Engineered with our toilet Brush is built to last, providing a reliable and powerful scrub without the risk of snapping. This bathroom toilet brush offers a superior, long-term solution, making it the last cleaning system you'll ever need to buy.
Choose a Cohesive Color Story Across All Surfaces
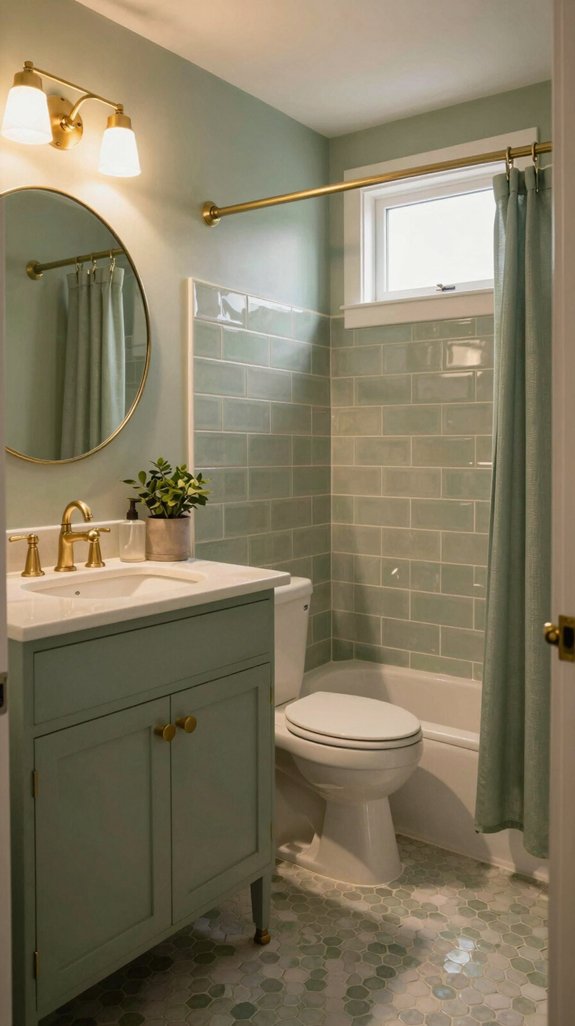
Once you’ve settled on a light palette, you’ll want to extend that vision cohesively across every surface—walls, tiles, fixtures, and accessories—to maximize the expansive effect.
Implement monochromatic schemes using varied gray tones or pair pale blues like Seagull F496 with off-whites for sophisticated unity.
Consider analogous palettes combining adjacent hues—soothing greens with blue tiles create serene continuity.
Layer metallic gold or chrome accents strategically to elevate the scheme without disrupting cohesion.
The textural depth created by incorporating dimensional wall elements adds visual interest while maintaining your cohesive color story.
Confirm your color story flows seamlessly from walls through hardware, establishing visual rhythm that amplifies spatial perception and prevents fragmentation in compact bathrooms.

Item Includes 19 Pcs - 3 pack clear acrylic qtip holder dispensers with black lids(10oz) + 8 black labels with white pre-printed words (Cotton Balls, Cotton Swabs, Cotton Pads, Floss Picks, Bath Salt, Hair Accessory, Clips, Makeup Brush) + 8 black blank labels

Durable Ceramic Sink: This 36-inch bathroom vanity features a square ceramic single sink that is heat-resistant, scratch-resistant, and easy to clean. With zero penetration and non-absorbent properties, the bathroom vanity with sink resists stains and ensures a long-lasting, pristine look. (Note: Excluding faucets and drains.)

【30" Bathroom Vanity with Storage Drawer】Floating bathroom vanity offers ample storage space for all your bathroom essentials. Saving skincare products, toiletries, etc, it has two fluted drawer to keep them all organized. The elegant design, coupled with a sleek finish and golden metal handle, adds a touch of class to any bathroom decor
Add Large Mirrors to Reflect Light and Double Space
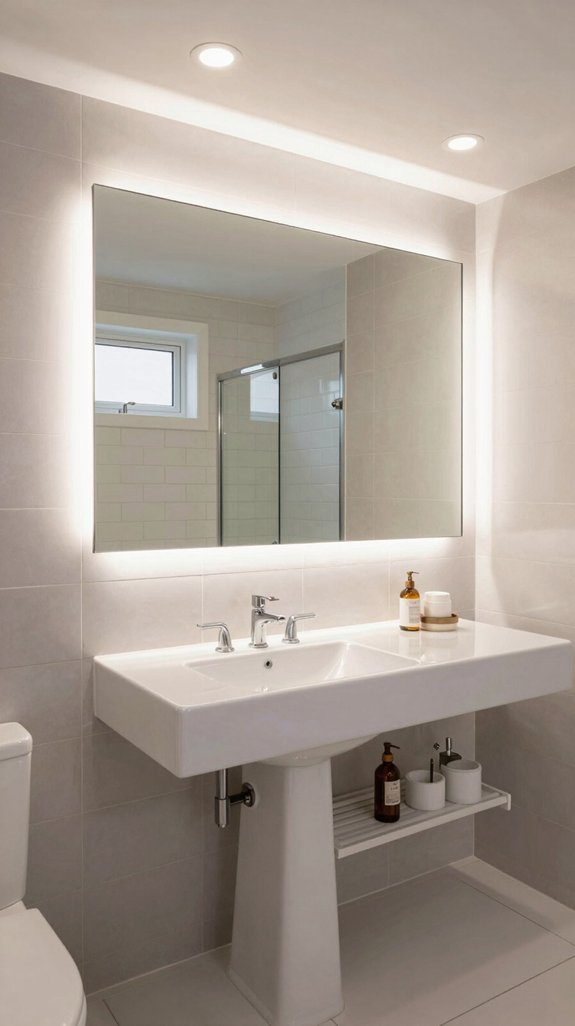
Because mirrors manipulate spatial perception through light reflection and visual extension, they’re essential tools for amplifying compact bathrooms.
You’ll maximize square footage by installing full-width vanity mirrors that visually double wall space. Vertical mirrors elevate ceiling perception, while horizontal orientations widen narrow layouts.
Strategic placement opposite light sources amplifies brightness, reducing dependency on additional fixtures and lowering energy consumption. Oversized mirrors redistribute both daylight and artificial illumination, eliminating shadows for even coverage.
They accommodate multiple users simultaneously, streamlining morning routines. Consider integrated storage or magnification features for enhanced functionality.
Though maintenance demands attention and costs exceed smaller alternatives, the spatial transformation and property value increase justify the investment. Regular cleaning with surface disinfectants keeps mirrors streak-free and hygienic.

【VINTAGE FARMHOUSE DESIGN】 - The wall-mounted cabinet is made of wooden frame and vintage wood grain surface, combined with some rustic metal parts. Available in multiple colors for your choice, the vintage wood grain is full of rustic country atmosphere and fits perfectly with the style of the room.

Material selection: Wooden medicine cabinets for bathroom is made of PB and MDF. PB has good load-bearing and moisture-proof properties and is suitable for humid environments; while MDF has a smooth surface and is easy to clean, which can effectively resist moisture, improve durability and aesthetics, and provide reliable protection for daily storage.

QUALITY AND CLASSIC WALL CABINET: Crafted from FSC-certified engineered wood, the bathroom wall cabinet with decorative beadboard paneling and silver knobs is built to ensure great stability and durability.
Install Frameless Glass Shower Doors for a Clean Look
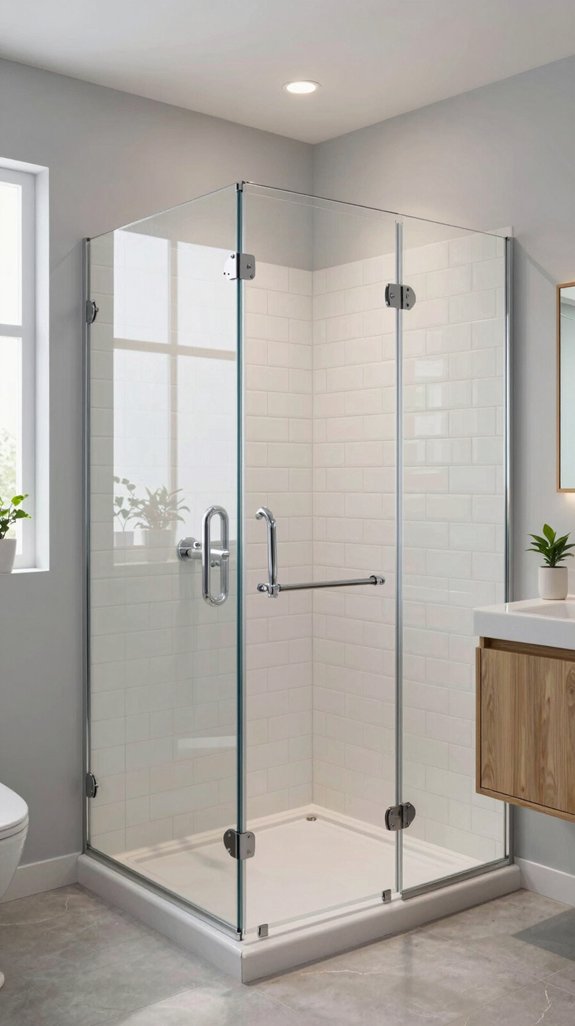
While mirrors expand spatial perception, frameless glass shower doors accomplish the same effect by eliminating visual clutter and creating an unobstructed sightline through your bathroom.
You’ll achieve this sleek aesthetic through precision installation: measure at three heights, dry-fit hardware, and use studs for secure mounting. Install hinges centrally on glass cutouts for adjustment range, then seal with ASTM C920 silicone under channels to prevent water wicking.
Apply vinyl sweeps at thresholds and fill gaps with clear silicone on both sides. Allow 48 hours curing time, then test operation.
This frameless approach maximizes perceived space while delivering contemporary sophistication.

Nexus Vinyl Tiles: Refresh your home for a low cost and no hassle with the Nexus Vinyl Floor Tiles. Our tiles can be used in any room in your home including the kitchen, dining room, bedrooms, bathrooms, foyers, and basements. No messy glue or adhesives needed. Includes 20 vinyl tiles.

Nexus Vinyl Tiles: Refresh your home for a low cost and no hassle with the Nexus Vinyl Floor Tiles. Our tiles can be used in any room in your home including the kitchen, dining room, bedrooms, bathrooms, foyers, and basements. No messy glue or adhesives needed. Includes 20 vinyl tiles.

Nexus Vinyl Tiles: Refresh your home for a low cost and no hassle with the Nexus Vinyl Floor Tiles. Our tiles can be used in any room in your home including the kitchen, dining room, bedrooms, bathrooms, foyers, and basements. No messy glue or adhesives needed. Includes 20 vinyl tiles.
Use Large-Format Floor Tiles for Visual Expansion
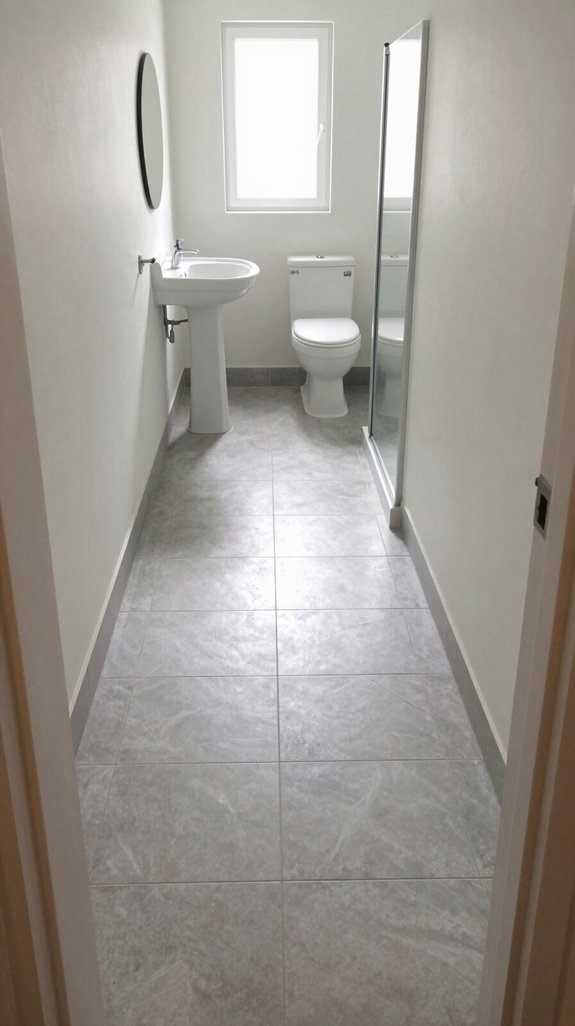
Large-format floor tiles—those measuring 12×24 inches or larger—create powerful visual expansion in compact bathrooms by dramatically reducing grout lines that’d otherwise fragment your sightline.
You’ll perceive uninterrupted surfaces that elongate space perception, especially when oriented lengthwise. Matching grout color to tile renders joints nearly invisible, amplifying the seamless effect.
Beyond aesthetics, you’ll gain practical advantages: larger surfaces simplify maintenance, fewer joints trap less mildew in humid environments, and installation efficiency reduces labor costs.
Porcelain variants resist moisture better than natural stone, ensuring durability without frequent repairs, making this innovation both sophisticated and functionally superior for compact bathrooms.

【60 Shower Door】60" W x 76" H. Entrance height of shower door is 72 inches to avoid the risk of hitting your head. This glass shower door features an adjustable width, offering flexibility to fit various bathroom layouts. Width Adjustment: 55" to 60" (cut top and bottom tracks to fit your needs). Elevate your bathroom with our stylish brushed nickle finish shower sliding door.

【Adjustable Width Frameless Shower Door】 This sliding shower door is available in widths ranging from 56 to 60 inches. The stainless steel top guide rail can be trimmed by up to 4 inches for a custom fit. The open frameless look makes bathrooms feel bigger.

FRAMELESS SHOWER DOOR: 44-48 in. W x 76 in. H with 20 2/5 in. walk-in width. Reversible for left or right installation. Rail trimming required for openings under 48 in
Choose Subway Tiles in Large Scale for Walls
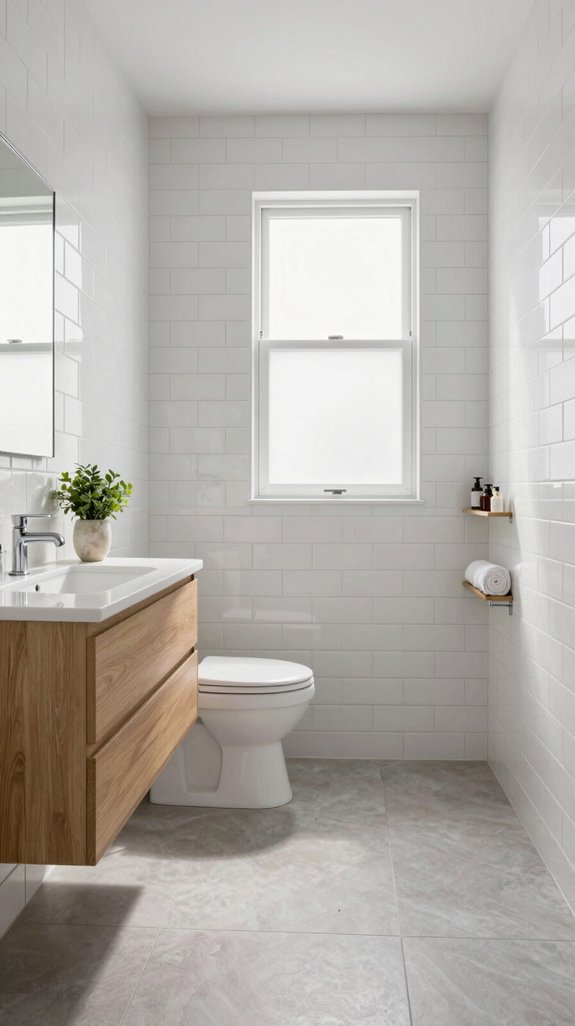
When you’re furnishing a compact bathroom, scaling up your subway tiles from standard 3″x6″ to larger formats like 4″x12″ or 3″x9″ delivers significant spatial and practical advantages.
Fewer grout lines minimize maintenance in tight spaces while creating bold modern aesthetics. You’ll maximize visual expansion through reflective surfaces and linear layouts that elongate walls, enhancing perceived airiness.
These durable, non-porous ceramics resist moisture and bacteria effortlessly—ideal for wet zones. You can customize with herringbone patterns or vertical stacking in glossy, glass, or matte finishes.
Budget-friendly compared to natural stone, large-scale subway tiles transform compact showers into sophisticated sanctuaries. The non-porous surface also prevents limescale buildup on tile surfaces, keeping your bathroom looking pristine longer.
Use Smooth Wall Panels With Glass Enclosures
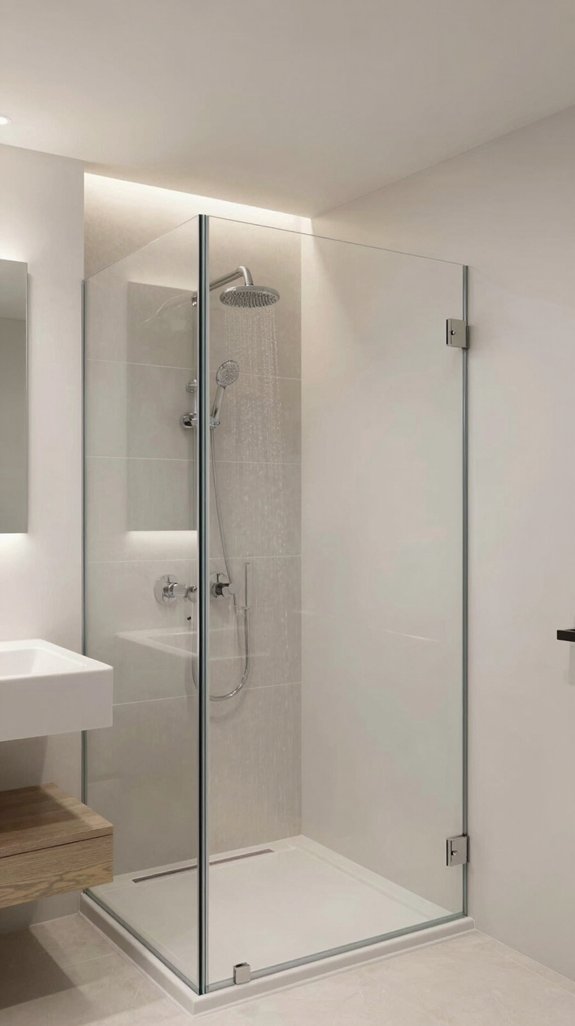
Pairing large-scale subway tiles with frameless glass enclosures amplifies the spatial benefits you’ve already achieved through wall treatment.
The transparent glass panels eliminate visual barriers, allowing your sightlines to extend seamlessly throughout the bathroom and enhance perceived depth.
Frameless construction removes bulky metal framing that typically accumulates soap scum and grime, markedly reducing maintenance demands.
Water-repellent coatings protect against hard water deposits and streaking.
Corner installations maximize your footprint efficiency while floor-to-ceiling designs create illusions of increased height.
This combination delivers contemporary sophistication while strategically leveraging both materials’ optical properties to transform compact bathrooms into spacious, light-filled retreats.
Install Wall-Mounted Faucets That Recess Into Walls
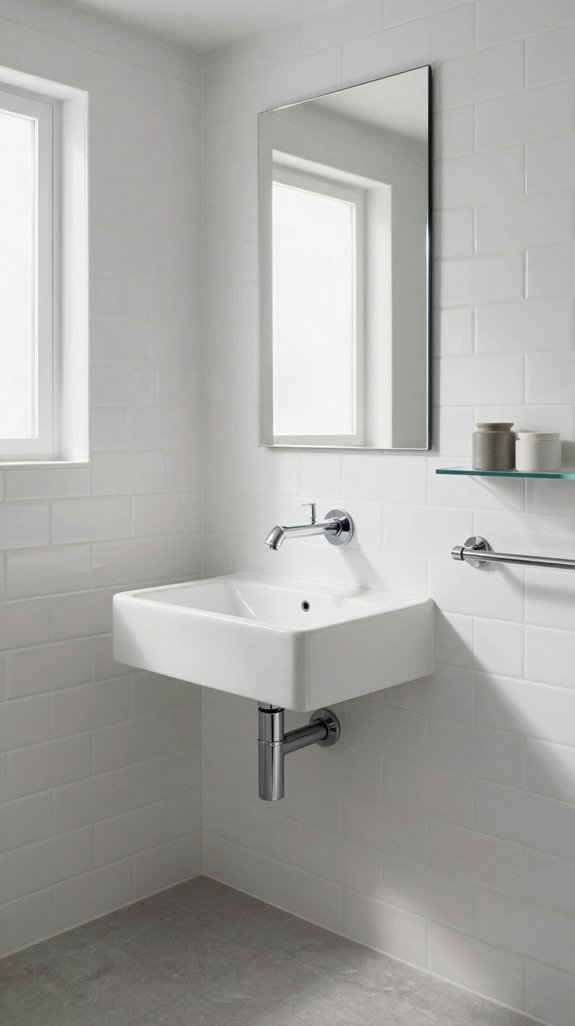
To maximize your bathroom’s visual continuity and counter space, you’ll want to install wall-mounted faucets that recess directly into your walls.
You’ll install wood blocking between studs for valve support, positioning the valve two inches behind finished surfaces. Mount the rough-in valve using hardware clamps, ensuring it’s level.
After completing wall finishing with tile or stone, you’ll cut the threaded tube flush with the wall surface.
Thread the spout onto the valve outlet, secure handles with set screws, and attach decorative escutcheons.
Finally, activate your water supply, flush lines, and inspect for leaks to confirm proper installation.
Select Brass Hardware and Fluted Cabinets for Style
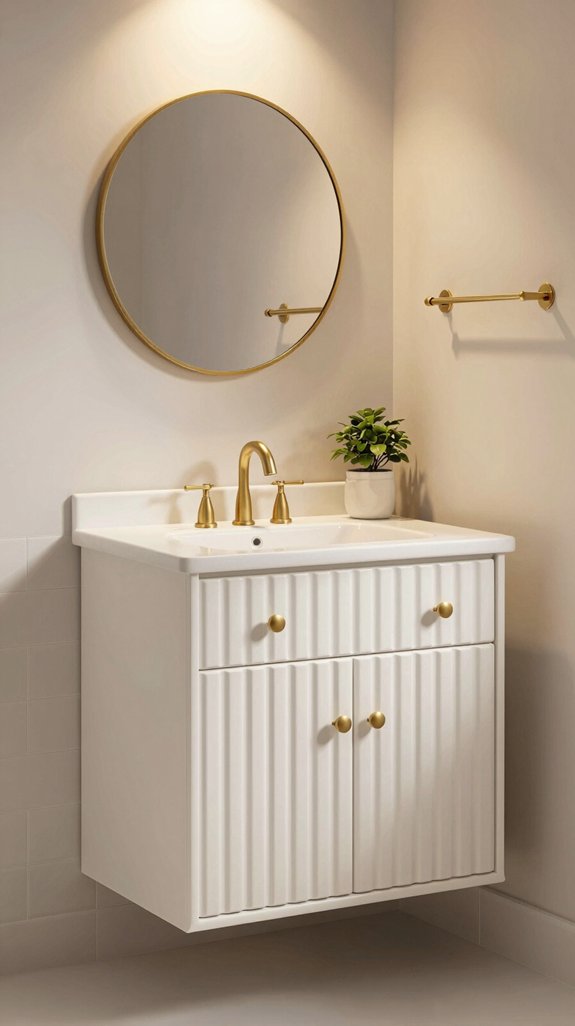
Because brass hardware delivers both aesthetic appeal and practical durability in moisture-rich bathroom environments, it’s an ideal choice for elevating your small bathroom’s design.
Pair solid brass knobs and pulls with fluted cabinet textures to create dimensional visual interest that maximizes compact spaces. The brushed finish complements fluted surfaces while resisting corrosion and maintaining its lustrous appearance with minimal maintenance.
This synergy combines zinc-copper composition for enhanced strength, developing natural patina that adds character over decades. Consider incorporating outdoor-inspired lanterns to introduce ambient lighting that enhances the sophisticated atmosphere while maintaining functionality in smaller bathrooms. You’ll achieve cohesive luxury through textural contrast, transforming tight layouts into sophisticated, functionally superior spaces without compromising durability or aesthetic innovation.
Skip Busy Patterned Floor Tiles in Compact Bathrooms
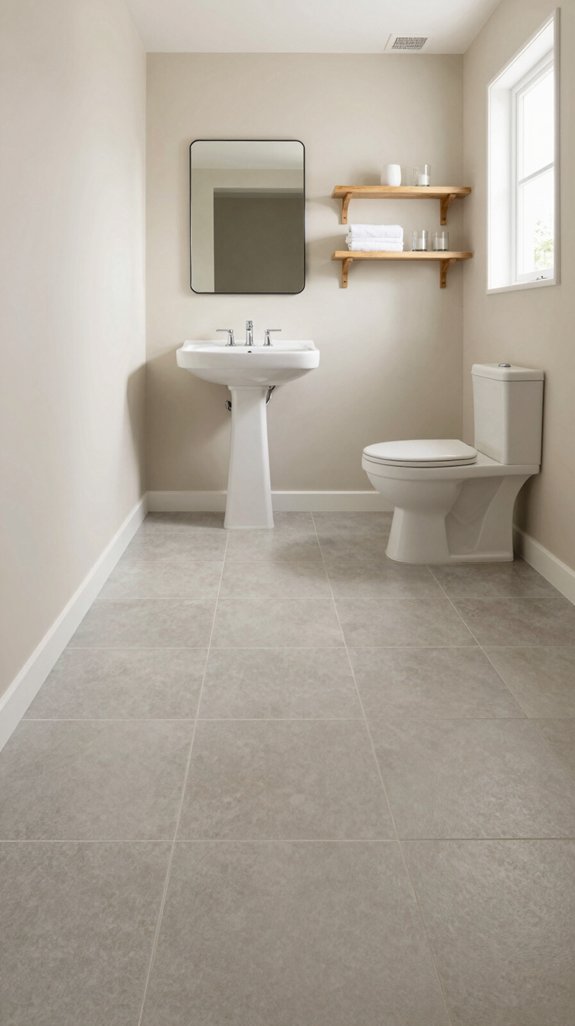
While busy patterned floor tiles might seem visually appealing, they’re actually counterproductive in compact bathrooms.
Small tiles exponentially increase grout lines, creating maintenance headaches—dirt, mildew, and soap residue accumulate faster in humid environments.
Installation complexity drives labor costs up greatly, especially with modular patterns requiring advanced skills.
You’ll face ongoing sealing demands and frequent scrubbing to prevent bacterial growth.
Intricate designs overwhelm limited square footage, intensifying cramped sensations rather than expanding perceived space.
Instead, opt for large-format tiles with linear stack bond layouts.
Neutral monochromatic palettes with subtle focal patterns preserve cohesion while minimizing visual clutter—delivering both sophistication and practicality.
Install Strategic Lighting to Enlarge the Space Instantly
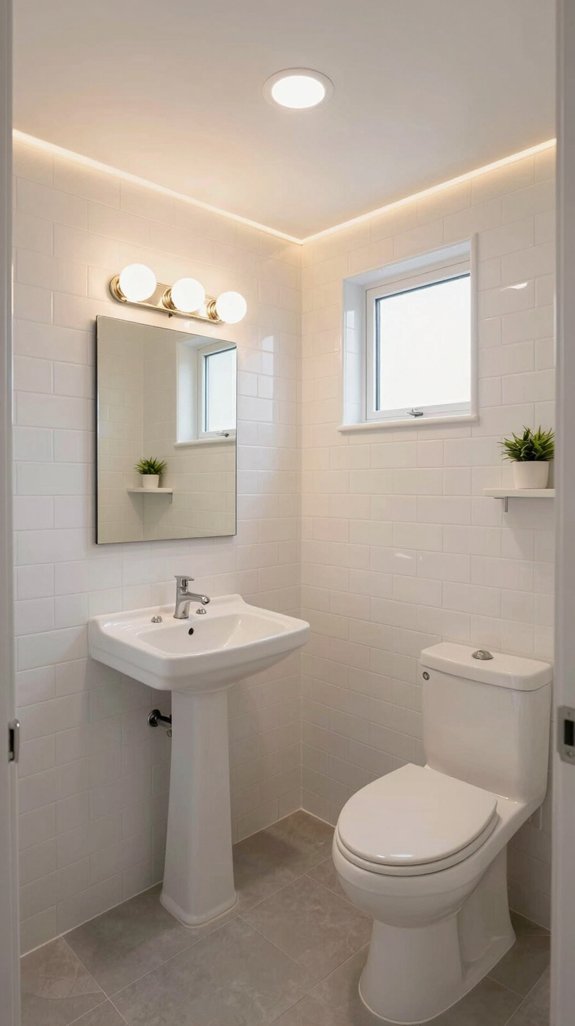
Strategic lighting transforms compact bathrooms by creating depth, functionality, and an illusion of expanded square footage through layered illumination.
You’ll implement ambient ceiling fixtures, task lighting flanking mirrors at 60–65 inches high, and accent lighting beneath cabinets. This three-source minimum strategy eliminates shadows during grooming while dispersing light throughout the space.
LED bulbs at 2700K–3000K deliver accurate color rendering with minimal energy consumption. Large frameless mirrors amplify luminosity, making cramped areas feel substantially larger.
Position recessed lights strategically to avoid clutter, achieving 1,500–2,500 lumens at vanities. Dimmable fixtures with motion sensors optimize both ambiance and efficiency.
Design Streamlined Layouts With Clean, Minimal Lines
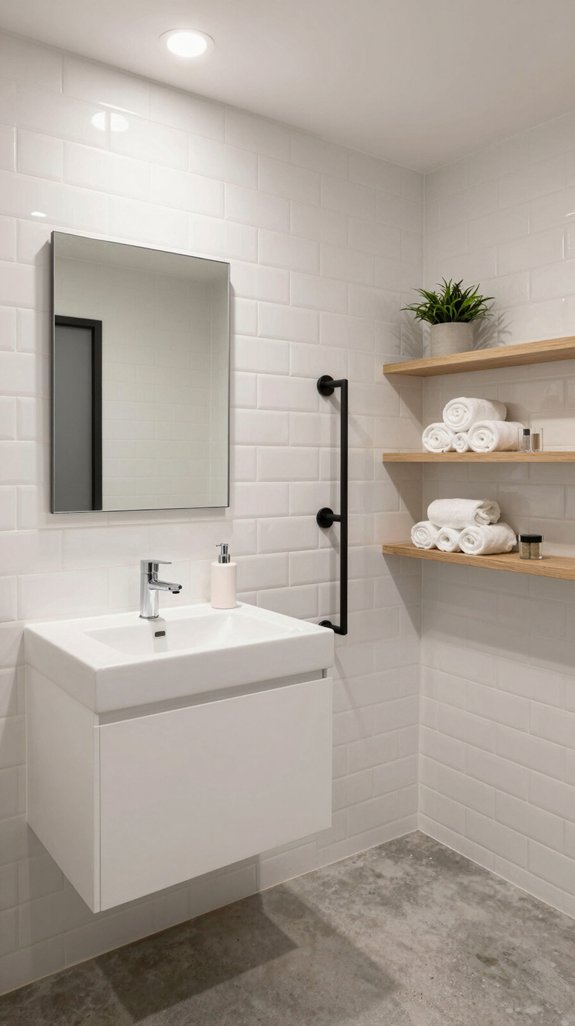
After maximizing illumination through layered lighting, you’ll amplify spatial perception through deliberate architectural choices that eliminate visual fragmentation.
Implement boundaryless design by removing traditional shower enclosures and installing walk-in showers with pivoting glass shields. Select wall-mounted vanities and frameless fixtures featuring clean lines that reduce clutter. Deploy large-format tiles floor-to-ceiling for seamless visual continuity. Incorporate floating vanities to expose floor area and enhance depth perception.
Integrate glass elements strategically—transparent shelves, mirrored cabinets, and frosted partitions—to reflect light and expand spatial awareness. These minimalist interventions create cohesive, uncluttered environments that maximize functionality without compromising contemporary aesthetics.
Choose Frameless Sliding Doors to Reduce Visual Clutter
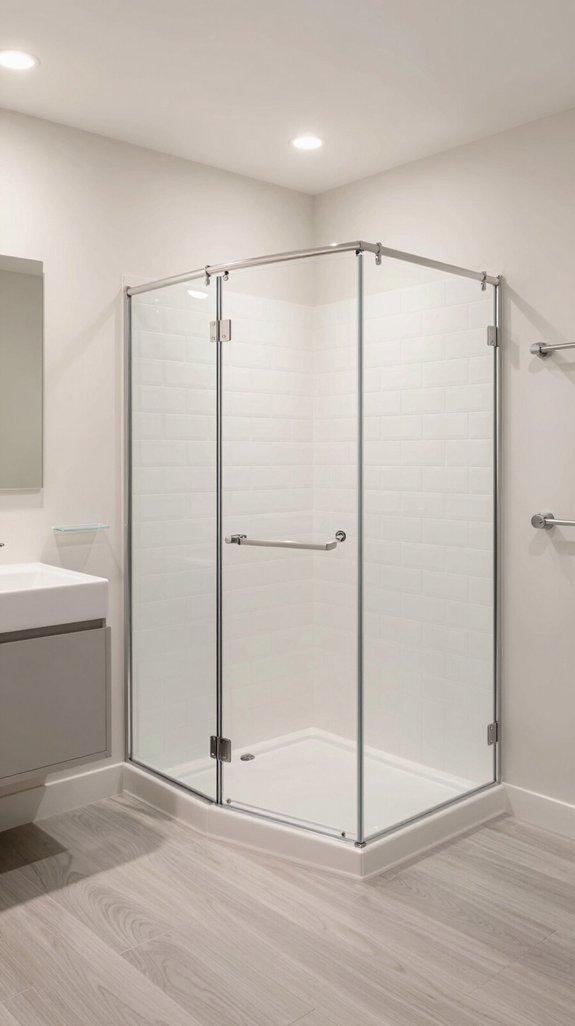
Frameless sliding doors represent one of the most effective interventions for reducing visual clutter in compact bathrooms, as they eliminate the bulky metal frames that traditionally fragment sightlines and create a cramped appearance.
The clear glass panels maximize transparency, allowing uninterrupted views of your tile work and architectural details. This design strategy opens sightlines considerably, making your bathroom feel substantially larger than its actual dimensions.
The hovering glass effect minimizes perceived bulkiness while maintaining functionality. You’ll appreciate how these doors optimize spatial perception through their sleek, frameless construction, delivering both aesthetic sophistication and practical space efficiency for small layouts.
Install Walk-In Showers With Low or No Thresholds
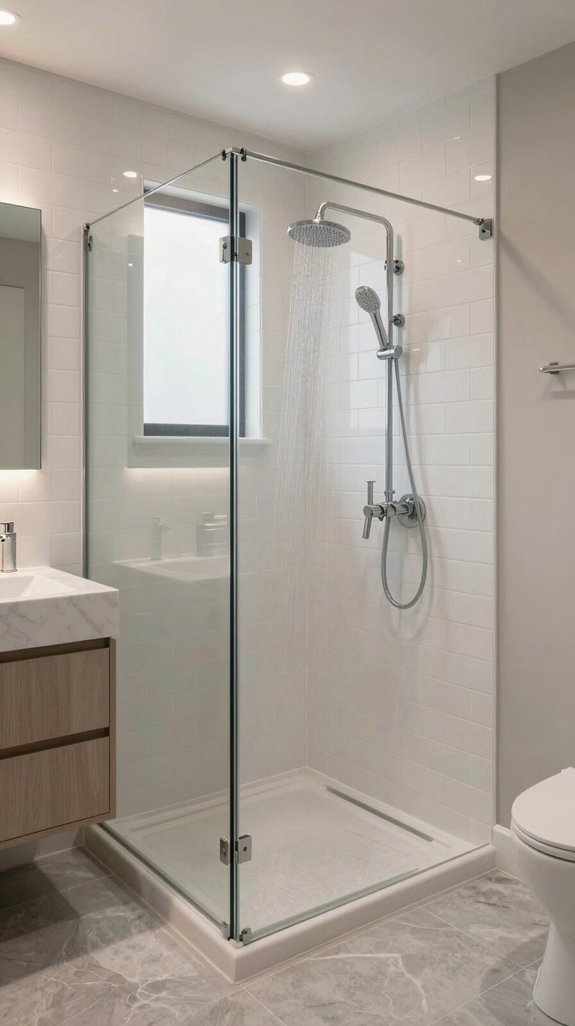
While frameless sliding doors enhance visual openness, you’ll find that low-threshold or threshold-free walk-in showers take spatial perception and accessibility even further by eliminating the final physical barrier between your bathroom and shower zone.
Pre-sloped bases with textured surfaces streamline waterproofing, requiring minimal trimming—up to 4 inches on back walls, 5 inches on sides. You’ll secure bases using thin-set mortar for precise leveling, then seal edges with premium silicone sealant to prevent water infiltration.
This barrier-free approach supports aging-in-place design while maximizing visual continuity, making compact bathrooms feel substantially larger.
Extend Your Countertop Over the Toilet for Extra Space
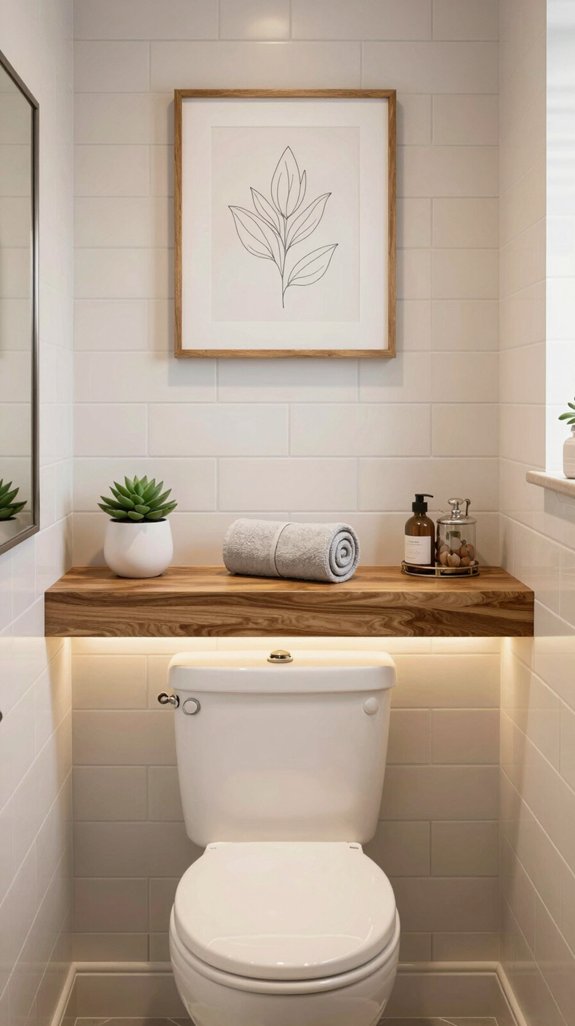
When you’re maximizing storage in a compact bathroom, extending your countertop over the toilet—commonly called a banjo countertop—offers a practical solution that doesn’t consume additional floor space.
This tapered design narrows from your standard vanity depth to create a shallow extension, requiring just 3-4 inches clearance between the toilet tank and countertop underside for unobstructed lid access.
You’ll gain valuable workspace while maintaining aesthetic cohesion with your existing vanity. The 18.75-inch overhang accommodates complementary cabinetry towers above, addressing storage deficiencies typical in compact layouts.
Professional installation guarantees proper fit, accounting for your toilet’s specific tank height during fabrication.
Mount Linen Cabinets Above Counters
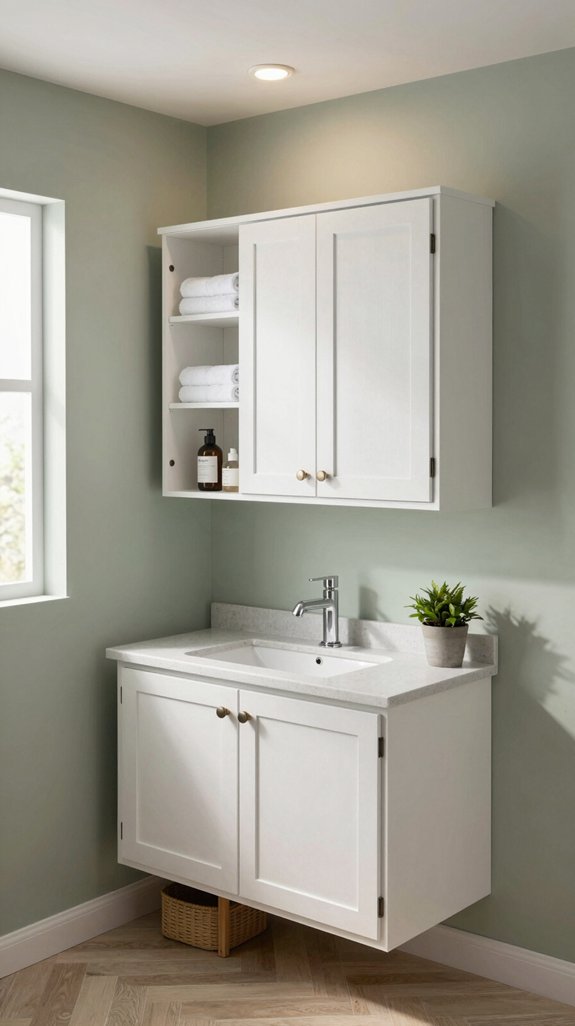
After maximizing your countertop with a banjo design, you’ll want to capitalize on the vertical wall space above it by installing wall-mounted linen cabinets.
These engineered solutions optimize storage capacity by 60% without requiring floor renovations. Select narrow 12-18 inch widths and 12-inch depths for constrained layouts, or choose floating towers that create an airy aesthetic.
Adjustable shelving accommodates varied item sizes while maintaining organization. Glass-door options display towels decoratively while protecting linens from bathroom humidity.
Integration with your vanity establishes cohesive design continuity, transforming underutilized vertical space into functional luxury storage that elevates both usability and property value.
Match Your Backsplash to Your Countertop for Seamlessness
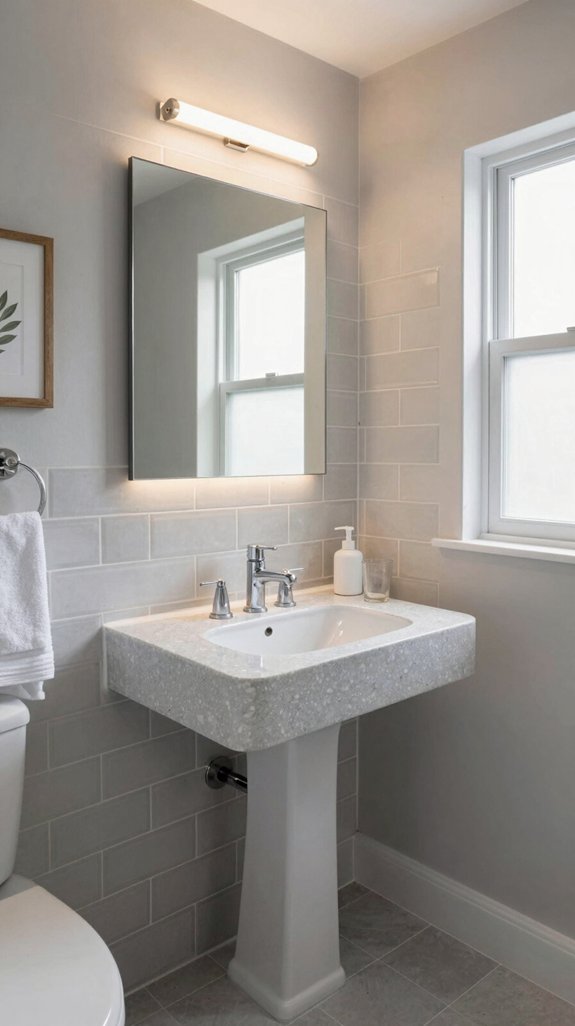
Because small bathrooms demand visual cohesion, extending your countertop material directly into the backsplash creates a harmonious design that eliminates jarring shifts.
You’ll achieve seamless flow by selecting matching engineered quartz, marble, or slate surfaces that stretch space perception. Large-format tiles in coordinating shades amplify the expansive effect while minimizing visual boundaries.
Implement matching grout colors for uniform appearance, or explore herringbone patterns in complementary finishes for dynamic interest. Budget-conscious options include laminated panels replicating countertop aesthetics affordably.
Ceiling-height layouts provide clutter-free backdrops, while glossy surfaces reflect light strategically. This 2025 design trend delivers both aesthetic sophistication and functional elegance for compact bathrooms.
Pair Blue Stacked Tiles With Gray Countertops for Depth
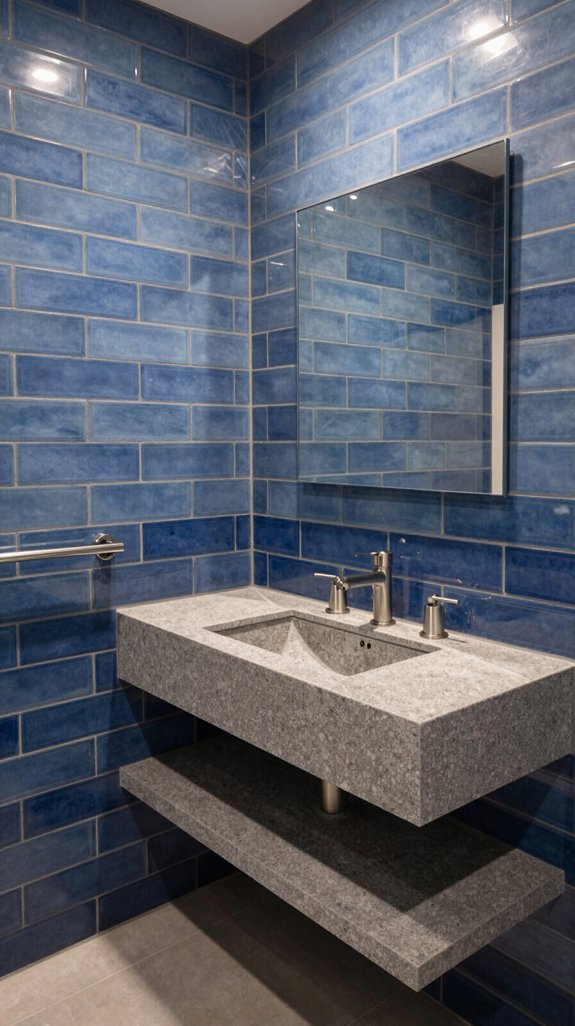
Cool-toned layering transforms compact bathrooms through strategic pairing of blue stacked tiles with gray countertops.
You’ll achieve visual depth by contrasting inky navy or Caribbean blue subway tiles against neutral gray surfaces, elongating spatial perception through symmetrical vertical lines.
Gray-blue gradient tiles introduce subtle shade shifts that enhance sophistication without visual clutter.
White grout highlights tile geometry, amplifying dimensional contrast.
Pair stacked blue walls with gray porcelain flooring for contemporary cohesion.
This palette creates spa-like retreat aesthetics while maintaining modernist restraint—ideal for maximizing style within limited square footage through chromatic innovation and refined material relationships.
Frequently Asked Questions
How Can I Add Heated Floors Without Taking up Radiator Space in My Small Bathroom?
You’ll install electric heating cables or mats directly beneath your tile flooring, eliminating radiator space entirely. This hidden system uses your existing subfloor, delivering precise temperature control through a programmable thermostat without disrupting your bathroom’s design aesthetic.
What’s the Best Way to Incorporate Smart Storage Solutions That Blend Functionality With Modern Style?
You’ll transform your bathroom into a storage powerhouse by installing floating shelves with integrated LED lighting, recessed medicine cabinets, and narrow rolling carts—each strategically positioned to maximize vertical space while maintaining sleek, contemporary aesthetics.
How Do I Choose Between Corner Showers and Walk-In Designs for My Compact Bathroom?
You’ll maximize your compact bathroom by selecting corner showers for efficient corner utilization and modern aesthetics, or walk-in designs if you’re prioritizing accessibility and minimalist visual flow without space constraints.
Can I Use Wood Cabinetry With Brass Finishes in a Small Bathroom Without Overwhelming the Space?
You’ll absolutely integrate wood cabinetry with brass finishes in compact bathrooms by employing light-reflecting wood finishes, strategic hardware placement, and neutral wall palettes that amplify spatial perception while maintaining sophisticated visual balance.
What Lighting Techniques Work Best for Instantly Making a Tiny Bathroom Feel Larger and More Open?
You’ll Instagram-worthy maximize your tiny bathroom by layering ambient ceiling fixtures with strategic mirror backlighting and high-mounted LED strips that draw eyes upward, creating depth and airiness through distributed light reflection.
References
- https://www.thecoolist.com/small-bathroom-design-ideas-for-2026/
- https://www.houzz.com/photos/small-bathroom-ideas-and-designs-phbr1-bp~t_712~a_30-231
- https://cuisinesrochon.com/en/blog/small-bathroom-design/
- https://thecocoon.com/blog/25-small-bathrooms/
- https://www.housebeautiful.com/uk/decorate/bathroom/a67997604/houzz-bathroom-trends-2025/
- https://jane-athome.com/small-bathroom-design-ideas/
- https://www.youtube.com/watch?v=59GWr330nnI
- https://internationalbathrooms.com/blogs/news/choosing-the-perfect-wall-hung-toilet-for-small-spaces
- https://www.consumerreports.org/home-garden/toilets/pros-and-cons-of-wall-mounted-toilets-a1534008866/
- https://www.bathshack.com/blog/6-advantages-of-a-wall-hung-toilet.html