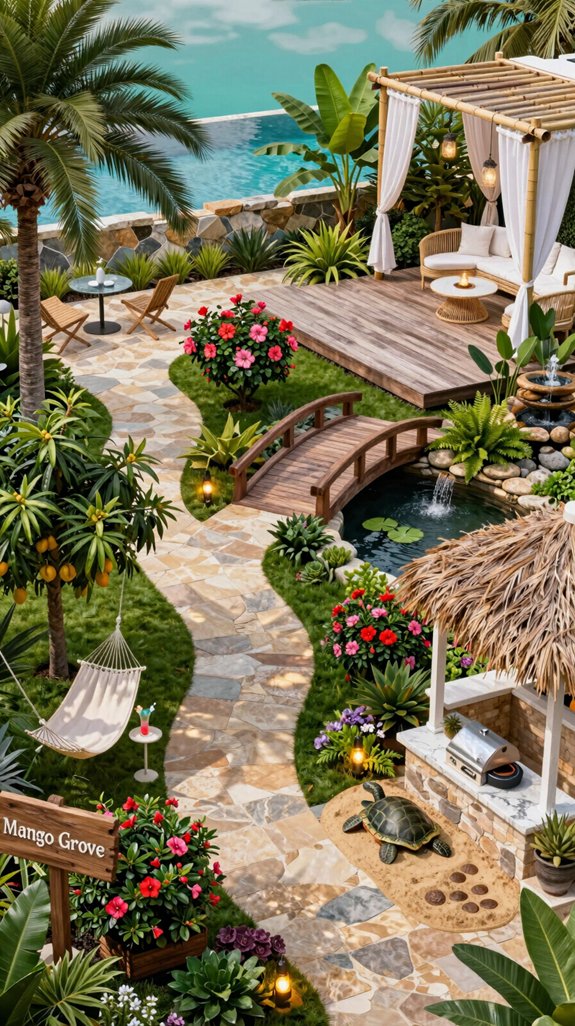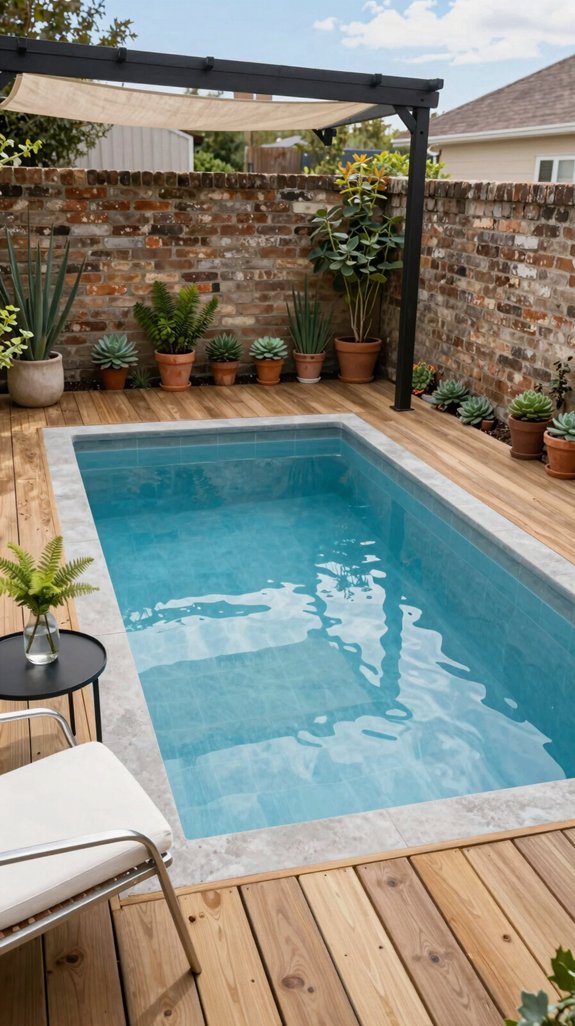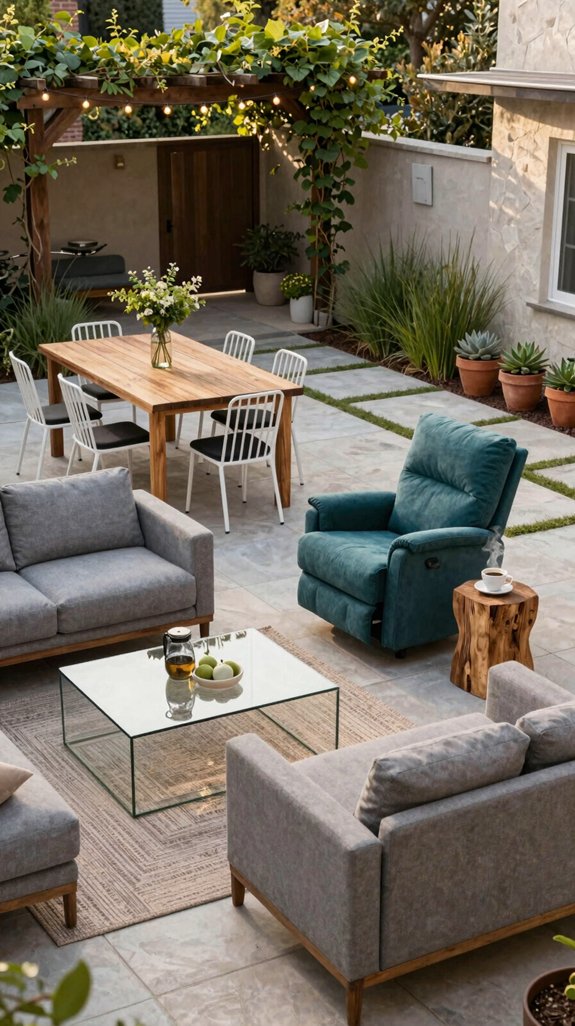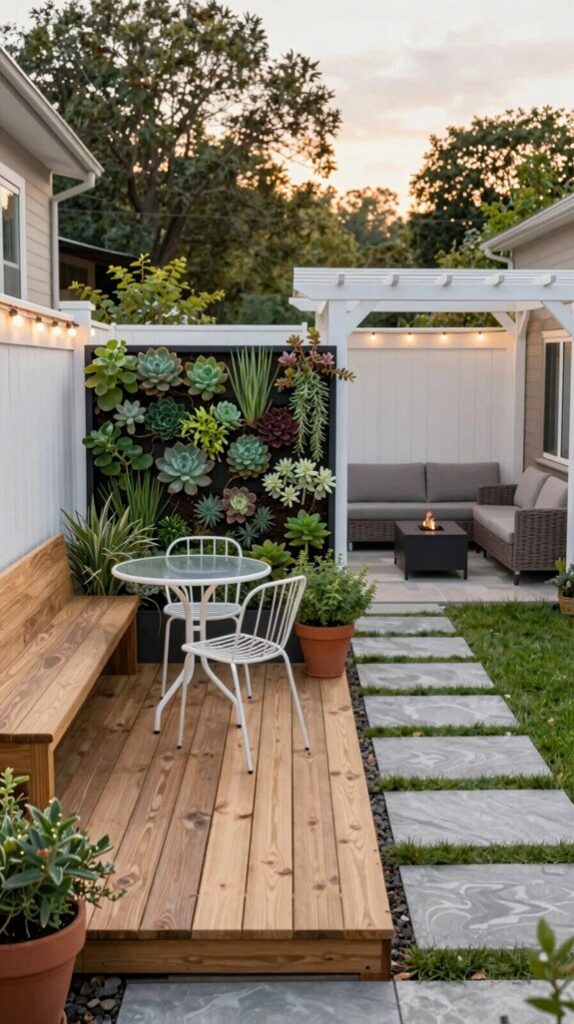

You can turn a cramped backyard into a sleek, multifunctional oasis by installing a vertical garden wall with modular drip‑irrigated pockets, adding multi‑functional seating that hides storage, and placing a compact fire‑pit bench for warmth and ambiance. A fold‑down picnic table folds away for small gatherings, while rolling raised planters on wheels let you rearrange greenery instantly. Build a DIY pallet deck for budget‑friendly flooring, mount a vertical ladder shelf for tools, set up an affordable smart irrigation system, and create a minimalist Zen corner with rocks and succulents for calm. Keep exploring for even more space‑saving ideas.
Create a Vertical Garden Wall – a Small Backyard Design Idea
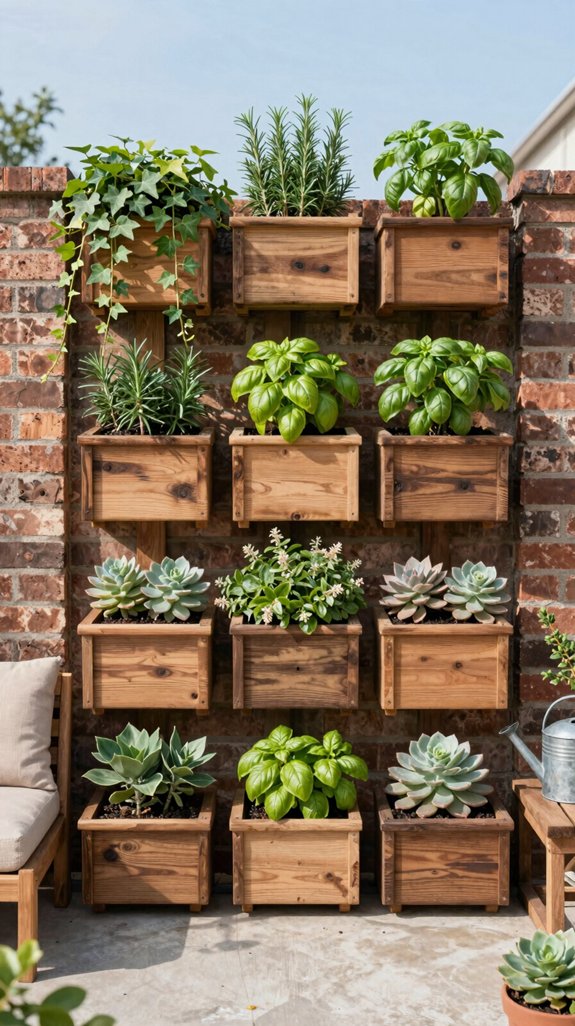
When space is limited, a vertical garden wall transforms a plain fence into a thriving, low‑maintenance oasis that maximizes greenery without crowding the yard. You’ll start by selecting a modular panel system that bolts to the fence, ensuring each pocket holds a specific plant type—herbs, succulents, or small vines—so you can calculate water and light needs precisely. Vertical wall planter systems come in various designs that allow you to customize your garden layout based on your specific space and aesthetic preferences. Integrate a drip‑irrigation line with a timer, reducing manual watering to a weekly check. Choose lightweight, UV‑stable fabric for the backing to prevent rot. Position the wall where morning sun hits, then monitor growth cycles to adjust spacing, keeping the ecosystem efficient and visually striking.

Complete Set for DIY Grass Wall Panels:This set includes 12 premium boxwood panels (10" x 10" each), 50 zip ties, 20 spare leaves, and a user manual—everything you need to build your own lush grass wall. Whether you're enhancing your patio or setting up a party backdrop, installation is quick and easy.

NATURAL WOODEN TRELLIS FOR CLIMBING PLANTS: Crafted from natural wood, this expandable lattice fence provides reliable support for climbing plants, vines, roses, ivy, cucumbers, and other garden plants. Encourage healthy upward growth while enhancing the beauty of your outdoor space
Build Multi‑Functional Seating That Stores Essentials
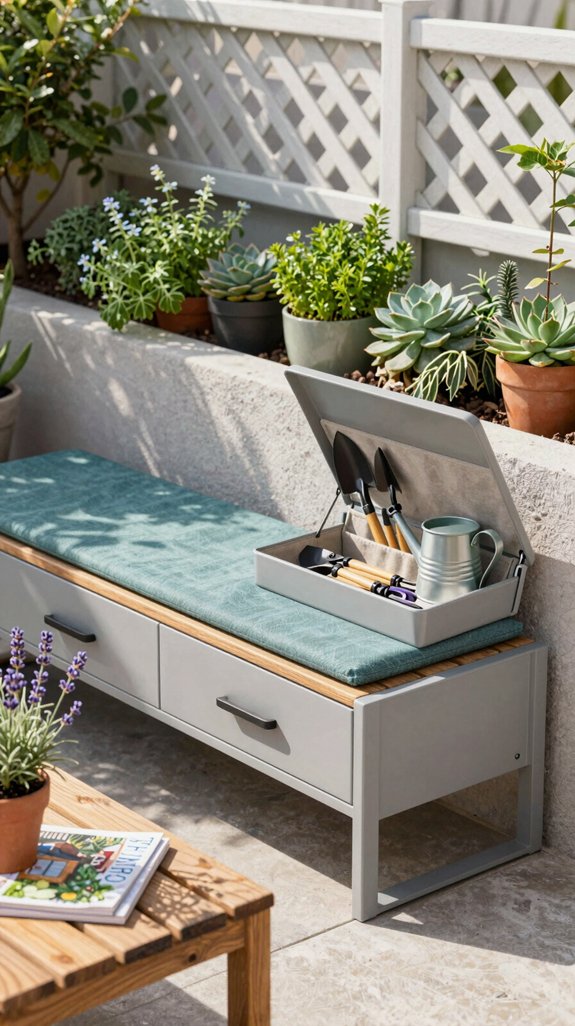
If you need extra storage without sacrificing seating, design a built‑in bench that doubles as a concealed cabinet. Choose weather‑resistant plywood, reinforce with steel brackets, and install a hinged lid that reveals deep compartments for cushions, gardening tools, or seasonal décor. Integrate slide‑out trays for quick access to smaller items like keys or fire‑starter kits. Position the bench along a wall or under a pergola to maximize floor space, and match its finish to existing decking for visual continuity. Add discreet handles or magnetic catches to keep the lid flush, preserving a sleek profile while delivering functional, hidden storage. Pair your seating area with outdoor privacy screens to create an intimate retreat that blocks sightlines while protecting your relaxation zone from wind and weather.
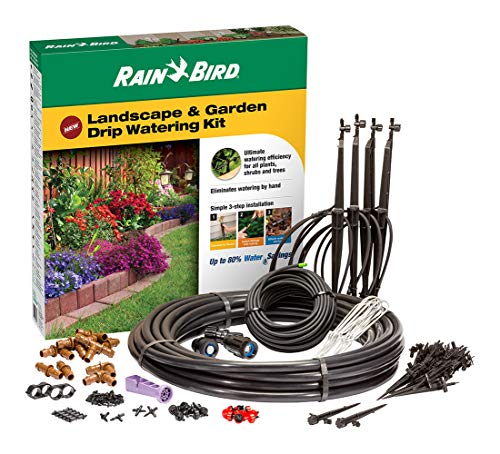
Comprehensive 108-piece kit for flower beds, gardens and landscaped areas; eliminates hand watering, saves time and money

Convenient and portable storage kit contains 102 professional grade universal Drip irrigation parts
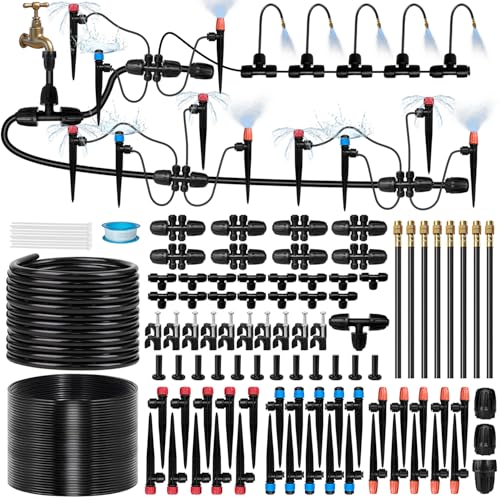
【Upgraded Tube Design & Water Saving】 Our garden watering system is upgraded to 1/2” diameter to support high water pressure. The 1/2” tee connector allows seamless splitting into 2 independent zones for customized watering schedules. By delivering moisture directly to root zones, this drip Irrigation system significantly reduces evaporation and runoff—saving more water compared to conventional sprinklers while eliminating the need for manual watering.
Install a Compact Fire Pit With Integrated Seating
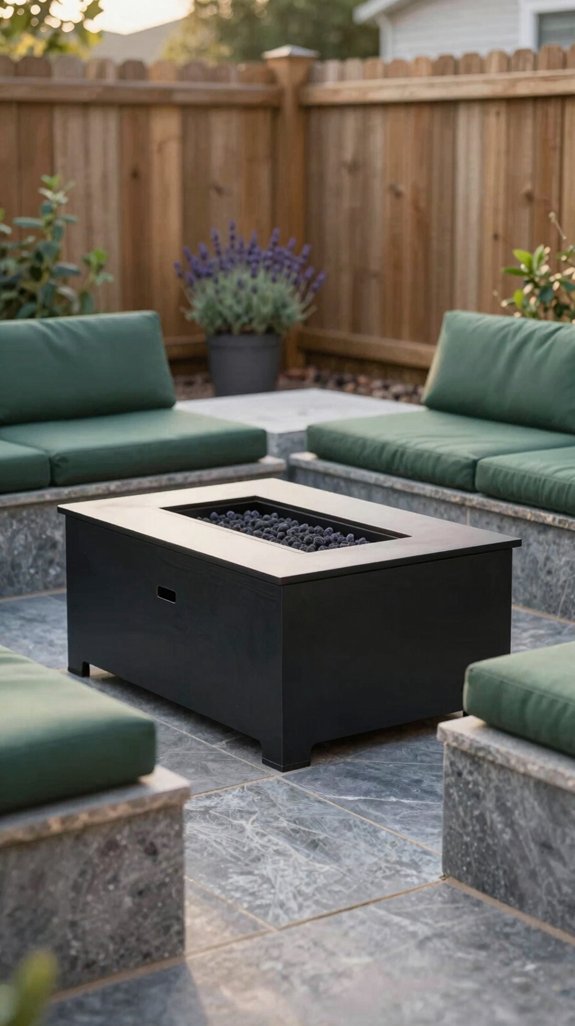
Even a modest backyard can become a cozy gathering spot by installing a compact fire pit that doubles as seating; choose a low‑profile, steel‑framed pit with a recessed, heat‑resistant bench around its perimeter, secure the bench with stainless‑steel brackets, and route a simple gas line or a removable fire‑brick insert for easy ignition. Position the unit near a wall to save width, and align the bench height with standard chair ergonomics. Integrate a discreet LED strip under the bench edge for ambient lighting without glare. Use a quick‑release valve for safe shutdown, and select a weather‑proof cover that snaps onto the pit when not in use, preserving space and aesthetics. Both wood-burning and gas models offer distinct advantages for outdoor entertaining depending on your maintenance preferences and local regulations.

【Large Storage Capacity 】Tame backyard clutter with our 98-gallon outdoor storage box- the perfect home for pool tools, patio cushions, gardening tools, and grill accessories. Designed to swallow bulky seasonal items, this spacious organizer keeps your outdoor living area tidy while doubling as hidden storage for party supplies when entertaining guests.

Large Capacity: A 80-gallon hidden storage compartment under the seat allows you to store a variety of items, helps you keep your environment neat and increase space utilisation.
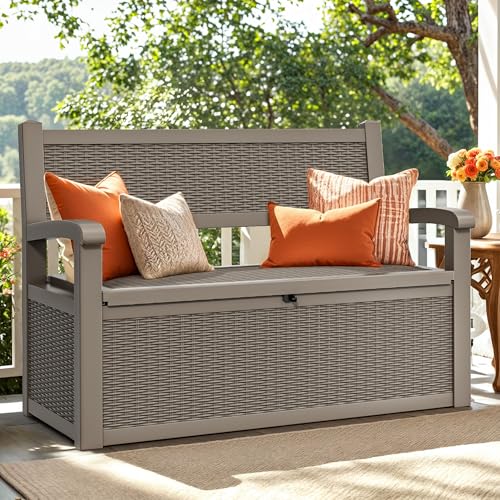
Spacious Secret Stash: Reveal a generous 70-gallon hideaway under this YITAHOME storage bench outdoor, with internal dimensions of 46.6''L x 17.4''W x 12.9''H (external: 51.06''L x 24.2''W x 35.2''H), ideal for tucking away both indoor and outdoor essentials.Tip: Brown (listing) and Gray (carton) refer to the same color, no color mismatch
Add a Fold‑Down Picnic Table for Small Gatherings
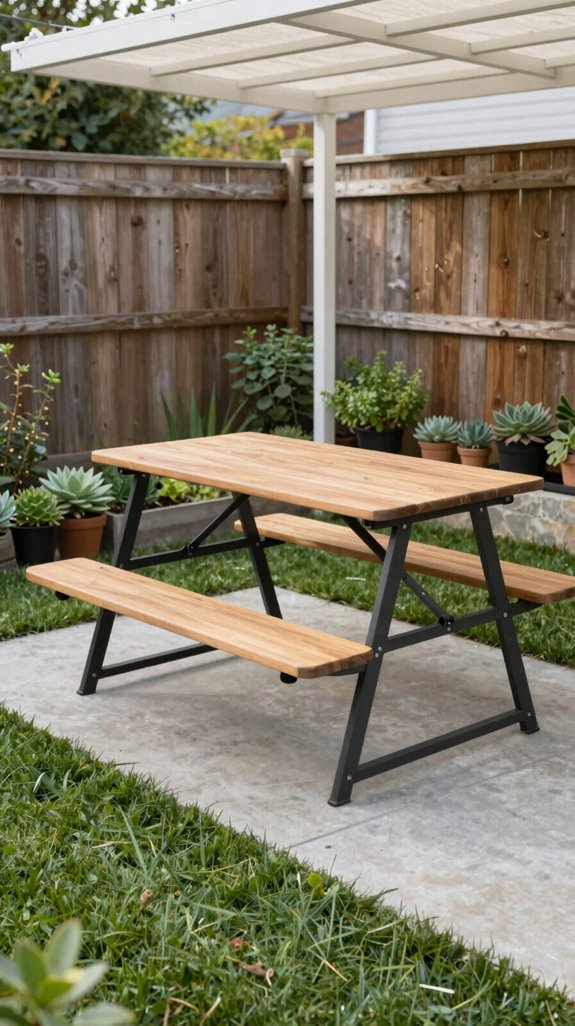
A compact fire pit with built‑in seating already maximizes your backyard’s usable area, so adding a fold‑down picnic table keeps the space flexible for meals or games. Choose a table that mounts to a wall or deck railing, using hinges that lock securely when closed. Opt the lightweight aluminum or powder‑coated steel for durability and easy handling. When you need a surface, pull the table down, lock the legs, and you’ve got a stable, level platform for snacks, board games, or a quick coffee. When not in use, fold it back, lock it, and retain a clear, open floor plan for other activities. Consider pairing your fold‑down table with rot‑resistant cedar structures like pergolas or deck railings to enhance your outdoor space’s longevity and natural aesthetic.

Buy the Right Fit the First Time: Measures 34"D x 18"H and fits round fire pits up to 34 inches in diameter, helping you avoid loose, awkward coverage. Please measure your fire pit before ordering.

【SIZE GUIDE: PERFECT FOR PATIO TABLES & CAMPING SETUPS】Our 20-inch model measures exactly 20" x 10" x 8" — ideal for standard patio tables, picnic tables, or camping foldable tables. Not too big, not too small: it provides ample flame presence without overwhelming your tabletop. Please measure your space before ordering to ensure this medium-sized tabletop fire pit fits your setup perfectly.

3-Layer Construction with High-Temperature Resistance – Featuring a sturdy fiberglass core bonded between two layers of silicone coating, this mat effectively blocks intense heat, flying sparks, and embers. It shields your deck, patio, lawn, or tabletop from scorch marks and heat-related damage, providing a reliable barrier no matter what size you choose.
Roll Out Raised Planters on Wheels for Easy Rearranging
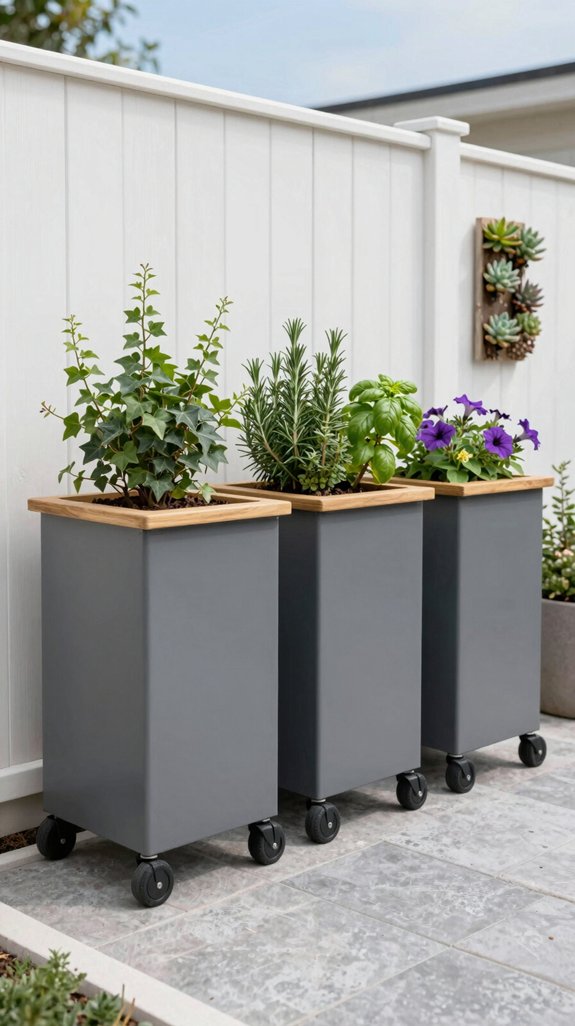
Why not make your garden layout instantly adaptable with raised planters on wheels? You’ll lock modular units onto casters, then lock them in place with brake pads when you’ve found the perfect sun exposure. Choose lightweight, weather‑resistant fabric or metal frames that slide smoothly across concrete or decking. Install a low‑profile drainage channel beneath each pot to prevent water pooling and protect surrounding surfaces. Use a standardized footprint—12 × 12 inches, for example—so you can rearrange herbs, vegetables, or decorative grasses without re‑measuring. The system supports seasonal reconfiguration, maximizes usable area, and maintains a tidy, professional aesthetic.

Effortless Mobility - Raised Garden Bed with 360° rotating locking wheels, easily move the raised planter box to chase ideal sunlight or shade. Perfect for flexible placement on patios, balconies and backyards.

MOBILE GARDEN ON WHEELS — Two all-terrain wheels and an ergonomic handle let you roll a 200+ lb planted bed wherever sunlight goes. Move your garden across patio, balcony, or backyard in minutes.

【ROLL TO FOLLOW THE SUN 】— Two wheels and a side handle make it easier to reposition the elevated planter between sunny and sheltered areas on a patio, balcony, deck, or backyard. Move only on a level surface and use care when the planter is filled.
Construct a Hidden Storage Bench for Tools and Toys
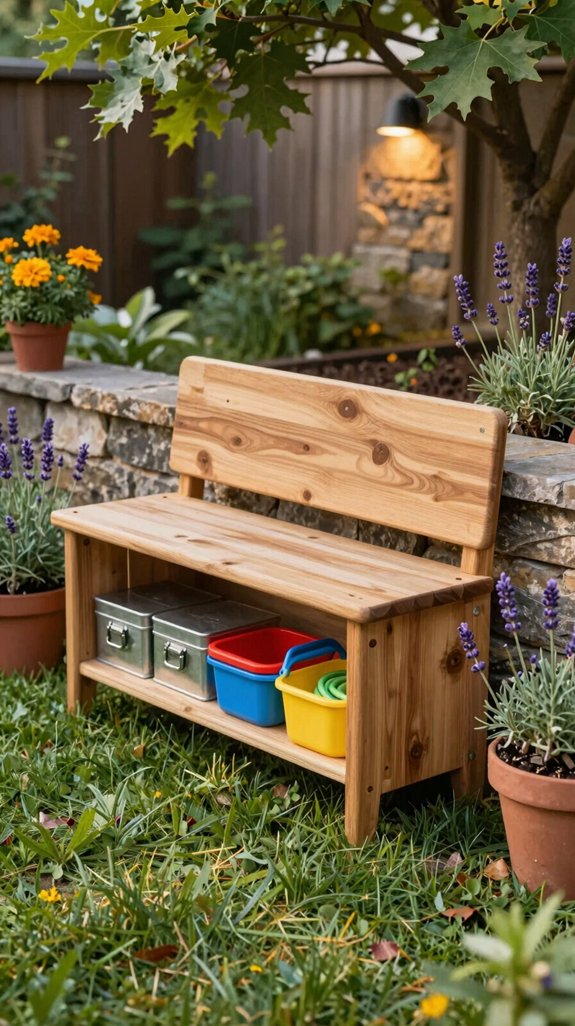
When you need a tidy spot to stow garden tools and kids’ toys, a hidden‑storage bench does the job without sacrificing seating. First, measure the intended length, width, and height, then cut pressure‑treated lumber to those dimensions, allowing a 2‑inch interior clearance for hinges. Install dovetail joints on the side panels for rigidity, then attach a concealed latch on the front edge. Insert a plywood base with pre‑drilled ventilation holes to prevent rust. Finish with a weather‑resistant stain and add matching cushions. The bench slides open smoothly, keeping tools organized while providing a sleek, functional perch for guests. Benches combining seating and storage offer excellent solutions for maximizing functionality in compact outdoor spaces.
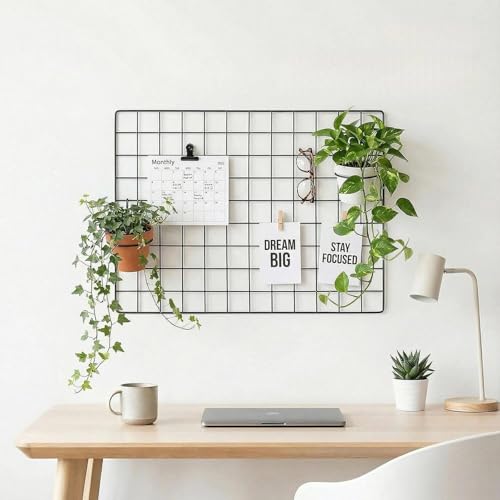
Made of Painted Metal Wire, Heavy and Strong - Our Wall Grids are painted, heavier and stronger than other vinyl dipped grid, and the surface will not concave.

🌿【MORE DENSE, MORE REALISTIC】 The boxwood roll panels provides coverage for over 33.33 square feet, measuring 40x120 inches. Whether used for a privacy fence or decoration, our artificial grass panels is denser and more lifelike. It can be used directly without the need for assembly, and furthermore, it can be disassembled into smaller pieces or trimmed according to your needs.
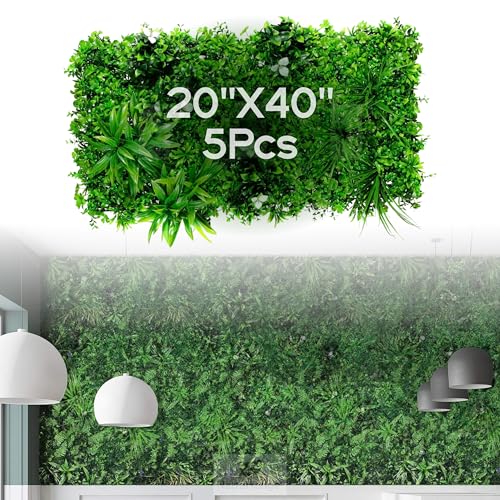
Stunning Aesthetic: Transform your space with a leaf wall that creates a vibrant fake plant wall; perfect for enhancing any garden wall or indoor area
Add a Retractable‑Canopy Pergola for On‑Demand Shade
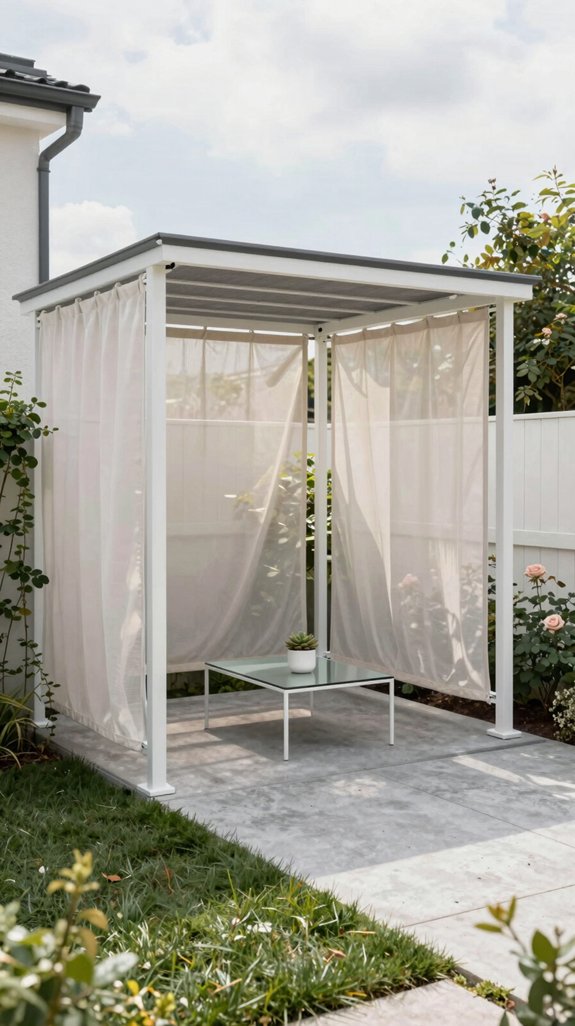
If you want instant shade without a permanent structure, install a retractable‑canopy pergola that slides open and closed on demand. Choose a lightweight aluminum frame with motorized rails; the system integrates with a smart‑home hub, so you can schedule shade cycles or trigger them via voice command. Select weather‑resistant fabric that folds neatly into concealed pockets, minimizing visual clutter. Position the pergola over a seating cluster or dining set to extend usable area during peak sun. Guarantee the mounting brackets anchor into concrete footings for stability, and route power cables through conduit to preserve clean lines. Adjustable canopy systems allow you to maintain the perfect balance between sunlight exposure and shade protection throughout the day. This solution delivers flexible protection while preserving the backyard’s open‑plan aesthetic.
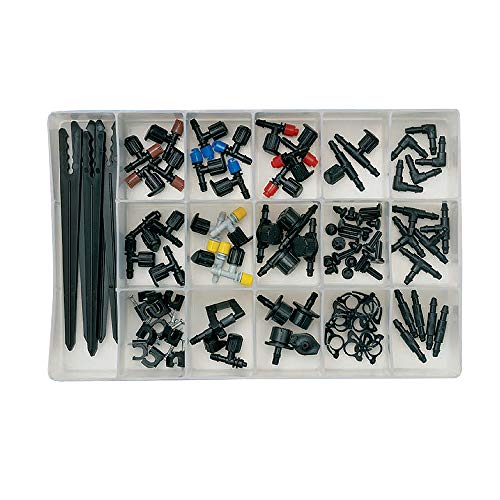
For optimizing plant health by applying water directly at the plant roots

Complete Drip Irrigation Kit: Includes a 32.81ft 1/4 inch tubing hose, 2 filters, 2 check valves, 15 adjustable drip emitters, 15 barbed tee connectors, 5 barbed cross connectors, and 5 end caps, offering a comprehensive solution for your indoor plant watering needs.

Kit converts a pop-up sprinkler spray head into a water-saving Drip emitter system
Lay Sliding Deck Tiles for Quick Surface Changes
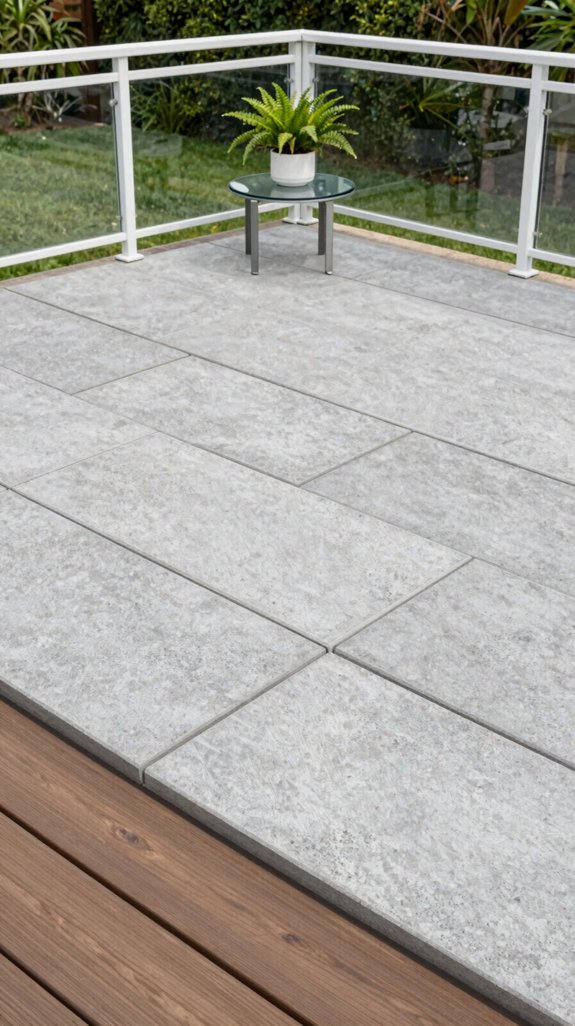
After the retractable‑canopy pergola gives you on‑demand shade, swapping the ground surface becomes just as simple. You’ll install sliding deck tiles—interlocking, lightweight panels that snap together on a flat substrate. First, measure the patio, cut a moisture‑resistant underlayment, and lay it flush. Then, align tiles, engage the tongue‑and‑groove mechanism, and slide each piece into place. Because they’re modular, you can replace a tile in seconds, switch colors, or add a textured surface for summer parties. The system tolerates foot traffic, resists UV fading, and integrates with existing drainage, delivering a versatile, low‑maintenance floor that adapts instantly to your needs. Consider complementing your deck tiles with oatmeal colored accents throughout your backyard design for a cohesive, warm aesthetic.
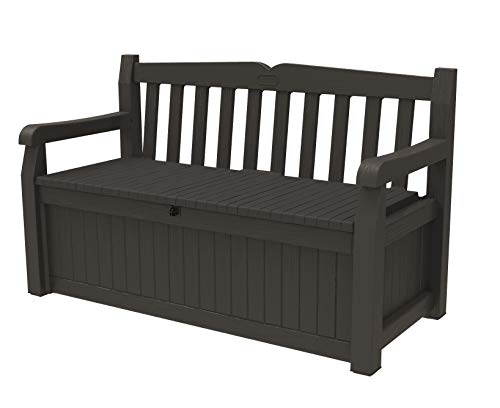
IDEAL SIZE: Exterior: 54. 6 in. L x 23. 4 in. W x 32. 8 in. H / Interior: 50. 4 in. L x 19. 7 in. W x 15 in. H

SEAT FOR 2: This outdoor storage bench can be used as a double chair, the seat is 46" long and 22" wide, it also comes with extra soft cushion, which makes you more spacious and comfortable to sit on it.

Large Capacity: A 80-gallon hidden storage compartment under the seat allows you to store a variety of items, helps you keep your environment neat and increase space utilisation.
Set up a Corner Potting Station With Built‑In Water Reservoir
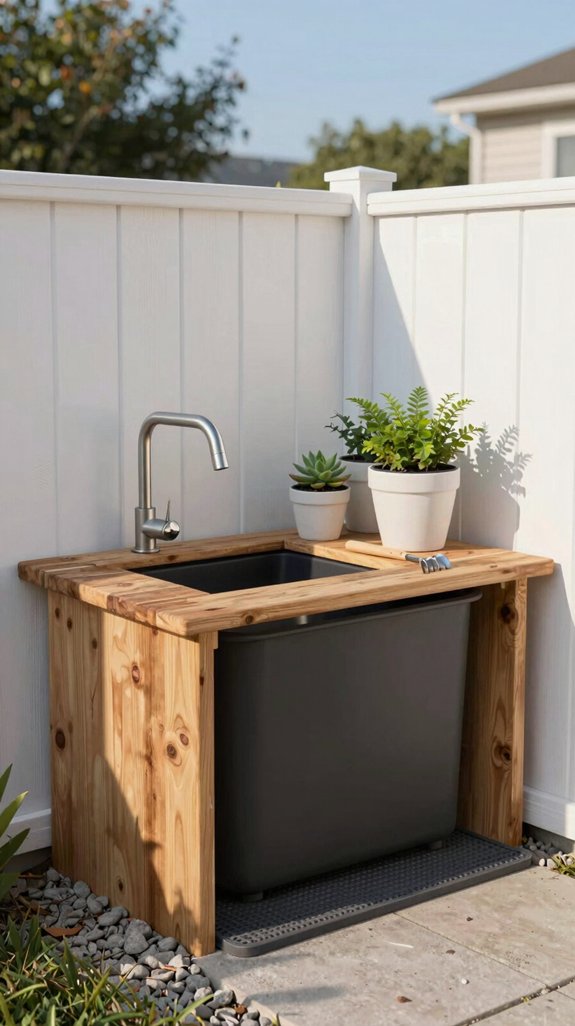
Even though space is limited, you can create a compact potting station that doubles as a built‑in water reservoir by installing a shallow, waterproof basin beneath a sturdy workbench. Choose a low‑profile, rust‑proof basin that fits the corner dimensions, then reinforce the bench with brackets that support both soil and water weight. Integrate a discreet overflow pipe to a drip‑irrigation line, and add a removable tray for potting mix. Route a quick‑connect hose to the basin’s inlet for easy refilling. Label the reservoir level with a magnetic gauge, and keep a compact tool caddy attached to the bench for seamless workflow. If you plan to use electric heating elements near the water reservoir during colder months, ensure you follow output and safety insights to prevent accidents and equipment damage.

🔥【 Mood Enhancement 】: Take your outdoor living area to the next level with a mood-enhancing fire bowl! Clean burning propane flame provides soothing warmth, gentle lighting and so much more! For a small intimate soiree with friends or a romantic interlude and ambiance with your soul mate, nothing brings together kindred spirits nor kindles the deepest passions quite like an open, flickering fire in patio space or backyard.

SUNDOWN, FUN UP: When the sun sets and your outdoor paradise begins to cool a bit, no need to go inside. Light the fire pit table and warm up the patio night! You can even serve an intimate dinner for four right on the spacious ledge surrounding the warm glowing lava rocks. What could be cozier? Clean burning propane flame provides soothing warmth, gentle lighting and a centerpiece for many outdoor or backyard evenings worth remembering.
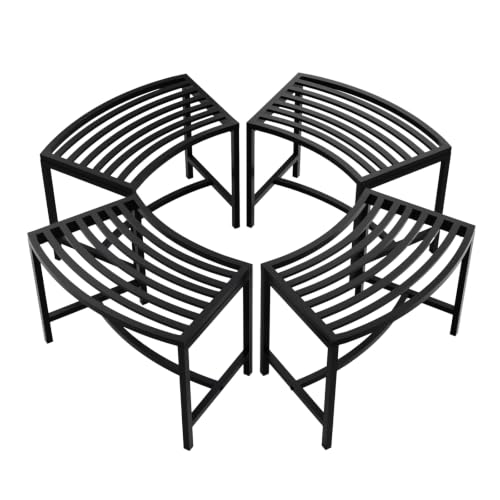
Built to Last: Crafted from heavy-duty iron, our backless patio benches feature a durable, smooth non-toxic finish. The reinforced T-shaped base design provides exceptional stability, safely supporting up to 300 lbs per bench.
Choose Low‑Maintenance Drought‑Tolerant Landscaping
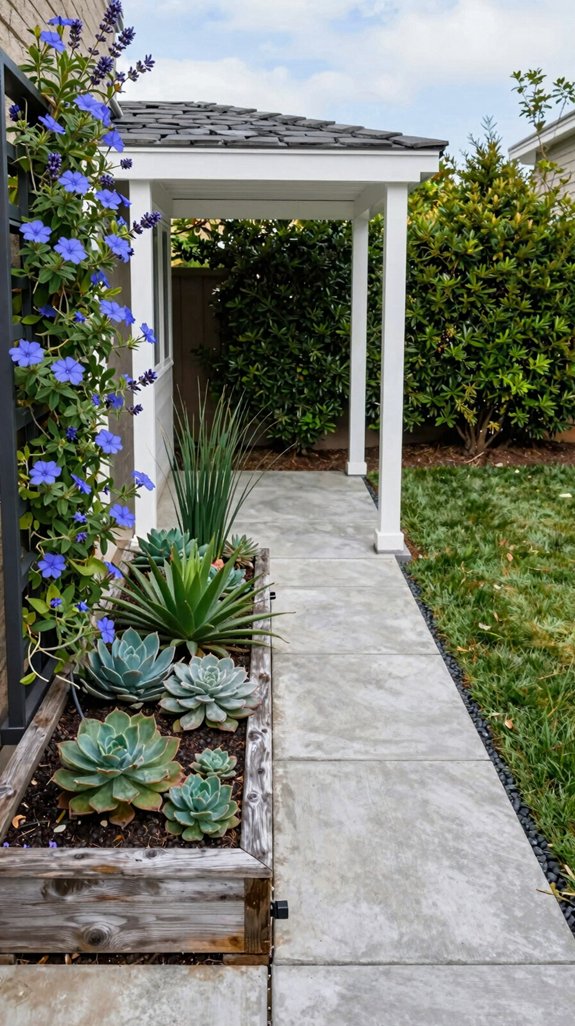
By selecting drought‑tolerant plants and hardscape elements, you’ll cut water use, maintenance time, and costs while keeping your backyard functional and attractive. Opt for native succulents, ornamental grasses, and xeriscape‑ready perennials that thrive on minimal irrigation. Pair them with permeable pavers, reclaimed stone, or modular decking that reduces runoff and simplifies cleaning. Install smart drip lines with moisture sensors to deliver water only when needed, eliminating waste. Choose mulches that retain moisture and suppress weeds, reducing labor. Embrace vertical planters and low‑profile edging to maximize usable floor space while preserving a cohesive, innovative aesthetic. Consider adding furniture coasters beneath any outdoor seating or decorative elements to protect your hardscape surfaces from damage and wear. This systematic approach guarantees durability, efficiency, and visual appeal.
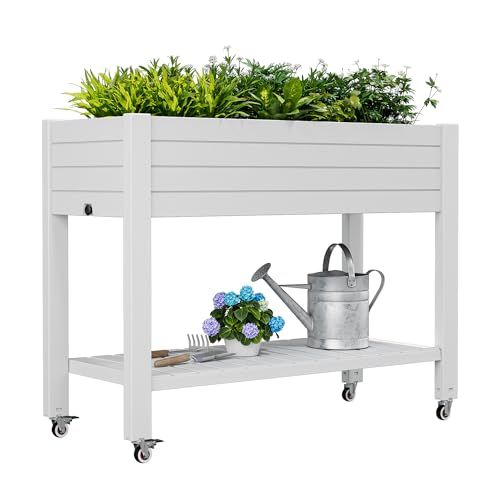
Effortless Mobility - Raised Garden Bed with 360° rotating locking wheels, easily move the raised planter box to chase ideal sunlight or shade. Perfect for flexible placement on patios, balconies and backyards.

Space-Saving : This strawberry planter maximizes your gardening space by stacking 5 layers to grow more plants in a compact area. The strawberry tower planter is ideal for patios, balconies, or indoor use
Design an Outdoor Kitchen Island With a Built‑In Grill
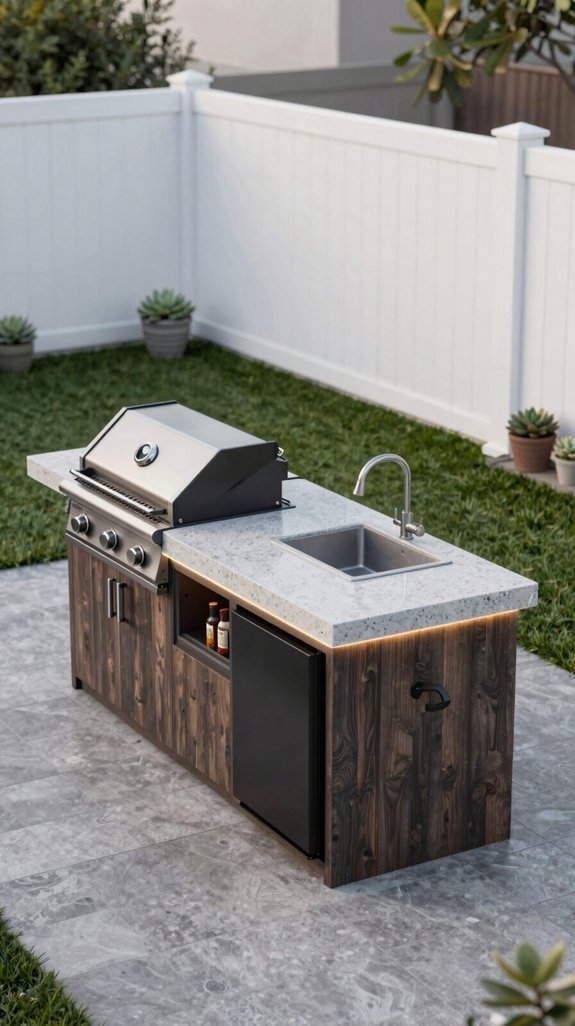
When you integrate a built‑in grill into your outdoor kitchen island, you create a compact, efficient cooking hub that streamlines workflow and maximizes usable space. Position the grill centrally, flanked by prep countertops and storage cabinets, so you can move from chopping to searing without crossing the island. Choose a stainless‑steel, high‑BTU model with side burners for multitasking. Install a built‑in vent hood that recirculates smoke, keeping the area fresh. Incorporate recessed lighting and a weather‑proof power outlet for appliances. Use modular, lockable drawers for utensils, spices, and cleaning tools, ensuring every item has a designated slot and the island stays tidy. Consider adding a daybed seating area nearby where guests can relax comfortably while you prepare meals, transforming your outdoor kitchen into a multifunctional entertainment space.
Install Built‑In Planters Along Your Fence for Easy Greenery
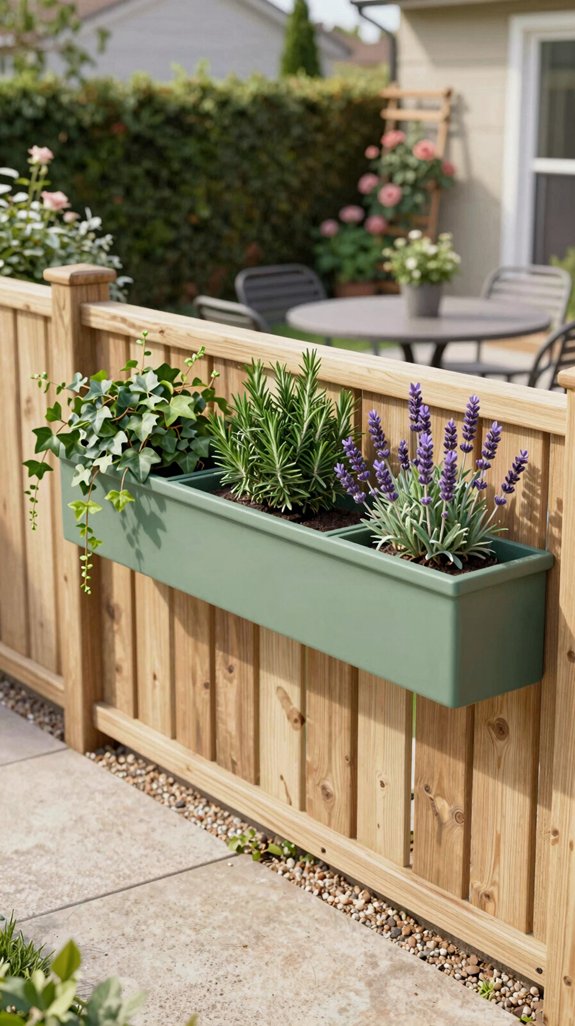
Looking to boost curb appeal while keeping maintenance low? Install built‑in planters along your fence to create vertical greenery without sacrificing floor space. Choose weather‑resistant, modular boxes that lock into the fence frame, allowing you to swap herbs, succulents, or trailing vines as seasons change. Route irrigation through discreet drip lines, connecting each planter to a single timer for water efficiency. Anchor the units with stainless steel brackets to prevent sagging and guarantee load‑bearing stability. Position taller containers at the base for structural support, then cascade shorter ones upward for a layered, dynamic look that maximizes visual impact while staying low‑maintenance. For additional organization, consider incorporating stackable baskets for modular storage beneath your planters to keep gardening tools and supplies easily accessible.
Assemble Modular Seating Cubes That Double as Plant Stands
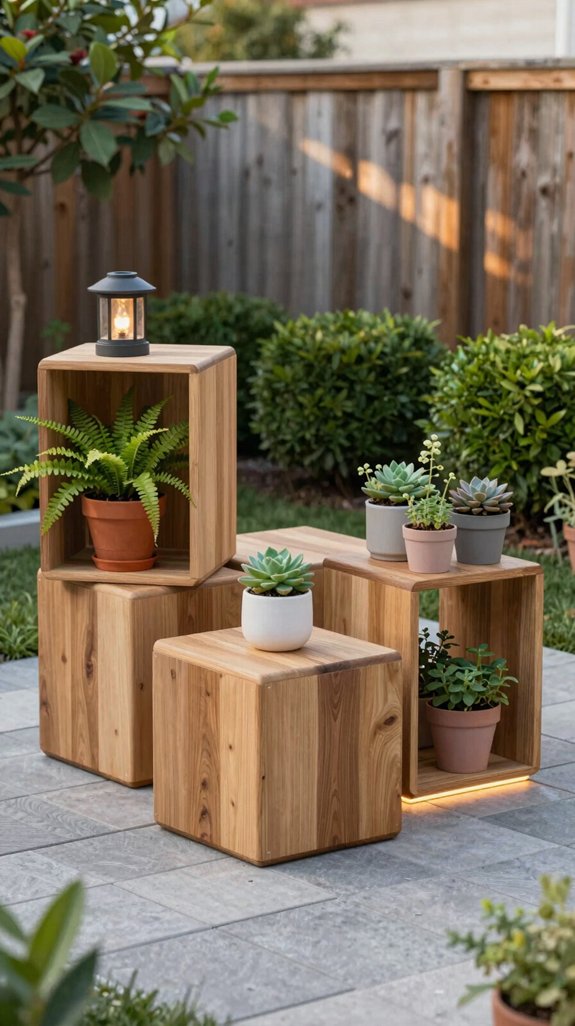
A few sturdy, interlocking cubes can become both seating and plant stands, letting you maximize limited backyard space. Choose weather‑resistant, lightweight lumber or recycled plastic with a dovetail joint system; each cube measures 12″ × 12″ × 12″ for ergonomic sit‑height and stable plant placement. Assemble a 2 × 2 × 1 configuration for a low bench, then slide a 1‑cube column beneath a potted herb, creating a raised stand that doubles as a footrest. Anchor cubes with hidden brackets to prevent shifting on uneven ground. Integrate built‑in drainage holes and removable trays for easy watering and soil replacement, maintaining both comfort and horticultural health. Similar to built-in storage features found in space-saving furniture, these modular cubes can be customized with integrated compartments to store gardening tools and supplies beneath the seating surface.
Use Lightweight Folding Chairs for Instant Extra Seating
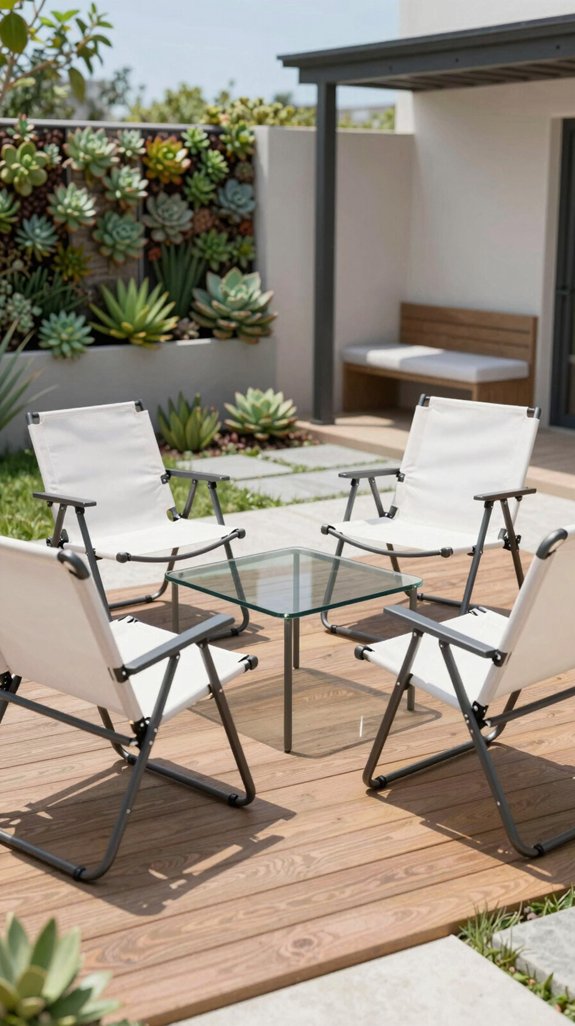
Your modular cubes already free up floor space, so adding a few lightweight folding chairs gives you instant, flexible seating without sacrificing that efficiency. Choose chairs with aluminum frames and fabric slats; they weigh under five pounds, fold flat, and nestle against walls or under tables. Store them in a weather‑proof rack or a dedicated corner, then pull them out when guests arrive or when you need extra perch for a garden dinner. Opt for stackable models that align edges, preserving visual order. By selecting neutral tones, you maintain a cohesive aesthetic while preserving the backyard’s sleek, innovative vibe. Consider pairing your folding chairs with matching accent table sets to create a unified outdoor living environment that feels intentional and well-designed.
Apply Mirrored Walls to Make a Small Backyard Feel Bigger
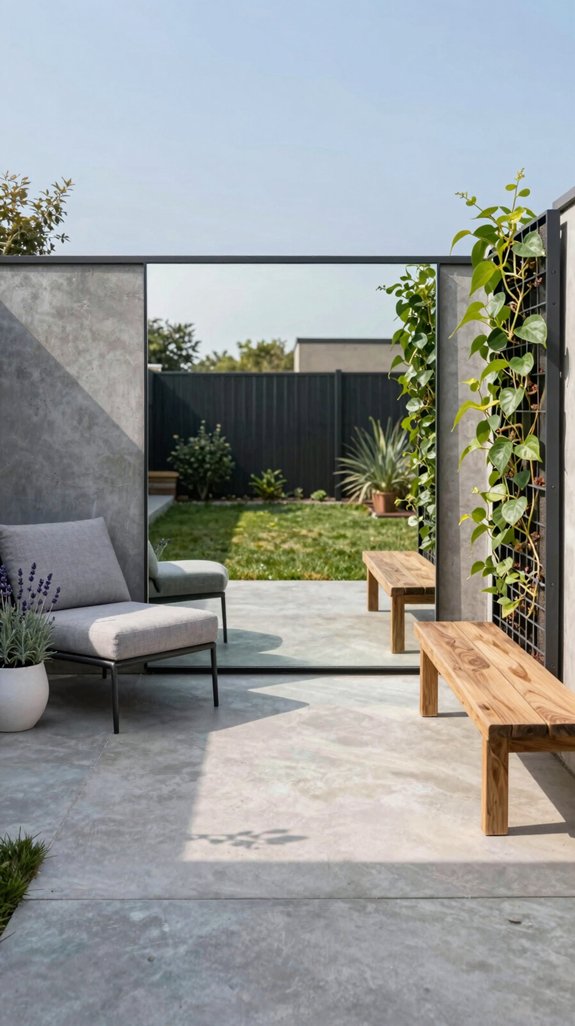
Ever wonder how a simple reflective surface can expand a cramped yard? You can mount a weather‑resistant mirrored panel on a fence or a garden wall, turning a single surface into a visual extension. Position the mirror opposite a focal point—like a planter or seating area—to double perceived depth. Choose a frame that matches your design palette, and guarantee the glass is tempered for safety. Pair the mirrored wall with low‑profile furniture to avoid visual clutter. The reflective surface also amplifies natural light, making the space feel brighter and more open without adding physical square footage. Consider complementing your mirrored walls with accent lighting kits to enhance the ambiance during evening hours and create a more inviting atmosphere.
Add Integrated LED Strip Lighting for Ambient Glow
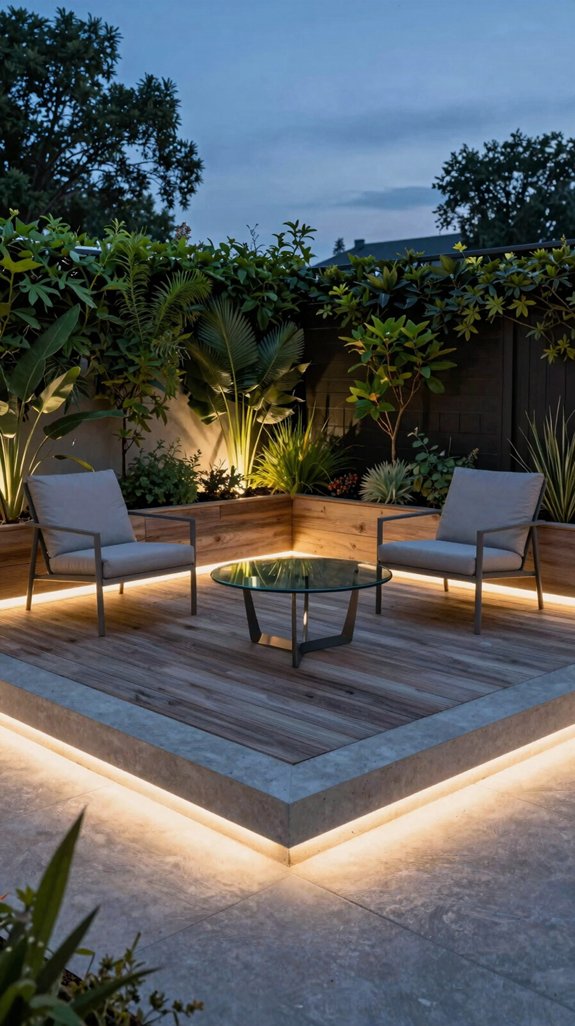
Mirrored walls already boost perceived space, and adding integrated LED strip lighting takes that effect further by shaping ambience after dark. You’ll run low‑profile strips along the underside of railings, beneath planters, and inside recessed niches. Choose dimmable, color‑temperature controllers so you can shift from cool task light to warm, diffuse glow. Wire each segment to a single smart hub; schedule fades that sync with sunset, or trigger motion sensors for safety. Opt for waterproof, low‑voltage units to protect against drizzle. For outdoor areas, consider pairing your integrated strips with energy-efficient solar options to reduce your electrical footprint while maintaining consistent illumination. By embedding light into structural edges, you create visual continuity, hide clutter, and reinforce the illusion of a larger, more inviting outdoor room.
Install a Small‑Scale Recirculating Water Feature
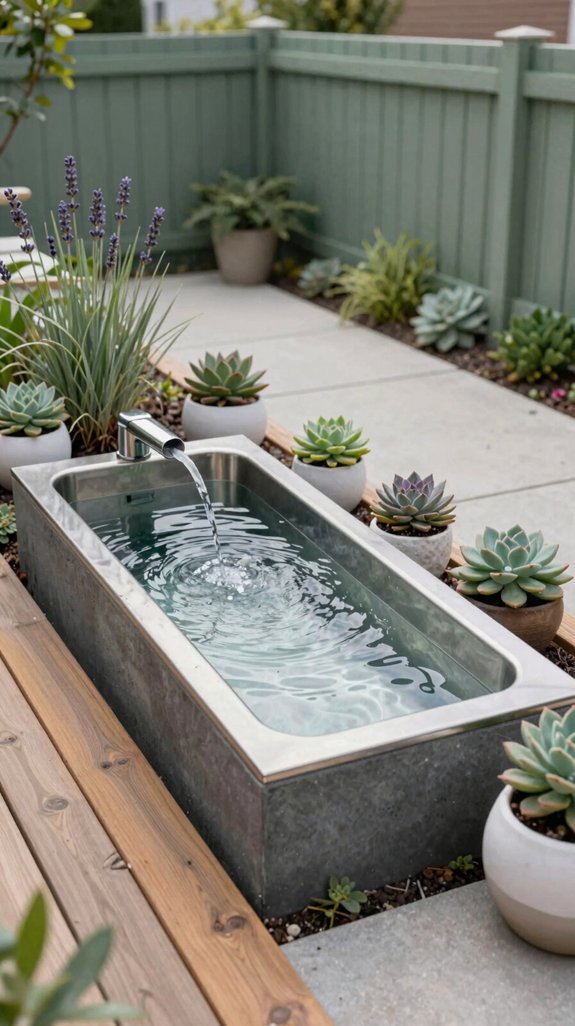
If you want a subtle focal point that also masks noise, install a compact recirculating water feature. Choose a solar‑powered pump, a sealed basin, and modular stone tiles that fit your tight layout. Position the unit near a seating nook to amplify ambient sound dampening while maintaining visual continuity. Route the tubing beneath mulch for invisible infrastructure, and use a low‑profile liner to prevent water loss. Integrate a timer so the cascade runs only during peak usage, conserving energy. Select a minimalist design—clean lines, matte finish—to complement modern décor without overwhelming limited square footage. Consider managing water feature cables with discrete routing solutions to maintain the clean aesthetic. This precise addition boosts serenity and perceived space.
Build a DIY Pallet Deck for Budget‑Friendly Flooring
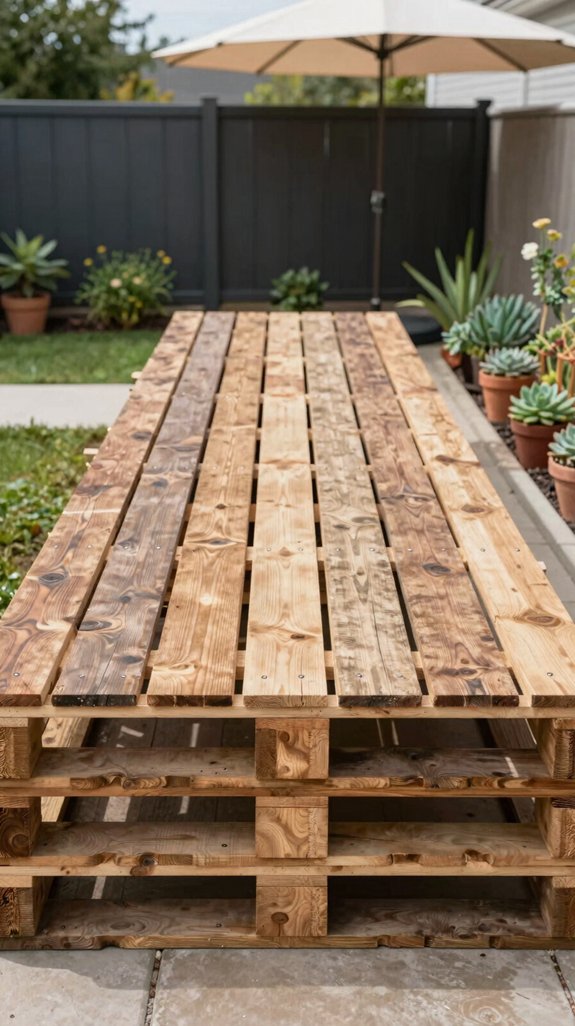
When space is tight and the budget tighter, repurposing reclaimed pallets into a deck gives you sturdy, attractive flooring without breaking the bank. First, measure the intended area, then calculate the exact number of pallets needed, allowing a 10 % waste margin. Remove nails, sand surfaces, and treat wood with a weather‑proof sealant. Lay a level, pressure‑treated sub‑frame, securing each pallet with stainless‑steel deck screws at 12‑inch intervals to prevent creep. Add a hidden drainage channel beneath the deck to divert runoff. Finish with a non‑slip coating, and you’ll have a durable, eco‑friendly floor that maximizes usable space while showcasing innovative reuse. For interior spaces, consider deep cleaning high traffic carpets to maintain flooring longevity alongside your outdoor improvements.
Mount a Vertical Ladder Shelf for Garden Tools and Décor
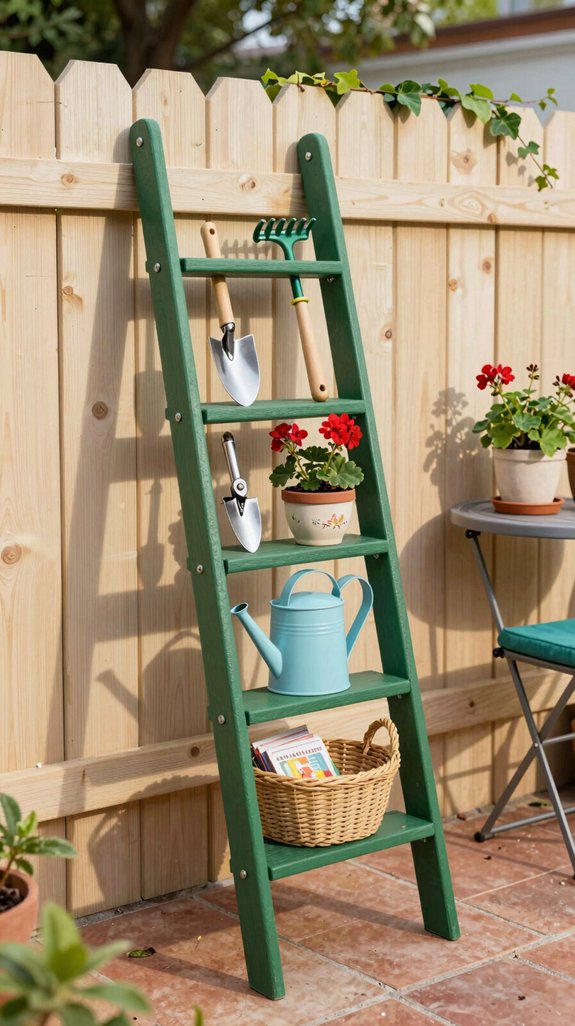
Even with limited yard space, you can turn a simple ladder into a sturdy vertical shelf that holds garden tools, pots, and décor while keeping everything within arm’s reach. First, select a weather‑treated ladder with evenly spaced rungs; secure it to a wall stud using heavy‑duty brackets to prevent sway. Attach a thin, slatted backing board to the ladder’s side for additional support and to keep pots from sliding. Hang hooks on lower rungs for trowels, gloves, and hoses; place shallow trays on middle rungs for seed packets and small planters. Top the shelf with a decorative basket for seasonal décor, ensuring each element remains accessible and visually balanced. This vertical storage approach maximizes your yard’s functionality without requiring permanent structural modifications.
Set Up an Affordable Smart Irrigation System
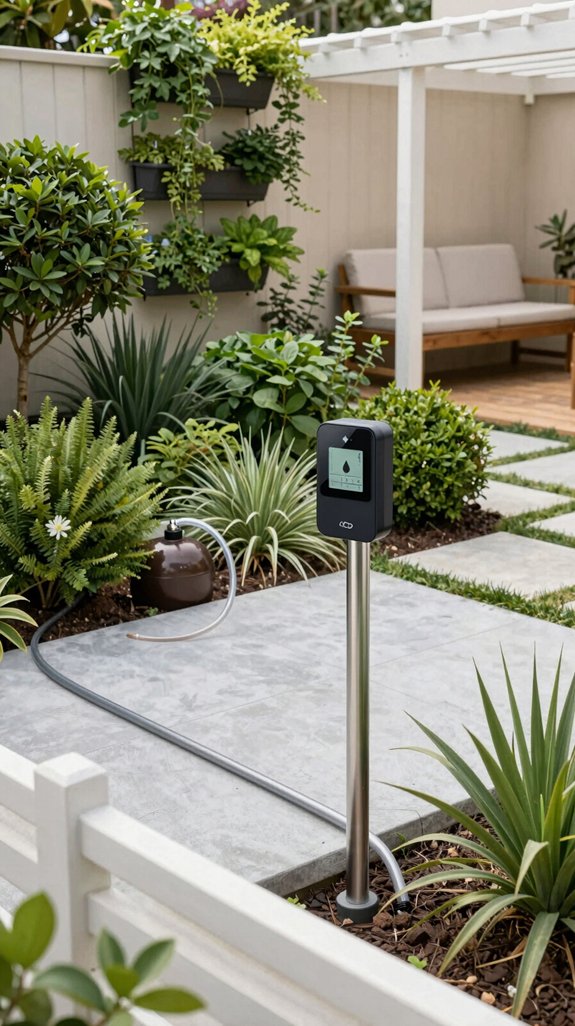
How can you keep your garden thriving while slashing water waste and costs? Start by mapping zones: group plants with similar moisture needs, then install a low‑cost Wi‑Fi valve kit that plugs into existing drip lines. Pair each valve with a soil‑moisture sensor calibrated to your climate. Use the app to set thresholds—when moisture drops below 30 percent, the valve opens for a timed burst; when it rises above 45 percent, it shuts off. Integrate a rain‑sensor to pause watering during storms. Schedule runs for early morning to reduce evaporation. Monitor usage via the dashboard, tweak intervals weekly, and keep the system under $150. To organize your outdoor space efficiently, consider adding stylish consoles to store garden tools and supplies near your irrigation station.
Create a Minimalist Zen Corner With Rocks and Succulents
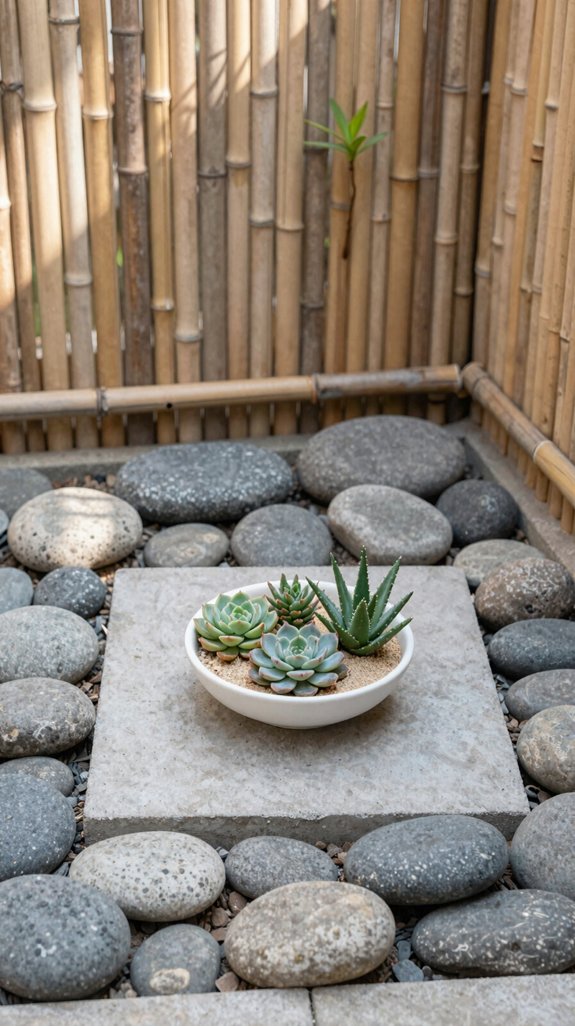
If you want a calming focal point that fits a small backyard, start by selecting a low‑maintenance container, a few smooth river stones, and a handful of drought‑tolerant succulents. Choose a rectangular, matte‑black pot that aligns with modern minimalism; its dimensions should occupy no more than 15 % of your patio’s floor area. Arrange stones in a shallow, asymmetrical pattern to suggest natural flow, then nest succulents between them, spacing each plant 2–3 inches apart for balanced density. Install a discreet, solar‑powered drip line that delivers 0.5 L per hour, ensuring moisture without overwatering. For optimal durability, select materials suited to outdoor exposure that can withstand weather variations and foot traffic in your garden design. This compact Zen corner maximizes visual serenity while preserving precious square footage.
Frequently Asked Questions
How Much Weight Can a Vertical Garden Wall Support?
You can typically load a vertical garden wall with 40‑80 lb per square foot, depending on frame material, mounting method, and plant medium; always check manufacturer specs and reinforce with sturdy brackets.
Can I Install a Fire Pit on a Wooden Deck Safely?
Yes, you can safely install a fire pit on a wooden deck—just treat it like a volcano on a trampoline. Use a heat‑resistant base, proper clearance, non‑combustible pads, and a fire‑stop barrier. Guarantee ventilation, keep a fire extinguisher nearby, and follow local building codes for safe, innovative outdoor living.
What Is the Best Material for a Retractable‑Canopy Pergola?
Aluminum’s the top choice for a retractable‑canopy pergola; it’s lightweight, corrosion‑resistant, and integrates easily with motorized tracks. You’ll get sleek durability, low maintenance, and the flexibility to innovate your outdoor space.
Do Modular Seating Cubes Require Special Anchoring?
You’ll absolutely need anchoring—otherwise those cubes will tumble like dominoes. Secure each module with ground‑spikes or concrete bases, then you’ll enjoy sturdy, modular flexibility that transforms any tiny backyard instantly.
How Often Should I Maintain a Recirculating Water Feature?
You should inspect and clean the pump, filter, and basin every two weeks, replace water quarterly, and check for algae or leaks monthly; this schedule keeps flow efficient and prevents system failures.