I’ll help you eliminate bedroom mold fast by tackling moisture at its source. Start by identifying affected areas through visual inspection and musty odors, then protect yourself with an N95 mask and gloves. Apply white vinegar or hydrogen peroxide directly to mold spots, allowing 10-15 minutes of contact time. Dry everything thoroughly within 24-48 hours using fans and dehumidifiers, keeping humidity between 30-50%. Follow up with anti-mold spray to prevent regrowth. For a thorough strategy that addresses stubborn spots and long-term prevention, the details ahead will guide your complete remediation process.
Why Bedroom Mold Grows: Moisture Control Explained
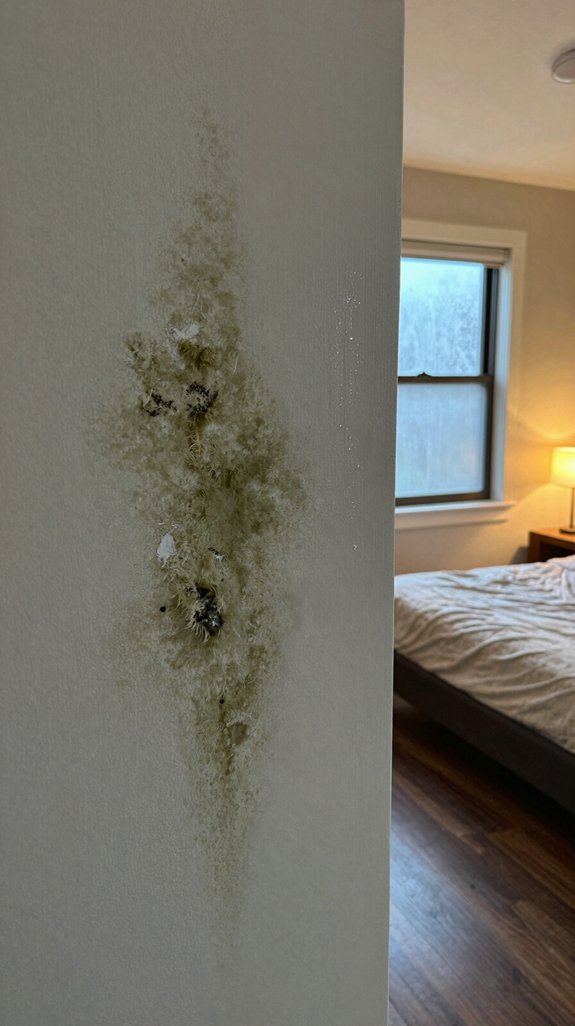
Understanding why mold thrives in bedrooms requires examining the moisture sources that create ideal growth conditions.
I’ve identified that everyday activities—cooking, bathing, and breathing—introduce water vapor that poorly maintained ventilation can’t adequately expel.
Temperature gradients between warm, humid air and cool surfaces trigger condensation, particularly on windows and behind furniture.
When relative humidity exceeds 80%, mold proliferates rapidly.
Additionally, design defects, inadequate exhaust systems, and ineffective maintenance compound these issues. Research indicates that poor housing conditions significantly contribute to mold growth in Australian homes, underscoring how structural and maintenance factors create environments where mold thrives.
Mold requires only moisture, organic food sources, and temperatures between 60-80°F—conditions your bedroom likely provides.

BRIGHTER RESULTS INSTANTLY: Noticeably brightens indoor and outdoor surfaces, removing black mold and mildew stains as you watch, with no scrubbing or pressure washing required for fast, visible results
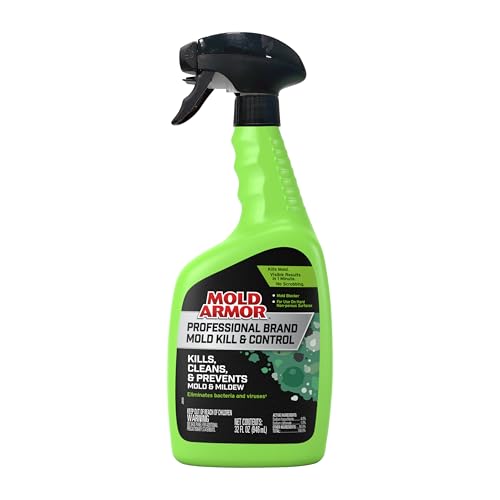
KILLS, CLEANS & PREVENTS MOLD AND MILDEW: Kill and clean up mold and mildew on your hard, non-porous surfaces with MOLD ARMOR Professional Brand Mold Kill & Control.

GET RID OF STUBBORN MOLD AND MILDEW STAINS: Our instant spray cleaner removes the stains left behind from black mold and mildew. They tend to leave behind ugly staining that can go deep below the surface; Our professional-strength spray is specifically formulated to eliminate discoloration caused by mold and mildew
Gather Your Mold Cleaning Supplies and Safety Gear
Before you tackle mold removal, you’ll need to assemble the right supplies and protective equipment to work safely and effectively.
I recommend gathering an N95 respirator, nitrile gloves, and protective eyewear to shield yourself from spores and irritants. For cleaning solutions, stock white vinegar, hydrogen peroxide, and baking soda—each targets different mold types.
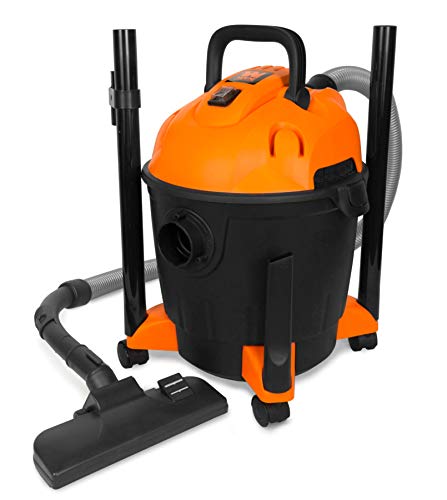
You’ll need spray bottles, microfiber cloths, and soft-bristled brushes for application. Don’t forget containment essentials: four-millimeter plastic sheeting, heavy-duty garbage bags, and a HEPA-filter vacuum.
Finally, organize three one-gallon buckets for rinsing and keep paper towels handy. Proper preparation guarantees efficient, protected mold elimination.

NIOSH-APPROVED N95 for at least 95 percent filtration efficiency against certain non-oil-based particles and aerosols

NIOSH APPROVED: For at least 95 percent filtration efficiency against certain non-oil based particles

NIOSH APPROVED for at least 95 percent filtration efficiency against certain non-oil based particles
Check How Bad the Mold Problem Is
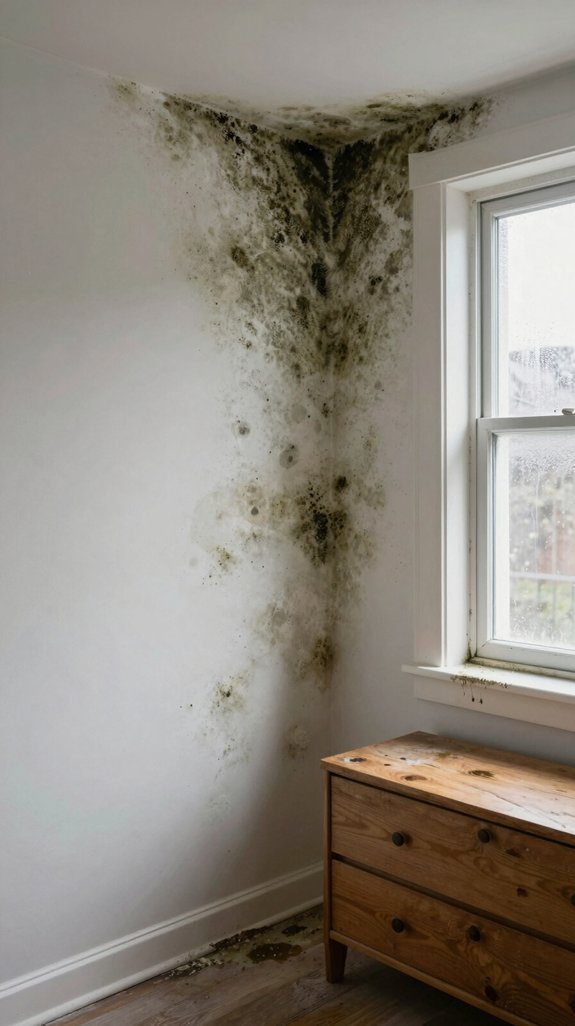
How extensive is your mold problem? I recommend a systematic assessment combining multiple detection methods.
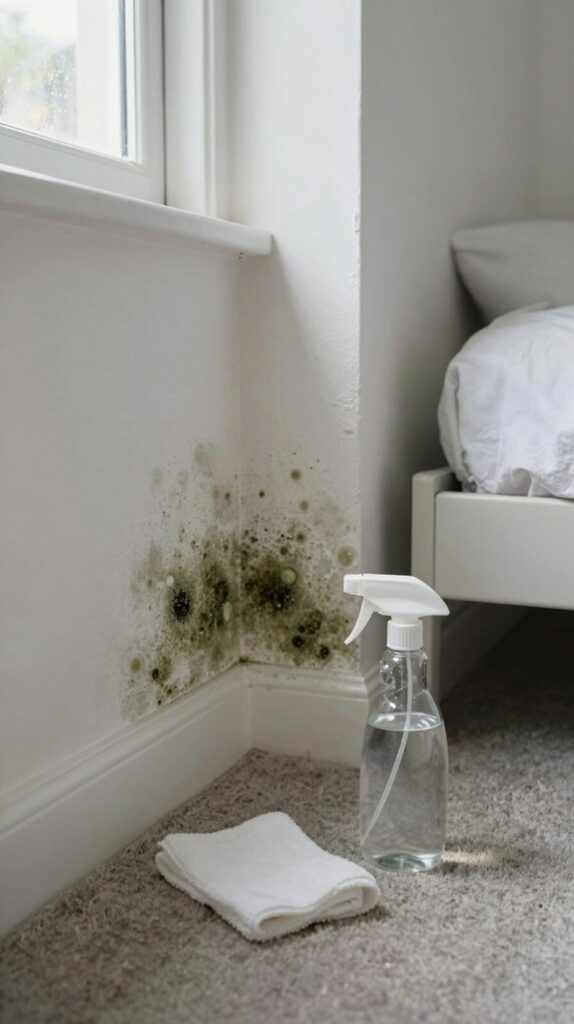
Start with visual inspection of walls, floors, ceilings, and closets for discoloration or growth. Next, I walk through rooms detecting musty odors that signal hidden mold.
Then I use moisture meters to measure dampness levels in affected areas—high readings indicate active mold conditions. For thorough evaluation, I consider air sampling to capture invisible airborne spores, comparing indoor levels against outdoor baselines.
This layered approach reveals the true scope before remediation begins, ensuring I allocate appropriate resources and methods for effective removal.

5% ACIDITY: Clear distilled white vinegar with a clean, sharp taste

EXCEPTIONAL RESULTS: Introducing Tillbrook Cleaning Vinegar—the perfect choice for natural cleaning and maintenance. Our powerful formula, made from 6% all-natural vinegar and infused with a fresh citrus scent, delivers an unmatched cleaning experience without unnecessary additives.
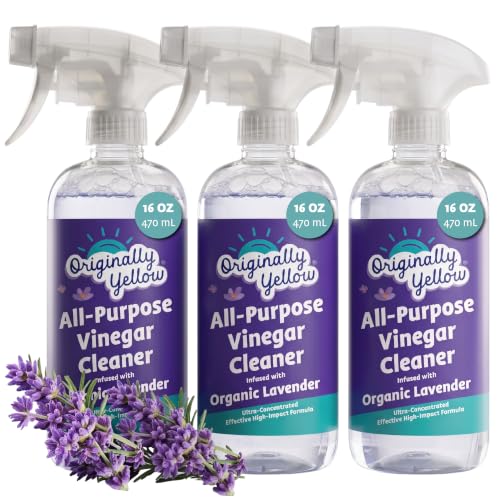
ALL-PURPOSE VINEGAR FOR CLEANING SPRAY - There’s nothing quite like a great all purpose cleaner spray for those quick cleanup tasks around the house. Originally Yellow’s vinegar spray combines the power of natural distilled white vinegar with certified organic lemon extract for a clean you can see, touch, and smell! No lingering vinegar odor, just a lemony-fresh aroma that will leave your home feeling squeaky clean.
Remove Mold From Surfaces With the Right Solution
I’ve identified four natural solutions that effectively eliminate mold from bedroom surfaces: distilled white vinegar, hydrogen peroxide, baking soda, and tea tree oil.
Vinegar penetrates porous materials where bleach fails, attacking mold membranes completely.
Vinegar penetrates porous materials where bleach cannot, completely attacking mold membranes for thorough elimination.
Three percent hydrogen peroxide produces visible bubbling action, requiring 10-15 minutes contact time.
Baking soda’s alkaline pH of 8-8.1 eliminates mold while absorbing moisture and odors.
Tea tree oil offers fungicide strength through a two-teaspoon-per-two-cups-water ratio, though it demands a 24-hour contact period.
Each solution addresses different severity levels and surface types, enabling you to select the most efficient approach for your specific mold situation.

Semiconductor dehumidifiers use thermoelectric cooling to remove moisture from the air. They create a drier, more comfortable environment by reducing humidity and improving air quality.

REUSABLE, ECO-FRIENDLY DESIGN: The Osmo Moisture Absorber features a refillable water tank, removing up to 44 fl oz of moisture from the air. Unlike disposable moisture absorbers such as hanging bags or crystals, our Moisture Absorber can be used over and over again, helping to reduce waste and improve your carbon footprint.

Quiet & High-Efficiency Dehumidifier: Featuring next-generation semiconductor cooling technology, this quiet dehumidifier delivers efficient moisture removal while running at ultra-low noise (≤40dB). Stable humidity levels are maintained, making your home environment more comfortable and pleasantly dry.
Dry Everything Thoroughly So Mold Doesn’t Come Back
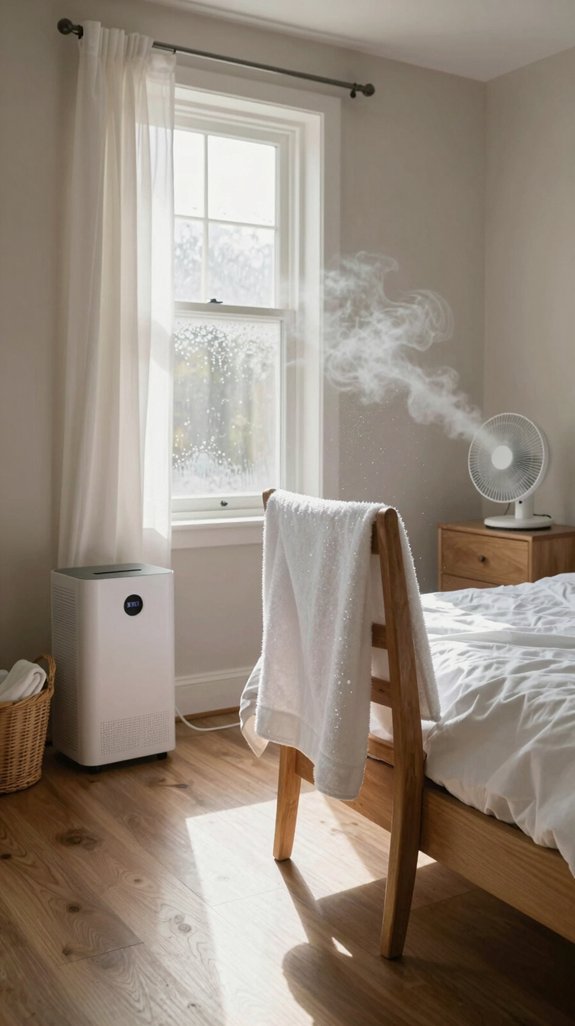
Drying your bedroom thoroughly after treating mold is just as critical as the cleaning itself, since moisture creates the perfect environment for mold to return.
I recommend deploying fans and dehumidifiers simultaneously to eliminate residual moisture within 24-48 hours.
Don’t overlook hidden areas—inspect behind walls, under flooring, and within closets where dampness persists undetected.
I also suggest opening windows for 5-10 minutes daily to facilitate air exchange while maintaining cross-ventilation with fans.
Position furniture 3-4 inches from walls to enable airflow across all surfaces.
Monitor humidity levels with digital hygrometers, maintaining 30-50% relative humidity to prevent recurrence effectively.

POWERFUL UPRIGHT VACUUM CLEANER: DuoClean PowerFins Technology combines two brushrolls—a PowerFins and soft roller—for nonstop contact to deep clean carpets and area rugs, directly engage hard floors, and pick up more debris in every pass (vs. original DuoClean)
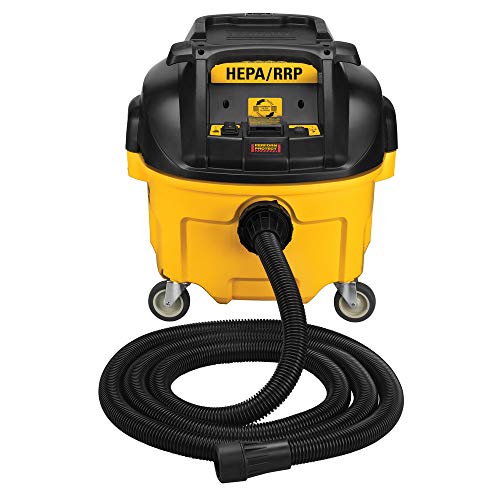
Automatic Filter Clean of the dust extractor pulses every 30 seconds for continuous operation without stopping to clean filter

【High-Efficiency Deep Cleaning】Our UV mattress vacuum cleaner features a powerful 500W motor, providing 16kPa of strong suction and 30,000 RPM high-frequency tapping. It penetrates deeply into mattresses and fabric layers, effectively removing fine dust, skin flakes. Keep your mattress and sofa consistently fresh and clean, creating a healthier sleep environment and allowing you to enjoy a healthier home life. (NOTE: Not suitable to absorb pet hair)
Handle Stubborn Mold Spots That Won’t Budge
Even after you’ve dried your bedroom thoroughly and eliminated moisture, some mold stains stubbornly resist initial cleaning efforts.
I’ve found that layered approaches work best for these persistent spots. Start by spraying vinegar or hydrogen peroxide directly onto affected areas and let them soak for an hour.
Next, apply a baking soda paste and scrub firmly with a brush.
For severe stains, I recommend commercial biocides like Essential Oxide, which penetrate porous surfaces and prevent regrowth.
The key’s combining multiple techniques—spray, soak, scrub—rather than relying on single applications.

Eliminates & Helps Prevent Mold: Targets existing mold at the source and leaves behind an invisible barrier that helps prevent future growth.

MOLD REMOVER: One 32 fl. oz. spray bottle of Clorox Plus Tilex Mold and Mildew Remover that harnesses the power of Clorox bleach to kill mold and mildew

BRIGHTER RESULTS INSTANTLY: Noticeably brightens indoor and outdoor surfaces, removing black mold and mildew stains as you watch, with no scrubbing or pressure washing required for fast, visible results
Know When to Discard Items Instead of Cleaning
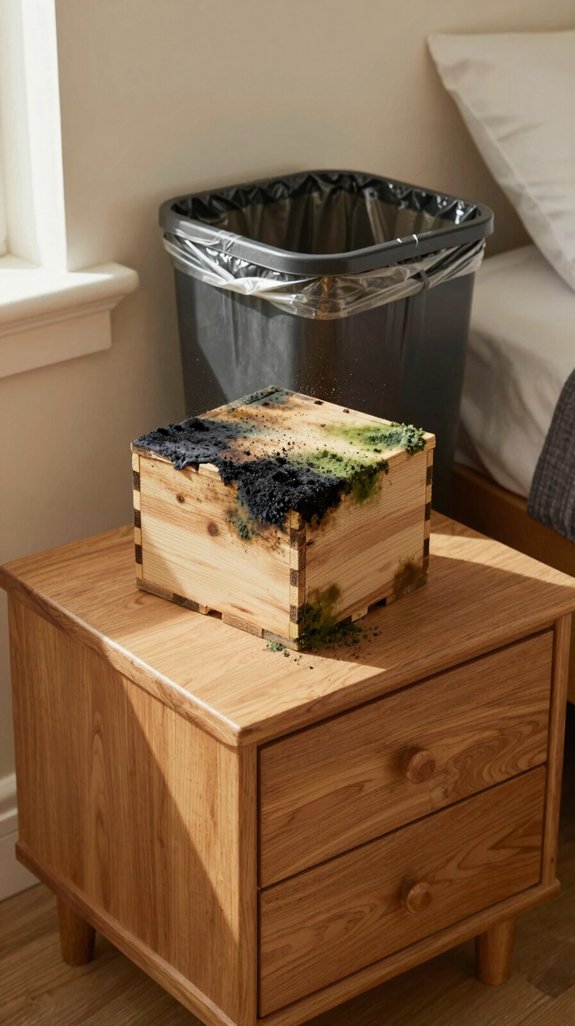
While stubborn mold stains sometimes yield to aggressive cleaning, you’ll often find that certain items can’t be salvaged and must be discarded entirely.
Stubborn mold stains may sometimes respond to aggressive cleaning, but many items prove unsalvageable and require complete disposal.
I recommend disposing of porous materials like drywall, insulation, and carpet that’ve absorbed mold from water damage. You’ll also need to discard paper-based items, submerged belongings, and food-related products.
Non-porous surfaces—plastic, glass, sealed wood—remain salvageable through damp wiping with detergent. Document affected items photographically for insurance purposes.
Seal contaminated materials in doubled contractor bags, twisted and taped shut, then check local disposal guidelines for hazardous waste requirements in your area.

NIOSH-APPROVED N95 for at least 95 percent filtration efficiency against certain non-oil-based particles and aerosols

NIOSH-APPROVED: 3M Particulate Filter 2097, P100 provides at least 99.97% filtration efficiency against solids and liquid aerosols, as well as oil-based particulates
NIOSH-APPROVED N95 for at least 95 percent filtration efficiency against certain non-oil-based particles and aerosols
Stop Moisture So Mold Doesn’t Return
Now that you’ve removed existing mold and discarded contaminated items, I’ll help you establish the moisture controls that’ll prevent mold from returning to your bedroom.
You’ll maintain humidity between 30-50% using hygrometers and deploy dehumidifiers strategically. Open windows regularly for fresh air circulation, and use exhaust fans to extract moisture from adjacent spaces.
Fix any leaks immediately—within 24-48 hours—and dry wet areas thoroughly. Position furniture away from walls to enable airflow, avoid overfilling storage spaces, and keep your bedroom temperature at minimum 16°C. For stubborn stains left behind after mold removal, consider using effective surface cleaners to restore your walls to their original condition.
These systematic interventions create an environment where mold simply can’t survive or resurface.
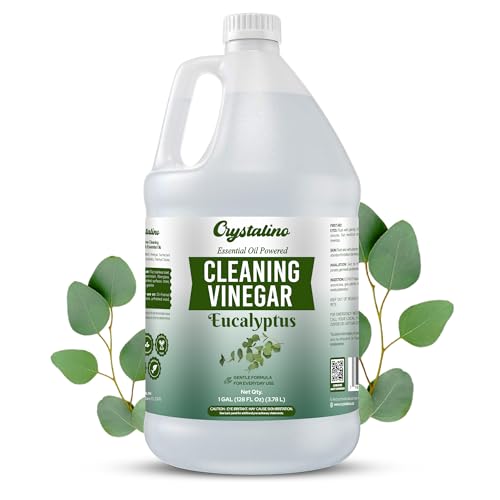
Crystalino Essential Oil Infused Vinegar Gallon Bottle For Bulk Cleaning Application; Use Distilled Vinegar For Cleaning Purposes & Enjoy The Powerful Yet Soothing Cleaning Power Of Essential Oils
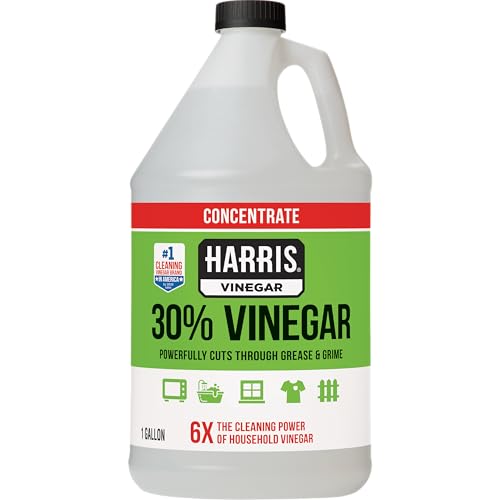
Powerfully cuts through grease & grime for an easily customizable, whole-home clean.

VINEGAR FOR CLEANING PURPOSE | Originally Yellow’s all-purpose cleaning vinegar works as a bathroom cleaner, glass cleaner, and floor cleaner in one. Made with safer ingredients that include natural white vinegar and organic Lavender extract, it cuts through grime without the harsh vinegar smell—just a fresh Lavender scent.
Check Your Bedroom Weekly for New Mold
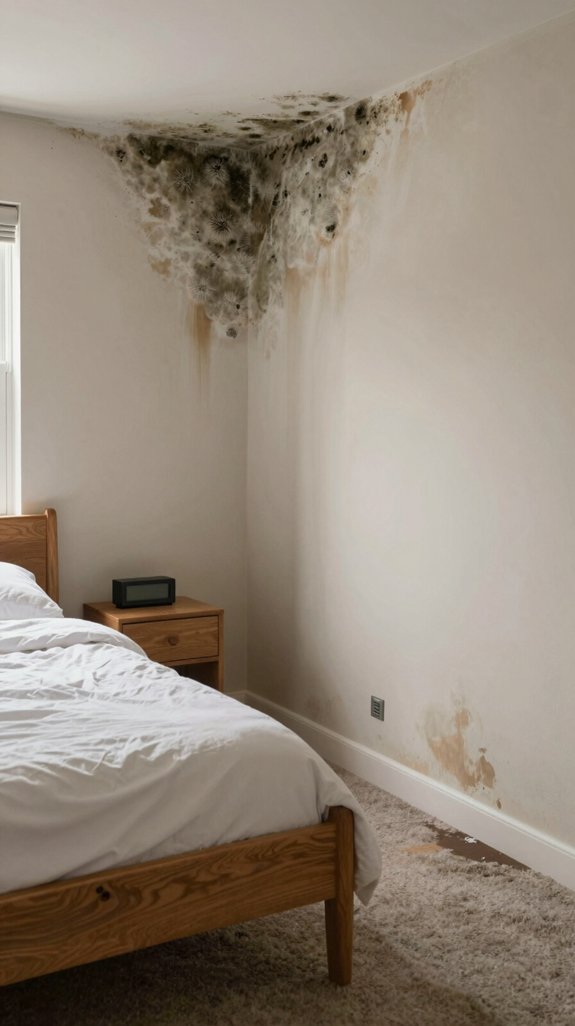
Your weekly bedroom inspections are the frontline defense against mold’s return, catching early growth before it becomes a serious problem.
I recommend systematically scanning corners, windows, and furniture for black or green spots. Pay attention to discoloration on walls, ceilings, and drywall—these signal active colonies.
Don’t overlook musty odors; they often precede visible growth. I’ve found that correlating respiratory symptoms like coughing or congestion with bedroom time reveals hidden mold exposure.
This proactive approach identifies contamination early, preventing costly remediation later. Document findings weekly to track patterns and trigger professional testing when necessary. Maintaining a clean aesthetic in your bedroom through regular inspections also helps you notice any new mold growth immediately.

High Efficient Dehumidifiers for Home: This compact 44oz dehumidifier efficiently removes excess moisture in rooms with 86°F and 80% RH, collecting up to 11.8oz (349ml) of water in 24 hours. It maintains an ideal humidity level of 45%-55% while operating at ultra-low energy consumption (24W/hour, 576W/day). Perfect for bedrooms, bathrooms, and small spaces.

✔ EASY TO USE: This mini dehumidifier is spill and mess free. Just hang and go! Non-toxic, child and pet safe! Your small rooms will be dry and odor free. Works for areas up to 333 cubic feet.
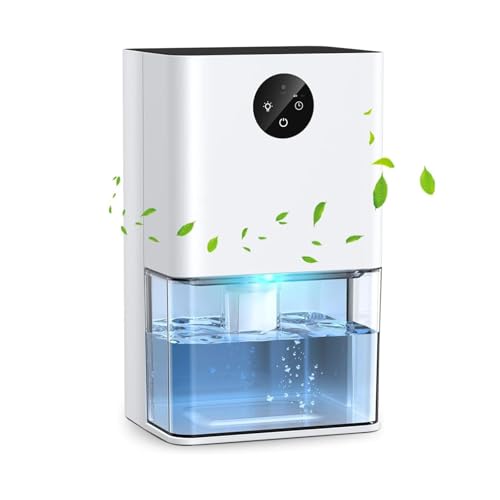
High Efficient Dehumidification for Home: The DY501 dehumidifier removes excess moisture effectively in closed small rooms with humid environments of 86F and 80% RH, collecting a maximum of 400ml of water in 24 hours with very low energy consumption (no more than 1-kilowatt hour a day)
Frequently Asked Questions

OPTIMIZED DESIGN FOR ENHANCED CLEANING: Ensures a thorough cleaning experience by targeting fine dust and particles with powerful suction and advanced filtration
F9 HEPA filter helps fight pet dander and fine dust particles as small as 0. 3 microns

EVERY PURCHASE SAVES PETS. BISSELL proudly supports the BISSELL Pet Foundation and its mission to help save homeless pets. When you buy a BISSELL product, you help find a home for a pet in need.
Can I Use Bleach to Remove Mold From My Bedroom Surfaces?
I’d recommend bleach only for hard, non-porous surfaces like glass or tile, applying a ⅓ cup per gallon solution with ten minutes contact time. For porous materials like drywall or carpet, I’d avoid bleach entirely—it won’t penetrate deep enough.
What Should I Do With Moldy Porous Materials Like Carpet or Ceiling Tiles?
I’d dispose of heavily contaminated carpet and ceiling tiles—they’re beyond saving. Double-bag them in thick plastic before removal to contain spores. Porous materials absorb moisture deeply, compromising structural integrity irreversibly.
How Long Does Each DIY Cleaning Solution Need to Sit Before Scrubbing?
I’ll guide you through ideal dwell times for maximum efficacy. Vinegar requires one hour minimum; baking soda paste needs full dryness; grapefruit seed extract sits 10–15 minutes; bleach demands 10–20 minutes outdoors only.
Which Mold Removal Solution Is Safest to Use First on Delicate Surfaces?
I’d recommend starting with distilled white vinegar—studies show it eliminates 82% of common household molds. It’s gentler than alternatives, won’t damage delicate fabrics, and you’ll apply it systematically using soft circular motions.
When Should I Consult a Specialist Instead of Cleaning Mold Myself?
I’d recommend consulting a specialist when mold exceeds 10 square feet, you’re experiencing health symptoms, it’s hidden within walls or HVAC systems, or you’ve suffered water damage. Professional expertise prevents incomplete removal.