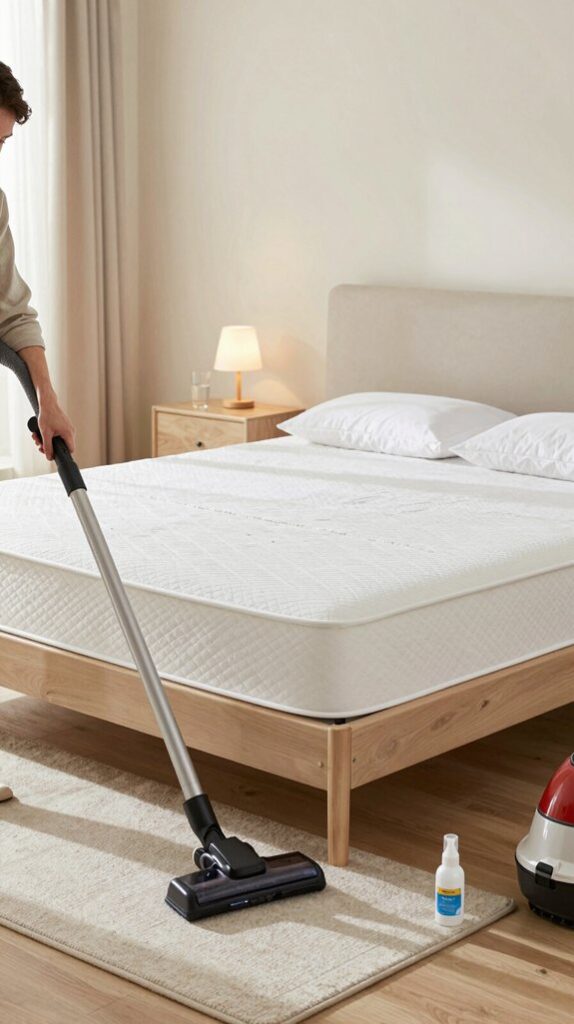
If you’re dealing with bed bugs, start by vacuuming your mattress and box springs thoroughly, then wash bedding in hot water. Decluttering helps eliminate hiding spots, and sealing cracks makes your space less inviting. Use steam treatments to kill bugs on contact, and consider diatomaceous earth for added protection. Be sure to monitor for any signs of resurgence. If these steps seem overwhelming, I’ve got more tips to help you effectively tackle this issue.
Swift Summary
- Vacuum the mattress, box spring, and bed frame thoroughly; dispose of the vacuum bag outdoors in a sealed bag.
- Wash bedding and clothes in hot water for at least 30 minutes, then dry on high heat for another 30 minutes.
- Declutter the room to eliminate hiding spots; seal infested clothing in plastic bags to prevent spread.
- Apply diatomaceous earth in cracks and crevices, focusing on seams and edges for effective treatment.
- Consider professional help if live bed bugs or fecal stains persist despite DIY efforts.

Premium Mattress Encasement: Designed to perfectly fit Queen size mattresses measuring 60 inches by 80 inches, with an 12 inch deep pocket for a snug, secure fit.

Premium Mattress Encasement: Designed to perfectly fit Queen size mattresses measuring 60 inches by 80 inches, with an 10 inch deep pocket for a snug, secure fit.

Premium Mattress Encasement: Designed to perfectly fit Twin size mattresses measuring 39 inches by 75 inches, with an 12 inch deep pocket for a snug, secure fit.
Immediate Steps to Eliminate Bed Bugs
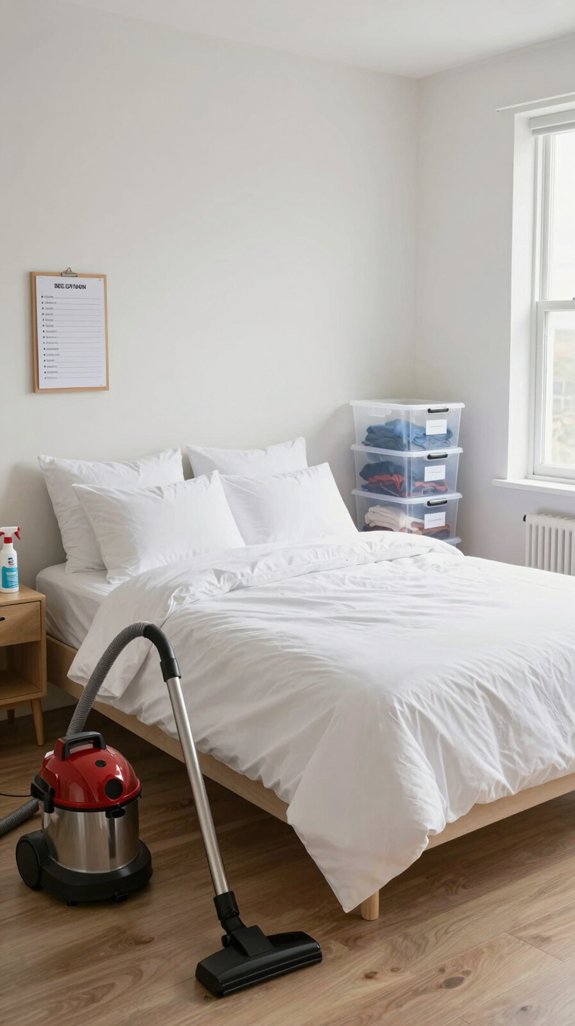
To tackle a bed bug infestation effectively, I recommend starting with immediate actions that can greatly reduce their presence.
First, vacuum your mattress, box spring, and bed frame thoroughly, including nearby furniture and curtains. Use a bagged or canister vacuum, and be sure to clean it right after use—empty it outdoors in a sealed bag to avoid any escapees.
Next, wash all bedding and clothes in hot water for 30 minutes, and dry them on high heat for another 30.
Decluttering is essential, so remove unnecessary items from your room, sealing infested clothing in bags.
Finally, seal cracks in furniture and use bed bug-proof encasements on your mattress to trap any lingering bugs.
These steps create a solid foundation for eradication.

Powerful Steam Cleaner: This steam cleaner heats up in just 15 seconds, releasing high-temperature steam at 221°F (105°C) and 3 bar of pressure, instantly dissolving stubborn grease, grime, stains, and bacteria. With a power output of 1500 watts, it effortlessly removes dirt and is a reliable helper for everyday household cleaning

High Pressure Steam Cleaner:This hand held steam cleaner packs a 1500W motor, heating up super fast to 221°F (105°C) in just 15 seconds and blasting out 4Bar high-pressure steam for that deep, thorough clean.The combo of high heat and pressure blasts away tough stains on tiles, grout, fabrics, kitchen grease, bathroom surfaces—anywhere! This steam cleaner for home delivers pro-level deep cleaning!

EVERY PURCHASE SAVES PETS. BISSELL proudly supports BISSELL Pet Foundation and its mission to help save homeless pets.
Identify the Signs of a Bed Bug Infestation
When it comes to spotting a bed bug infestation, I’ve learned to recognize the signs early on.
Itchy bites, rusty stains on sheets, and tiny black dots are just a few indicators that can help me pinpoint the problem.

✅ OMRI Listed for Organic Use – Certified by the Organic Materials Review Institute, ensuring compliance with strict organic standards for safe gardening and farming.

✅ OMRI Listed for Organic Use – Certified by the Organic Materials Review Institute, ensuring compliance with strict organic standards for safe gardening and farming.
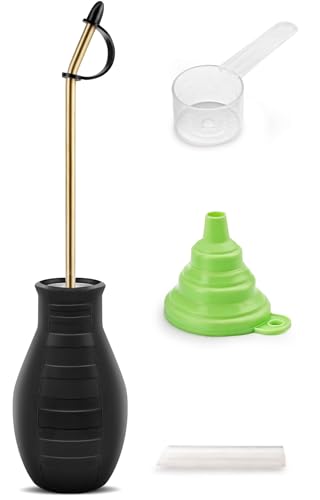
Large-Capacity Design: This Bug bulb duster has a large dust holding capacity and its wide bulb container minimizes refilling. This versatile powder spreader is ideal for applying diatomaceous earth, for gardening, lawn care, and termite control.
Common Bed Bug Signs
Identifying the signs of a bed bug infestation is essential for effective treatment and prevention.
First, keep an eye out for itchy, red welts on your skin, often arranged in clusters or zigzags. You might also notice small reddish stains on your sheets, caused by crushed bed bugs during the night.
Tiny black or dark brown fecal spots can appear on your bedding or in the seams of your mattress—these are usually hard to wipe away.
Additionally, if you find pale yellow eggs or shed skins, it’s a strong indication of an infestation.
Finally, a sweet, musty odor near your bed can signal their presence. Staying vigilant allows for quick action and effective eradication.
Physical Identification Techniques
While searching for bed bugs, I focus on specific physical traits that make them identifiable.
Adult bed bugs, about the size of an apple seed, measure 4-5 millimeters and have flat, oval bodies that range from brown when hungry to reddish-brown post-feeding. I also check for their six legs and short antennae.
Nymphs, much smaller and often translucent, can complicate detection, but look for their telltale black spots after feeding.
I keep an eye out for black fecal spots on mattresses and rust-colored stains on fabrics, which signal a presence.
Finally, I meticulously inspect mattress seams, bed frames, and other tight spaces, ensuring I leave no stone unturned in the fight against these pests.
Understand the Life Cycle of Bed Bugs
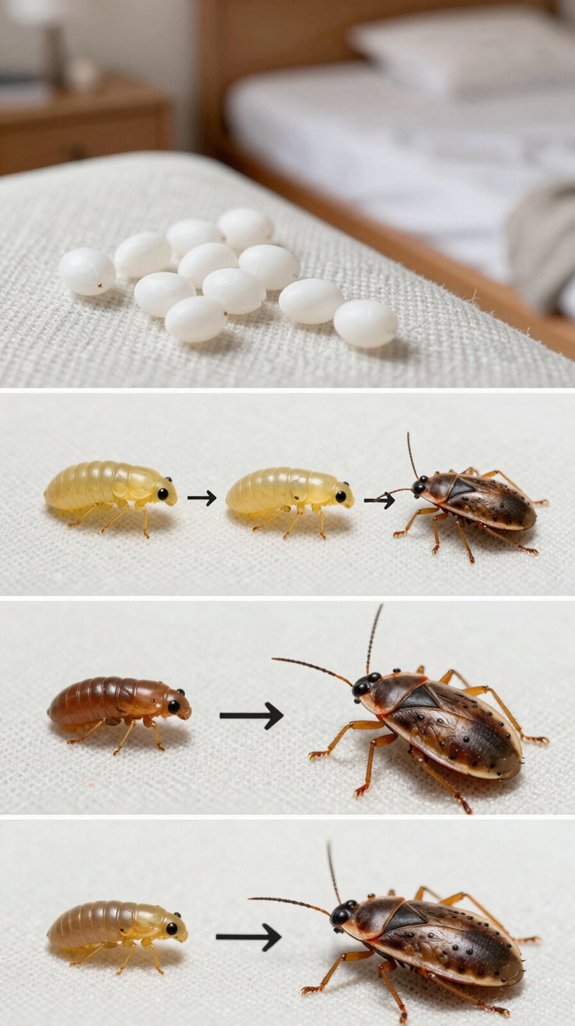
Understanding the life cycle of bed bugs is vital for effective control and prevention. These pests begin their journey as tiny, milky-white eggs, which a female lays in clusters, often in cracks and crevices. Under ideal conditions, these eggs hatch within 6 to 10 days, leading to nymphs that need a blood meal to grow through five molting stages.
This entire cycle can take as little as 21 days, allowing infestations to escalate rapidly. Adults, resembling apple seeds, can live up to 18 months, feeding roughly once a week. Their prolific reproduction means a single female can produce hundreds of eggs, making early detection and intervention essential to keeping these unwanted guests at bay.

ADVANCED ALLERGY PROTECTION: AllerEase protectors offer complete barrier protection from pet dander and dust collecting in your pillow.

Premium Material: Made Of Premium Microfiber Polyester Flannel Material. Our Throw Blanket Is Super Soft, Durable, Warm And Lightweight. Suitable For All Seasons

Boho Design: Colorful bohemian pattern featuring abstract shapes and circular accents brings warmth and free-spirited charm to your bedroom decor; ideal for boho-style spaces
Prepare Your Bedroom for Effective Treatment
To effectively tackle a bed bug problem, I need to prepare my bedroom with careful attention.
First, I’ll declutter my space to eliminate hiding spots.
Then, I’ll isolate any infested items to prevent spreading.
Finally, I’ll make certain treatment areas are clear and accessible for a thorough approach.

5-pack of Large size vacuum storage compression bags for storing off-season clothes, towels, linens, and more

Dirt Disposal Bags hold dirt and dust so you don’t have to think about vacuuming for weeks at a time.

Ultimate Space Reduction: Our vacuum mattress bags are professionally engineered to compress your mattress by up to 80%, significantly simplifying storage and transportation.
Declutter Your Space
Decluttering your space is essential, as it directly impacts the effectiveness of bed bug treatments. By removing unnecessary items, I create fewer hiding spots for these pests, making inspections much simpler.
I’ve found that keeping floors clear and minimizing clutter not only boosts treatment success but also exposes bed bugs lurking in crevices.
Daily vacuuming is key; I focus on the mattress, bed frame, and baseboards, ensuring I reach those tricky nooks.
After vacuuming, I always empty the bag immediately or seal it in the freezer for a few days. By sealing cracks and crevices, I block potential entry points, keeping my bedroom a safer haven.
This proactive approach transforms my space into an effective battleground against bed bugs.
Isolate Infested Items
Isolating infested items is crucial for effectively tackling a bed bug problem. I start by sealing sheets, clothing, and curtains in airtight plastic bags or containers—this prevents any pesky eggs from escaping.
For bedding, I double bag it before washing in hot water and drying for at least 30 minutes, discarding the inner bag afterward. Items that can’t be treated need sealing too; leaving them isolated for up to a year guarantees any remaining bugs die off.
To protect my mattress and box springs, I install encasements that trap any bugs inside. Finally, I elevate the bed frame using interceptors to catch any that try to climb back up. This proactive approach sets the stage for effective treatment.
Prepare Treatment Areas
After isolating infested items, I focus on preparing the treatment areas to guarantee a successful eradication of bed bugs.
First, I strip all bedding—sheets, blankets, and pillowcases—sealing them in plastic bags for hot water washing and high-heat drying.
I declutter surfaces and floors, removing shoes, toys, and books, and I shake out accessories before sealing them in bags.
Then, I vacuum thoroughly, targeting carpets, mattresses, and furniture, ensuring to empty the vacuum contents into a sealed bag outside.
I move my bed at least six inches from the wall and apply bed-bug-proof encasements.
Finally, I clear access to furniture, unplugging electronics, and covering delicate items, creating a clean slate for effective treatment.
Use Steam Treatment for Fast Results
Steam treatment is one of the most effective methods for tackling bed bug infestations quickly and efficiently. I’ve found it to be a game-changer in my battle against these pests.
Steam treatment is a game-changer in effectively tackling bed bug infestations quickly and efficiently.
Here’s why you should consider it:
- Immediate results: Kills all life stages, including eggs, on contact.
- Chemical-free: Safe for children, pets, and those with allergies.
- Deep penetration: Reaches cracks, fabrics, and upholstery where sprays fail.
- Cost-effective: Ideal for minor infestations, reducing the need for professional help.
- High efficacy: Studies show steam can achieve up to 100% mortality rates.

Premium Mattress Encasement: Designed to perfectly fit Full size mattresses measuring 54 inches by 75 inches, with an 12 inch deep pocket for a snug, secure fit.

360° Coverage Protection - Fits 60 inches by 80 inches queen size mattress up to 15 inches deep, fully encasing all sides. The stretchy fabric slips on easily and stays securely in place without shifting. Refer to the installation video below for step-by-step guidance.

360° Coverage Protection - Fits 54 inches by 75 inches full size mattress up to 13 inches deep, fully encasing all sides. The stretchy fabric slips on easily and stays securely in place without shifting. Refer to the installation video below for step-by-step guidance.
Apply Plant-Based Insecticides for Quick Control
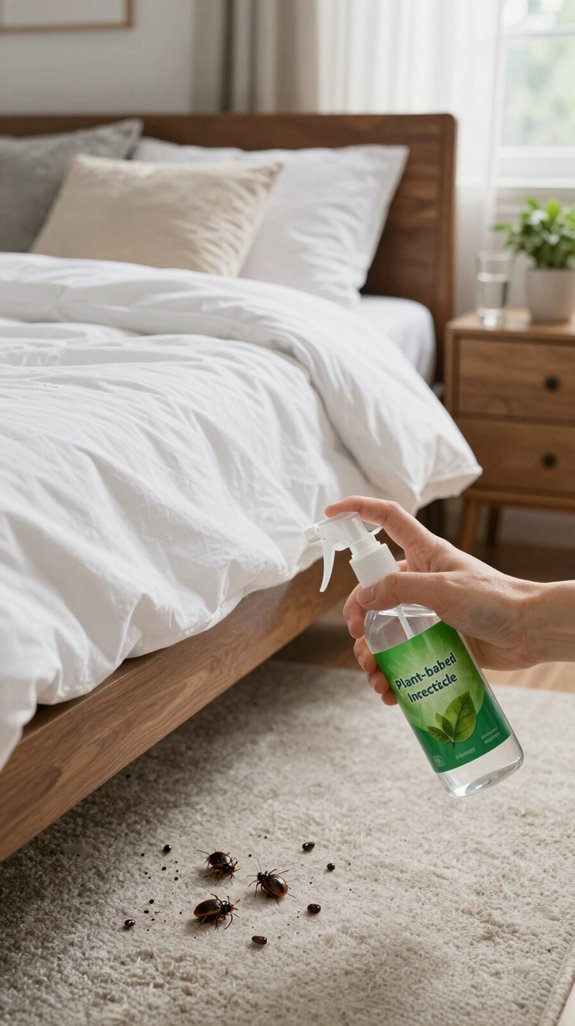
When it comes to quickly controlling bed bugs, applying plant-based insecticides can be a powerful ally in your fight against these persistent pests.
For instance, Cedarcide kills bed bugs within a minute of direct application, achieving 90% mortality across various strains. EcoRaider is another effective option, showing 100% mortality after ten days, making it a solid choice for long-term control.
Essential oils, like thymol and carvacrol, enhance effectiveness against resistant strains, particularly when combined with other agents. Products like Bed Bug Patrol and cold-pressed neem oil also offer promising results.

Powerful Steam Cleaner: With 1050 watts of steam power, can heat up in 3-5 minutes fast to emit 239 ℉(115 ℃) of pressurized powerful hot steam, it is great for cleaning all kinds of grease, dust and stains

PROFESSIONAL 1500W STEAM CLEANING POWER - Heavy-duty canister steam cleaner for home use delivers 65 PSI high-pressure steam up to 275℉, penetrating deep into grout lines, tile surfaces, and hardwood floors to effectively tackle stubborn stains and baked-on grease without harsh scrubbing and solutions. Perfect multipurpose steamer for whole-home deep cleaning, more effective than traditional mops.

High Pressure & High Temperature Steam Cleaner: Powered by 2500W motor, this steam cleaner for home delivers up to 3 bar of pressurized steam; Reaching 221°F in just 15 seconds, it effectively tackles stubborn grime, grease, and bed bugs on floor, couch, mattress, window, furniture, gas stove, range hood and car engine; Chemical-free cleaning ensures no harmful fumes or residues, making it a safe and efficient tool for home and auto maintenance
Ensure Lasting Results With Diatomaceous Earth
When it comes to using diatomaceous earth for bed bug control, I’ve found that proper application is key to achieving lasting results.
It’s crucial to focus on safety precautions, too, to minimize any risks to yourself and your home.
Let’s explore the best techniques for application and how to use this powerful powder effectively.

WITH 8.8IN LONG COPPER TUBE EXTENSION NOZZLE : Your multi-purpose powder applicator comes with a soft non-slip silicone bulb and long rust-resistant copper lance, ideal for diatomaceous earth application, gardening, lawn care, and termite. The d

WITH 8.8IN LONG COPPER TUBE EXTENSION NOZZLE : Your multi-purpose powder applicator comes with a soft non-slip silicone bulb and long rust-resistant copper lance, ideal for diatomaceous earth application, gardening, lawn care, and termite. The detachable copper nozzle makes cleaning, refilling, and storage hassle-free.

✅ OMRI Listed for Organic Use – Certified by the Organic Materials Review Institute, ensuring compliance with strict organic standards for safe gardening and farming.
Application Techniques and Tips
Applying diatomaceous earth effectively can make all the difference in your battle against bed bugs. Here are some techniques I’ve found invaluable:
- Use a bulb duster to apply powder into cracks and crevices.
- Target outlet gaps with a plastic spoon or duster for precision.
- Scoop and place the powder along wall edges and seams.
- Push the powder deep into furniture crevices using the right applicator.
- Apply under the bed frame and along mattress seams for maximum coverage.
Safety and Precautions
To guarantee the effectiveness of diatomaceous earth in your bed bug battle, it’s essential to prioritize safety and precautions.
I always wear a dust mask and eye protection while applying it, ensuring I minimize inhalation and skin contact. Opt for pesticide-grade diatomaceous earth, as it considerably reduces health risks.
Keeping children and pets away from treated areas is vital, too. Before application, I clean surfaces thoroughly to enhance contact with bed bugs and follow the label directions meticulously.
Remember, diatomaceous earth works best as part of a broader strategy, so I avoid repeated applications that could lead to resistance.
After use, I remove any excess to prevent ongoing exposure, ensuring lasting results in my fight against these pests.
Using Professional-Grade Insecticides for Effective Control
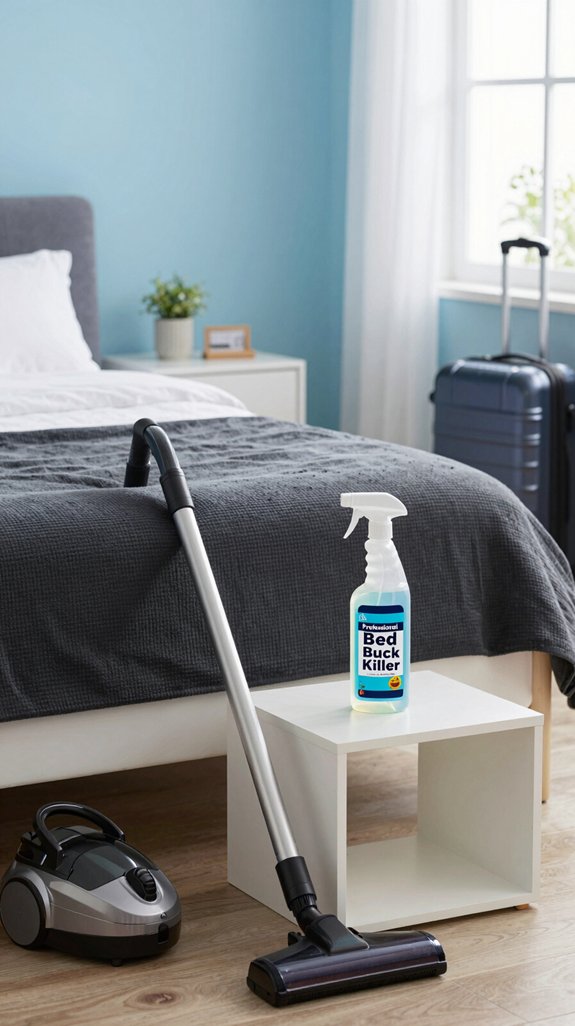
While tackling a bed bug infestation can feel overwhelming, using professional-grade insecticides can greatly enhance your control efforts. I’ve found that selecting the right formulations is key.
Tackling a bed bug infestation can be daunting, but professional-grade insecticides significantly improve your control efforts.
Here’s what to take into account:
- Isocycloseram: Highly effective with 100% mortality after 30 days.
- Pyrethroid Combinations: Mixing with oils like thymol boosts effectiveness against resistant bugs.
- Insect Growth Regulators: Use methoprene carefully; it’s not foolproof but can aid in management.
- Application Method: Target all life stages, and guarantee thorough coverage.
- Resistance Management: Rotate insecticide classes to prevent reduced sensitivity.

HOT SLEEPER SHEETS SETS: The bedding brand specifically designed for those who struggle with overheating at night. Whether you're experiencing hot flashes due to menopause or simply a naturally hot sleeper, our unique range of cooling sheets will help you sleep at a comfortable temperature all year round.

QUALITY COTTON CONSTRUCTION: Crafted with a 100% cotton face and reverse for a soft, breathable feel and filled with 80% cotton and 20% polyester for lightweight warmth and durability. Pre-washed for added softness and comfortable year-round layering.

HOT SLEEPER SHEETS SETS: The bedding brand specifically designed for those who struggle with overheating at night. Whether you're experiencing hot flashes due to menopause or simply a naturally hot sleeper, our unique range of cooling sheets will help you sleep at a comfortable temperature all year round.
Explore Freezing Methods for Sensitive Items
When it comes to tackling bed bugs, freezing can be a surprisingly effective method, especially for sensitive items.
I’ve learned that maintaining the right temperatures and durations is essential for ideal results.
Let’s explore which items can benefit from freezing and how to do it safely.

15-pack of assorted size vacuum storage compression bags for storing off-season clothes, towels, linens, and more

【Compatible Models】STANLEY vacuum bags are designed for 4-5 gallon wet/dry vacuums including STANLEY SL18130P, SL18133, and SL18129 models. Size: 25.6 * 11.8 inch, port interface diameter: 1-1/4 inch

HEAVY DUTY AND PUNCTURE PREVENTION - 200 pack of 8 by 12 inch precut bags with embossed channels to increase suction, with a cutter box for cutting and storage, keep fresh without freezer burn or dehydration
Effective Freezing Temperatures
If you’re struggling with bed bugs and need to tackle sensitive items, freezing can be an effective method. Here are some key points to keep in mind for successful freezing:
- Temperatures below −15°C kill all life stages within 3.5 days.
- At −20°C, just 48 hours is needed for complete control.
- Use sealed plastic bags to prevent moisture damage.
- A household freezer averaging −17.8°C can effectively eradicate bed bugs in about four days.
- Consistent temperatures are essential; avoid fluctuations for best results.
Duration for Optimal Results
Freezing isn’t just about hitting the right temperatures; it’s also about how long you expose items to that cold for ideal results.
I’ve found that for complete bed bug eradication, you’ll want to freeze items at -16°C for a minimum of 80 hours. If your freezer dips below -20°C, you can achieve 100% mortality in just 48 hours.
Household freezers, typically around -13.7°C, require 2-5 days for effective treatment. I recommend sealing items in plastic bags and letting them sit for about four days to guarantee thorough exposure.
Once you take them out, wait until they reach room temperature before opening the bags. This method not only eliminates pests but also helps prevent re-infestation.
Items Suitable for Freezing
Many items around your home can be effectively treated for bed bugs through freezing, making it a practical solution for pest control.
Here are some items you can safely freeze:
- Clothing and small fabric items sealed in bags
- Linens and bedding in plastic bags
- Stuffed toys and pillows that fit in the freezer
- Books and paper items protected from moisture
- Small personal belongings, like shoes, in sealed containers
Freezing is especially useful for sensitive items.
It’s an innovative way to eliminate pests without harsh chemicals.
Just make sure to seal your items properly to prevent moisture damage.
Cryo Treatments: Quick Solutions for Bed Bugs
While tackling a bed bug infestation can feel overwhelming, cryo treatments offer a swift and effective solution. These innovative methods use frozen carbon dioxide at -110°F to instantly freeze bed bugs, causing thermal shock that ruptures their cells.
The fine, snow-like substance reaches cracks and crevices, ensuring no bug escapes.
What’s remarkable is that cryo treatments kill bed bugs at all life stages—eggs, nymphs, and adults—without the risk of resistance development. Plus, they’re chemical-free, making them safe for homes, schools, and sensitive environments.
The treatment can cover up to 1,200 square feet in just a few hours, allowing you to reclaim your space quickly. Just remember, combining this with other methods enhances long-term effectiveness.
Vacuuming Techniques for Efficient Removal
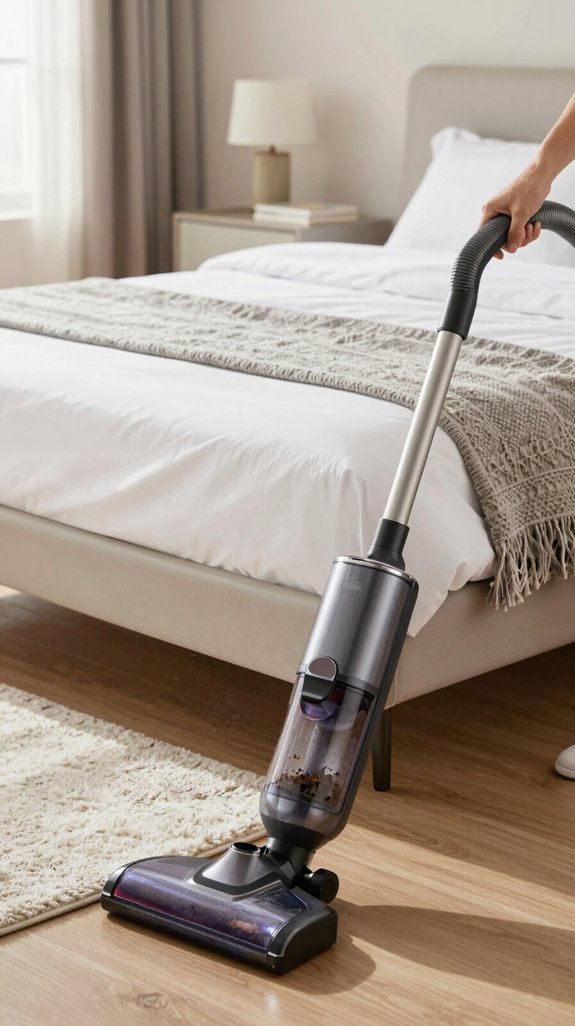
When tackling bed bugs, I’ve found that proper vacuuming techniques are essential for effective removal.
It’s not just about the vacuum itself but also how I handle the contents afterward to prevent any chance of escape.
Let’s explore the best practices for vacuuming and disposing of what I collect to guarantee I’m tackling these pests head-on.
Proper Vacuuming Techniques
Vacuuming plays an essential role in tackling bed bug infestations effectively. To maximize your efforts, here are some proper vacuuming techniques I recommend:
- Use a high-powered vacuum with a sealed HEPA filter.
- Attach narrow crevice tools to reach seams and tight spaces.
- Focus on mattress seams, box springs, and carpet edges.
- Move the vacuum slowly to prevent scattering bugs.
- Spend at least 8 minutes per session, twice weekly.
Disposal of Vacuum Contents
Effective disposal of vacuum contents is essential in your battle against bed bugs. Immediately seal the vacuum bag in a plastic bag after vacuuming to prevent any escape. I twist the bag shut for a secure closure and prefer white bags for easy spotting of any pesky bugs.
If you use a bagless vacuum, empty the canister into a plastic garbage bag, seal it, and dispose of it right away. I also wash the dust container in hot, soapy water to eliminate any remaining bugs. Double-bagging adds an extra layer of security during transport.
Always take these precautions outside to a lidded garbage bin immediately, and don’t forget to label any disposed items as ‘bed bugs infested.’
Mechanical Removal: Best Practices to Follow
Tackling bed bugs requires a strategic approach, and mechanical removal is one of the most effective methods. Here are some best practices I’ve found invaluable:
- Vacuum thoroughly: Use a crevice tool on mattresses, box springs, and furniture seams.
- Use a professional steamer: Apply direct heat to surfaces, moving slowly for deep penetration.
- Set up interceptor traps: Place them under each furniture leg, using talcum powder for added effectiveness.
- Implement heat treatments: Consider whole-room systems to guarantee a consistent kill rate.
- Utilize sticky tape: Capture bugs from various hiding spots efficiently.
Washing Fabrics to Kill Bed Bugs
When it comes to getting rid of bed bugs, washing fabrics can play a significant role in your battle against these pesky invaders.
I’ve learned that using hot water at 140°F or higher is critical; this guarantees all life stages, including stubborn eggs, are eradicated. I always run my washing machine on a hot cycle for at least 90 minutes to maximize effectiveness.
After washing, I dry everything on high heat for at least 30 minutes—this step is essential for killing any lingering bed bugs.
While washing is important, remember it’s not a standalone solution. To truly eliminate bed bugs, pairing this method with professional pest control is the best strategy for complete peace of mind.
Isolate Infested Items in Sealed Bags
Isolating infested items in sealed bags is an essential step in my fight against bed bugs. By effectively containing these pests, I can prevent their spread and work toward elimination.
Here’s how I do it:
- Use heavy-duty plastic or vacuum-seal bags for maximum protection.
- Keep items sealed for several months to starve bed bugs.
- Label all bags as infested and store them away from clean items.
- Utilize high-heat or freezing treatments before sealing for a quicker kill.
- Employ encasements for mattresses and furniture to inhibit movement.
This isolation method not only protects my living space but also streamlines the eradication process, making it a vital tactic in my battle against these pesky invaders.
Verify Treatment Success After Application
How can I be certain that the bed bug treatment actually worked? First, I check temperature readings taken with an IR thermometer. Confirming temperatures exceed 125°F in all areas, especially hard-to-heat spots, is vital.
I also look for certified heat verification labels; if they change color to orange, it indicates lethal conditions were reached.
Next, I compare before-and-after photographs provided by technicians, documenting any bed bug presence and signs.
Comparing before-and-after photographs from technicians is crucial for documenting bed bug presence and assessing treatment effectiveness.
I don’t forget to inspect bed bug interceptors placed under bed legs daily for a few weeks, keeping an eye out for any survivors.
Finally, I remember that some bed bugs might linger due to environmental complexities, so I stay vigilant for a year to guarantee complete success.
When to Call in Professional Help?
After verifying the success of your bed bug treatment, it’s important to know when to seek professional help. Recognizing specific signs can save you from further infestations and discomfort.
Here are key indicators:
- Detection of live bed bugs, eggs, or fecal stains
- New bite marks appearing despite DIY efforts
- Reports of bed bugs from neighbors or recent travel
- Infestation spreading beyond the bedroom to furniture or walls
- Continued signs like fresh fecal spots post-treatment
If you notice any of these, don’t hesitate to call a professional. Their expertise, equipped with integrated pest management strategies, can guarantee thorough eradication.
Engage Landlords in the Treatment Process
Engaging your landlord in the bed bug treatment process is vital, especially since their involvement can greatly expedite effective resolution.
As soon as you notice signs of bed bugs, notify your landlord in writing—like an email or letter—within five business days. This guarantees they must respond and inspect promptly, which speeds up professional help.
Remember, landlords are responsible for hiring pest control and covering treatment costs if you report within a year of your lease.
Landlords must hire pest control and cover treatment costs if you report bed bugs within a year of your lease.
Your cooperation is essential; grant access for inspections and follow prep instructions from pest professionals.
If your landlord is unresponsive, escalate the issue with a formal demand letter or local authorities.
Your proactive approach is key to overcoming this challenge effectively.
Preventing Future Bed Bug Infestations
Once bed bugs are under control, it’s important to think about how to keep them from coming back.
Here are some practical steps I’ve found effective:
- Reduce Clutter: Clear out unnecessary items to eliminate hiding spots.
- Seal Cracks: Use caulk to fill gaps in walls, baseboards, and furniture, blocking potential entry points.
- Inspect Used Items: Thoroughly check second-hand furniture and clothing before bringing them home.
- Travel Smart: Always inspect hotel rooms and keep luggage elevated.
- Regular Cleaning: Vacuum often, wash linens in hot water, and utilize bed bug-proof encasements.
Monitoring Devices for Bed Bugs
While bed bug infestations can feel overwhelming, using monitoring devices can greatly ease your concerns. I’ve found that passive monitors, like the ClimbUp Insect Interceptor, are incredibly effective, capturing about 219 bed bugs over ten weeks—nearly six times more than visual inspections.
Placing these interceptors under furniture legs guarantees reliable capture and quick detection. For more active monitoring, the dry ice trap outperforms others in occupied spaces, effectively identifying infestations.
Keep in mind that while monitoring devices help gauge the situation, they aren’t foolproof. Still, they offer immediate relief by reducing bed bug populations and minimizing the need for extensive insecticides.
Investing in these innovative tools can make a real difference in your battle against bed bugs.
Check Surrounding Areas for Hidden Infestations
Monitoring devices can provide a sense of reassurance, but they’re just one part of the equation.
To tackle bed bugs effectively, I’ve learned it’s essential to check surrounding areas for hidden infestations.
Here’s what to look for:
- Fecal stains on mattresses, sheets, and furniture
- Cast skins in hidden spots like under carpets and behind headboards
- Eggs and hatched eggs near seams and edges of furniture
- Hidden harborage sites in furniture joints and behind wallpaper
- Signs of expansion like live bugs in corners and a musty odor
Frequently Asked Questions
Can Bed Bugs Survive Without a Blood Meal?
Yes, bed bugs can survive without a blood meal for quite some time—adults up to five months, while nymphs vary. Their resilience surprises me, but understanding this helps us tackle them more effectively.
How Do I Know if My Treatment Was Successful?
To know if my treatment was successful, I check for zero live bed bugs, no new bites, and see dead bugs in inspected areas. Consistent monitoring and inspections confirm my progress and guarantee lasting results.
Are Bed Bugs Active During the Day?
Yes, bed bugs can be active during the day, especially if their habitat’s disturbed or they’re severely infested. I’ve noticed their elusive nature makes daytime detection tricky, so look for signs instead.
Can I Get Bed Bugs From Pets?
When it comes to bed bugs, you can’t judge a book by its cover. I’ve learned that while pets can’t carry them directly, they can unknowingly transport bed bugs through their belongings. Stay vigilant!
What Should I Do With My Luggage After Travel?
After travel, I seal my luggage in plastic bags, unpack in a non-living area, and inspect everything thoroughly. I wash clothes in hot water and dry them on high heat to guarantee safety.