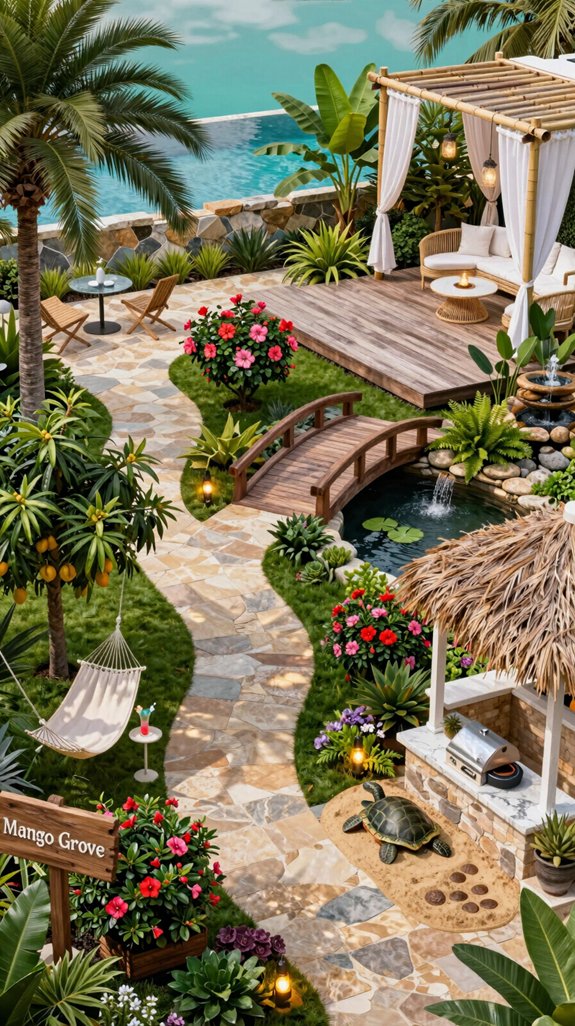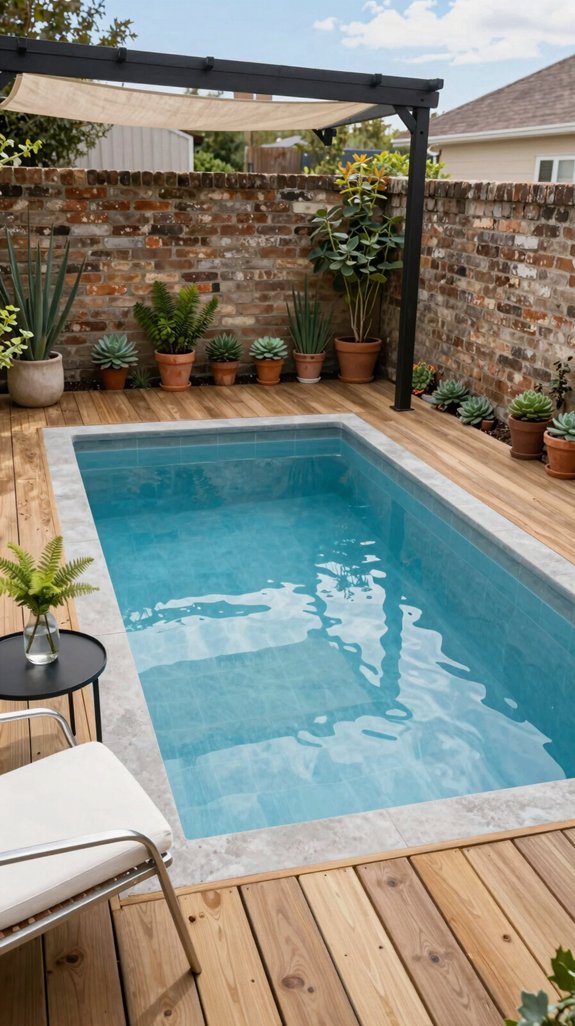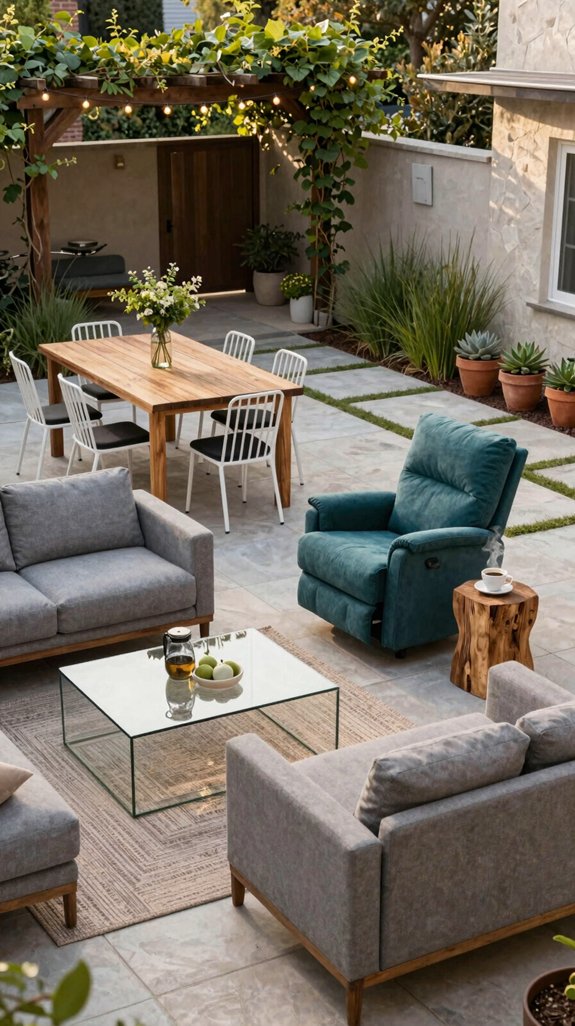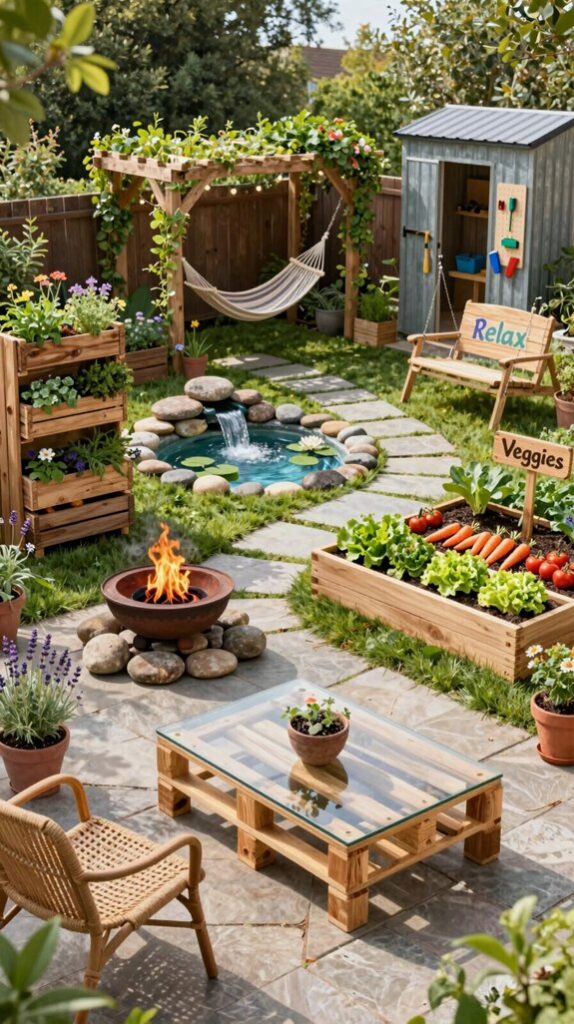
You’ll start by measuring the space and sketching a layout, then set a modest budget with a 10‑15 % contingency. Clear and level the patio, lay a 2‑inch gravel base over geotextile, and compact it for drainage. Build a 3‑foot‑diameter brick fire pit using fire‑rated bricks and heat‑resistant mortar. Add a simple backyard game area, install solar pathway lights, and create modular seating from reclaimed pallets. Finish with low‑maintenance planting and a rain‑catch barrel; the next steps will show you how to tie everything together.
Plan Your Backyard Makeover
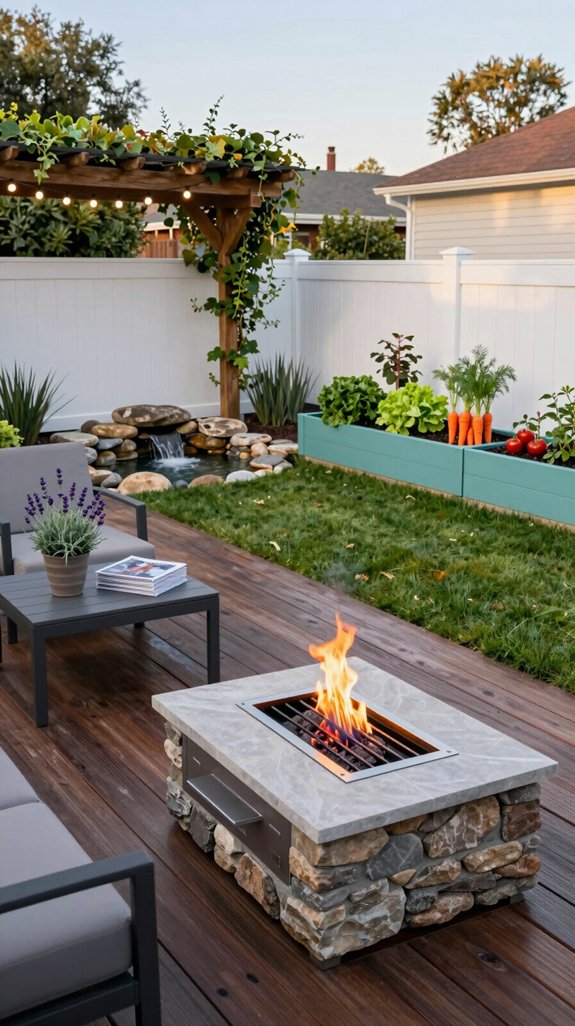
When you sketch the layout, start by measuring the area and noting existing features—this lets you allocate space efficiently and avoid costly re‑work. Use a digital planner or CAD app to plot zones for seating, planting, and utilities, then calculate square footage for each. Prioritize modular elements that can be reconfigured, like interlocking pavers or stackable planters, to keep material waste low. Consider incorporating weather-resistant outdoor lounges to create comfortable poolside relaxation areas that require minimal maintenance. Leverage reclaimed lumber and prefabricated kits to cut costs while maintaining a modern aesthetic. Create a phased schedule that aligns with seasonal labor rates, ensuring each phase stays within budget and delivers measurable value to the overall design.

Set of 12 fire bricks designed specifically for wood stove fireplaces.

Size: 9" x 4.5" x 1.25", Withstands Up to 2300°F/1260°C, 12 Pieces, Material Composition: Alumina & Silica

Food Safe: Made of clay, it can be in direct contact with food and can be used in pizza ovens and smokers; it has strong thermal insulation properties, helping you save wood and save money.
Set a DIY Budget
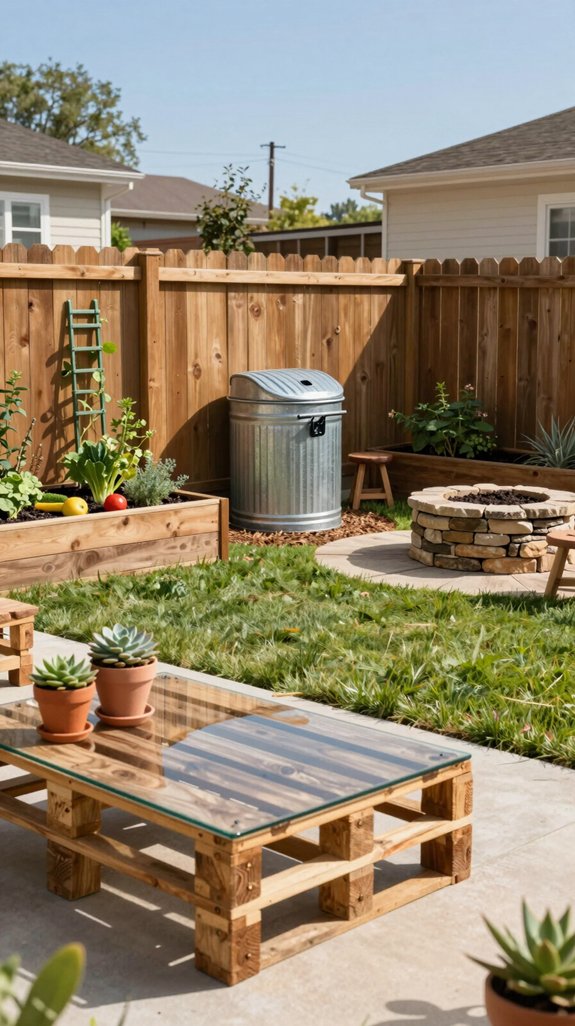
Kick off your budget by listing every material, tool, and labor cost before you break ground, then assign realistic price ranges based on local supplier quotes and online price checks. Break down each task—soil amendment, decking, lighting—into line items, and flag any high‑ticket items for potential DIY substitution. Use a spreadsheet to calculate total projected spend, then apply a 10‑15 % contingency for price fluctuations or unforeseen repairs. Compare bulk‑purchase discounts versus local hardware store sales, and prioritize reusable components to lower long‑term expenses. Consider incorporating biodegradable cleaning solutions into your budget for eco-friendly landscape maintenance after your project is complete. Track actual outlays against estimates weekly, adjusting allocations to stay within the predetermined financial envelope while preserving innovative design intent.
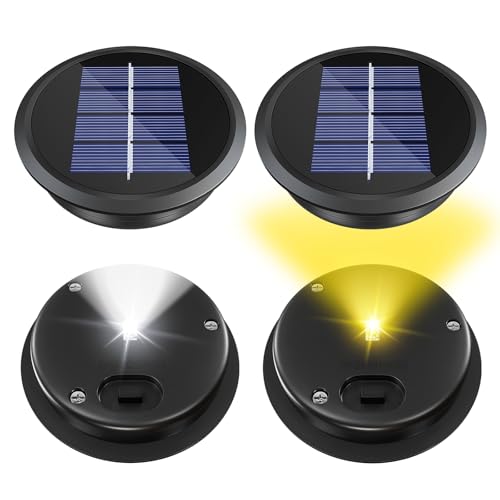
【Replacement Solar Light Parts】 Solar light replacement top is compatible with most outdoor lanterns available in the market, ensuring your solar lights resume their function after replacement. The top size: 3.34 inches, bottom size: 2.83 inches. The product is suitable for lanterns with openings ranging from 2.83 inches to 3.3 4inches. Please check the dimensions of your solar lights to ensure a proper fit.

【US PATENT INTELLECTUAL PROPERTY PROTECTION】Upgrade your outdoor lighting with our 10 pack solar path lights. Our solar path lights are equipped with advanced LED filament bulbs for a more focused and bright light. The clear glass lampshade enhances light transmission, 3000K warm white light is perfect for illuminating and decorating your yard. Note: Turn on the switch before first use.

【Replacement Solar Light Parts】 Solar light replacement top is compatible with most outdoor lanterns available in the market, ensuring your solar lights resume their function after replacement. The top size: 3.2 inches, bottom size: 2.9 inches. The product is suitable for lanterns with openings ranging from 2.9 inches to 3.2 inches. Please check the dimensions of your solar lights to ensure a proper fit.
Clear and Level the Patio
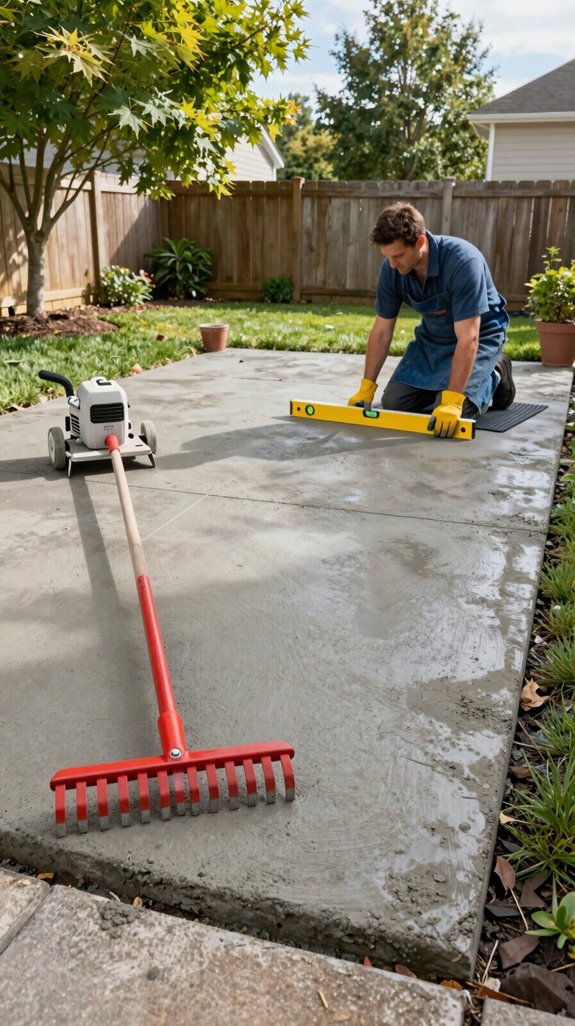
Before you lay any pavers, clear the existing surface of debris, weeds, and loose material, then use a laser level or a string line to establish a flat, even reference plane; this guarantees you won’t waste time or money correcting uneven spots later. Scrape out old mortar with a chisel, vacuum the dust, and mark high spots with spray paint. Rent a plate compactor for a quick, uniform crush of the sub‑base, then check the level with a 2‑foot straightedge. Adjust by adding sand or removing excess soil, keeping the slope under 2 % for drainage. Document measurements, reuse reclaimed material where possible, and stay within budget. Organize your tools and equipment using cable management wraps to keep your work area safe and efficient.


Convenient Storage--Unique storage bin built into the coffee table give you room to store extra pillows or personal items. The coffee table can be not only used as ottoman, but also stored under the loveseat to save space.
Lay a Simple Gravel Base
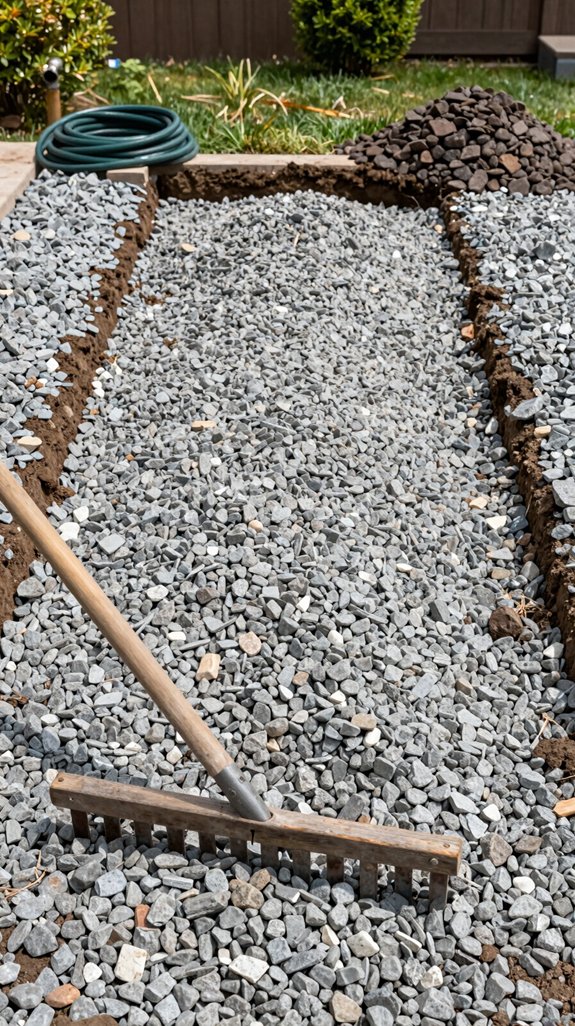
If you’ve already cleared and leveled the patio, the next step is to spread a simple gravel base that will provide drainage and a stable platform for the pavers. First, measure the area and calculate volume: length × width × depth (typically 2–3 inches). Purchase crushed stone or pea gravel, which compacts well and costs less than sand‑mix alternatives. Lay a geotextile fabric to prevent weed intrusion and soil mixing. Distribute gravel evenly with a rake, then tamp with a plate compactor or hand tamper until firm. Check slope—aim for a 1‑2 % gradient toward drainage points. Finally, sweep the surface smooth before installing pavers. Once your patio is complete, keep it clean and hygienic by using multi-surface disinfecting wipes on outdoor furniture and entertaining areas.

𝐏𝐑𝐄𝐌𝐈𝐔𝐌 & 𝐃𝐔𝐑𝐀𝐁𝐋𝐄 𝐀𝐂𝐀𝐂𝐈𝐀 𝐖𝐎𝐎𝐃: Made from 100% natural acacia wood with a deep-oil finish, these interlocking decktiles are sturdy, water-resistant, and built for outdoor conditions. Sanded smooth for a premium wood grain look, a smooth-finished surface, and a noticeably smoother barefoot feel - comfortable for families and pets.

𝐏𝐑𝐄𝐌𝐈𝐔𝐌 & 𝐃𝐔𝐑𝐀𝐁𝐋𝐄 𝐀𝐂𝐀𝐂𝐈𝐀 𝐖𝐎𝐎𝐃: Made from 100% natural acacia wood with a deep-oil finish, these interlocking decktiles are sturdy, water-resistant, and built for outdoor conditions. Sanded smooth for a premium wood grain look, a smooth-finished surface, and a noticeably smoother barefoot feel - comfortable for families and pets.

Wet-Area Ready, No Sealing Required: Pre-finished with cured linseed oil — a natural plant-based wood finish — these tiles install straight from the box — no sealant, no prep, no waiting. Raised base channels water underneath for patios, balconies, pool surrounds, and shower floors
Build a Brick Fire Pit
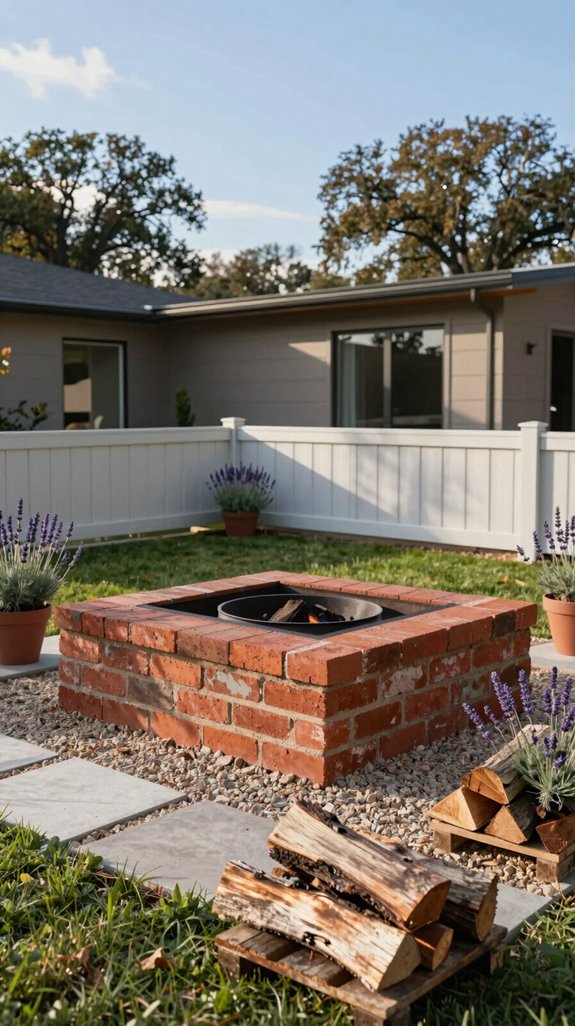
Ready to turn a simple backyard corner into a functional fire pit? Measure a 3‑foot diameter, mark a 4‑inch deep circle, and excavate the soil. Lay a 2‑inch sand base, compact with a plate compactor, then add a 4‑inch concrete slab for stability. Purchase 2‑inch fire‑rated bricks; lay them in a running bond, using heat‑resistant mortar at ¼‑inch joints. Insert a metal fire ring for airflow and safety, securing it with refractory cement. Finish the perimeter with a low‑profile stone curb to contain ash. Seal joints with a high‑temperature silicone to prevent moisture intrusion. Test with a small fire, adjust ventilation, and enjoy efficient, low‑cost warmth. Consider pairing your fire pit with weatherproof outdoor dining chairs to create a comfortable gathering space for entertaining guests.

【Leak-Proof Design】Unlike typical rain barrels, our product features an integrated design with a straightforward screw-in faucet, eliminating the hassle of assembling multiple parts. This thoughtful construction guarantees a leak-proof system and simple installation

50-Gallon Capacity: Provides ample storage for harvested rainwater, ideal for watering gardens, lawns, and plants.

【Anti-tear Polyester Material】The rainwater barrel mesh cover is made of high-quality polyester material, which is durable, tear-resistant, and has a fine mesh. It can effectively prevent small items from falling into the barrel
Create a DIY Garden Wall
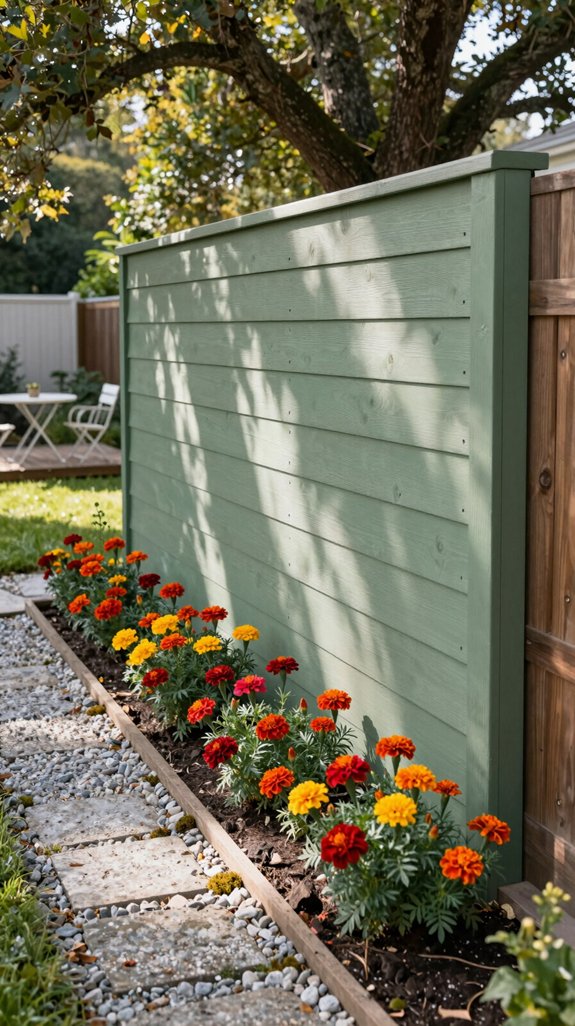
A garden wall can be built for under $200 by using concrete blocks, compacted gravel, and a simple drainage system. First, outline the wall’s footprint, then excavate a 6‑inch trench and fill it with 4‑inch compacted gravel for a stable base. Lay a perforated pipe at the trench’s bottom, cover with sand, and start stacking 8‑inch concrete blocks, staggering joints for strength. Apply a thin mortar mix between blocks to lock them, but keep the mixture lean to stay on budget. Incorporate built‑in planter pockets by leaving gaps and inserting soil‑filled bins. For a modern alternative, consider installing vertical garden systems to maximize planting space while adding visual interest to your garden wall. Finish with a waterproof sealant to protect against moisture and enhance durability.

PERFECT FOR WOOD STOVES AND FIREPLACES: Our fire bricks are made from high-quality clay and are designed to withstand high temperatures, making them ideal for use in wood stoves, fireplaces, and other heating applications.

Food Safe: Made of clay, it can be in direct contact with food and can be used in pizza ovens and smokers; it has strong thermal insulation properties, helping you save wood and save money.

🔥 Introducing GIRtech INSA Lightweight & Large Universal Bricks: Elevate Your Heating Efficiency with Superior Thermal Performance! Elevate your heating systems with. Whether you're powering a kiln, enhancing a forge, or perfecting your fire pit, these advanced refractory bricks redefine heat efficiency and safety. Order now and experience the transformative impact of superior thermal insulation.
Install a Low‑Cost Water Feature
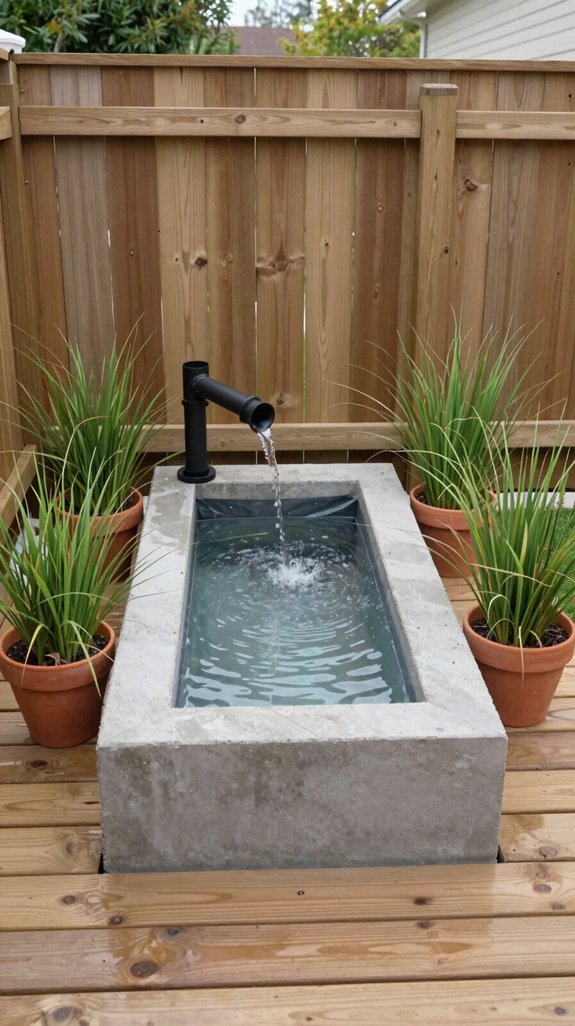
Want a soothing splash without breaking the bank? Choose a recirculating pump, a shallow basin, and a simple PVC conduit to create a DIY fountain. Measure the basin diameter, then cut PVC to 12‑inch sections, glue elbows for a spiral flow, and attach a bulkhead fitting for the pump inlet. Secure the pump at the basin bottom, run power through a GFCI‑protected outlet, and seal all joints with silicone. Use a solar‑powered pump to cut electricity costs further. Test flow rate, adjust nozzle angle for desired mist, and camouflage tubing with river stones. To keep your fountain looking pristine, stock up on essential janitorial supplies for regular cleaning and maintenance. This setup delivers visual appeal, ambient sound, and minimal maintenance for under $50.

【Solar Lights Outdoor】This mini waterproof design (H 2.4" x D 2.9") is perfect as a cozy ambient light to spruce up your pathway, walkway, garden and driveway. This little guy packs a punch with 38,000-40,000 LUX brightness! It’s seriously all the light you need to jazz up your yard and keep paths lit, whether you’re decorating for a vibe or need real-deal illumination.

【Dual Color Temperatures & 25/50LM Brightness】Tailor your ambiance with two choices: 2700K Warm White for a cozy atmosphere or 4500K Cool White for clear, bright security. Adjust the garden lights brightness between soft 25LM or optimal 50LM to perfectly suit any evening.

RETRO GLOW & 60% BRIGHTER – Our 2800K warm-white tungsten bulbs shine through an ultra-clear shade, delivering 40% more brightness than standard solar pathway lights. The precision reflector boosts light efficiency by 60% and casts artistic shadow patterns, turning your walkway or garden into a cozy evening escape
Add a Sturdy Picnic Table
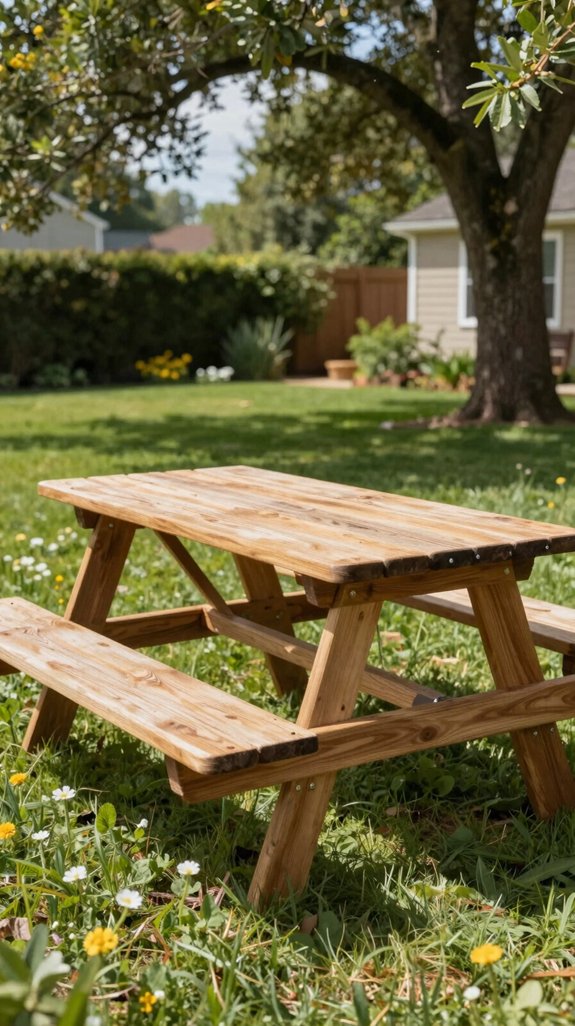
How can you build a sturdy picnic table without splurging? Choose pressure‑grade pine, cut four 2×4s for legs, four 2×6s for aprons, and two 2×8s for tabletop spans. Use pocket‑hole jig to align aprons to legs, then reinforce with 3‑inch wood screws and metal brackets. Attach tabletop planks with hidden pocket holes, stagger joints for strength. Apply a water‑based polyurethane for weather resistance. Budget‑track by buying reclaimed lumber from local pallets, and use a cordless drill to speed assembly. This modular design lets you replace individual components, keeping costs low while delivering an innovative, durable outdoor workspace. Consider finishing your picnic table with brick red interior paints in earthy terracotta tones to complement your backyard aesthetic.
Construct a Cozy Seating Bench
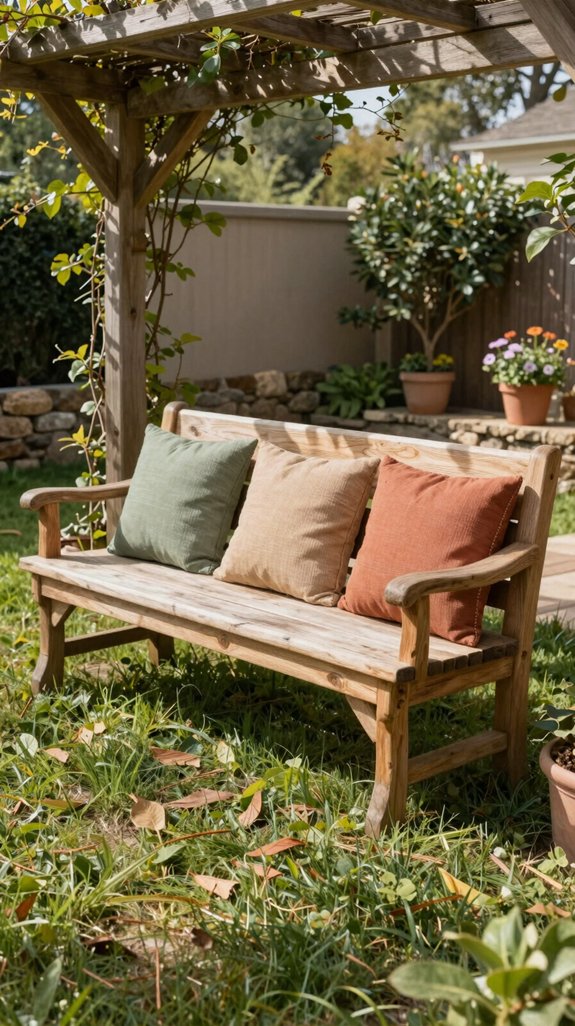
Ever wondered how to turn a few cheap planks into a comfortable, weather‑ready bench without breaking the bank? Start by selecting pressure2×4 pine, pressure‑treated lumber; it resists rot and costs under $2 per foot. Cut two 48‑inch side rails, a 30‑inch seat board, and a 30‑inch back support. Use pocket‑hole joinery with 3‑inch deck screws to attach the seat to the rails, then secure the back support at a 15‑degree angle for ergonomic tilt. Apply a water‑based polyurethane sealant, two coats, for UV protection. Add removable cushions made from foam and outdoor fabric for extra comfort. Total material cost stays under $45.
Hang a DIY Hammock Stand
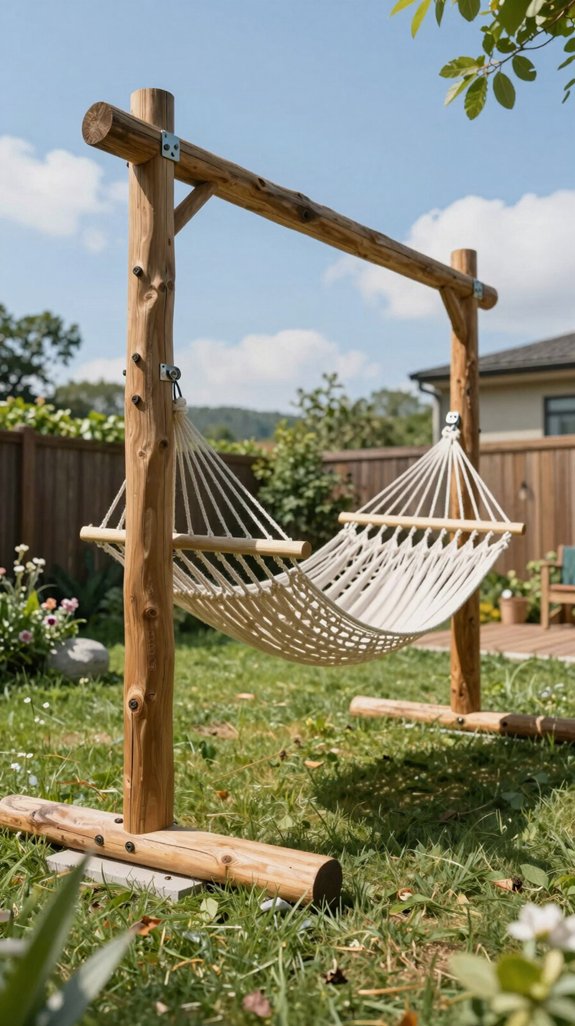
After finishing the bench, you can extend the backyard’s relaxation zone by building a sturdy hammock stand that fits the same budget constraints. Choose pressure pressure‑treated 4×4 post, cut it to 7 ft, and anchor it with a concrete footing (1 ft deep, 12 in diameter). Use a galvanized steel cross‑beam, 4 ft long, bolted to the post with stainless‑steel lag screws. Attach two eye‑bolts at each end, then thread a heavy‑duty hammock strap through them and secure with a carabiner. Finish with a weather‑proof sealant to prevent rot, similar to protective coatings used for driveway maintenance. This DIY stand costs under $50, requires basic tools, and delivers a durable, modern lounge spot.

50-Gallon Capacity: Provides ample storage for harvested rainwater, ideal for watering gardens, lawns, and plants.

FITS COMMON DOWNSPOUTS: Designed as a downspout diverter for standard 2 x 3 in and 3 x 4 in residential downspouts, connecting roof runoff to your rainwater collection system

50-Gallon Capacity: Provides ample storage for harvested rainwater, ideal for watering gardens, lawns, and plants.
Paint Your Backyard Fence
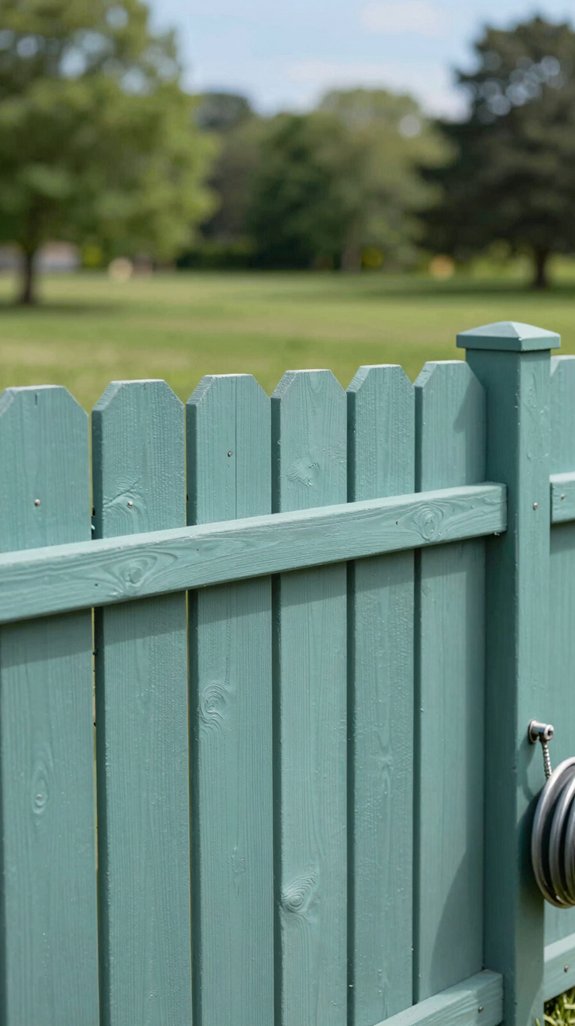
Looking to boost curb appeal without breaking the bank? First, sand the fence with 80‑grit paper to remove flaking paint and smooth rough spots. Clean debris residue with a pressure washer, then let it dry completely. Choose a low‑VOC, acrylic exterior paint that offers UV resistance; a 5‑gallon bucket covers roughly 400 sq ft and costs under $120. Use a paint sprayer with a 12‑inch nozzle for even coverage and to reduce labor time. Apply a thin primer coat if the wood is raw, then two thin, overlapping layers of color, allowing 2‑hour drying between coats. Finish with a clear, water‑based sealant for durability. For the best results, consider setting up media streaming devices nearby to keep entertained while you work on your fence project.
Apply a Weather‑Resistant Deck Stain
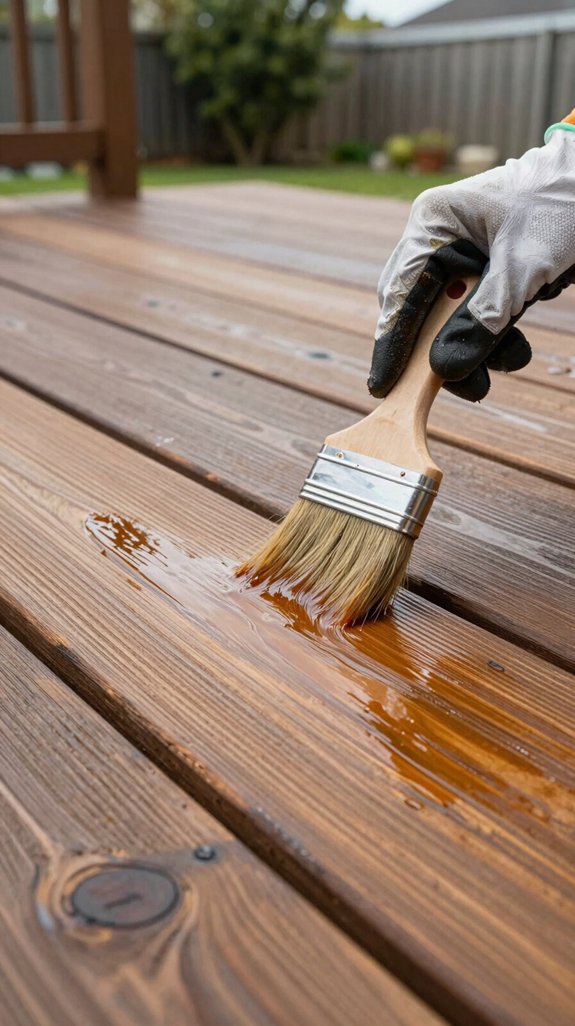
If you want a durable, low‑maintenance finish that protects your deck from sun, rain, and mildew, start by cleaning the surface with a deck‑cleaner solution and a stiff brush, then rinse thoroughly and let it dry completely. Choose a water‑based, UV‑blocking stain with a 3‑year warranty; it costs less than oil‑based options and dries faster. Apply with a low‑pressure sprayer for even coverage, working in 2‑foot sections to avoid lap marks. Use a foam roller on intricate railings for precision. Allow 30 minutes between coats, then sand lightly with 220‑grit paper before the final coat. Test a small area for color fidelity, then finish. For optimal results, ensure your cleaning process removes all mildew and residue, similar to how vinyl floor cleaners produce a sparkling finish on interior surfaces.
Plant a Container Herb Garden
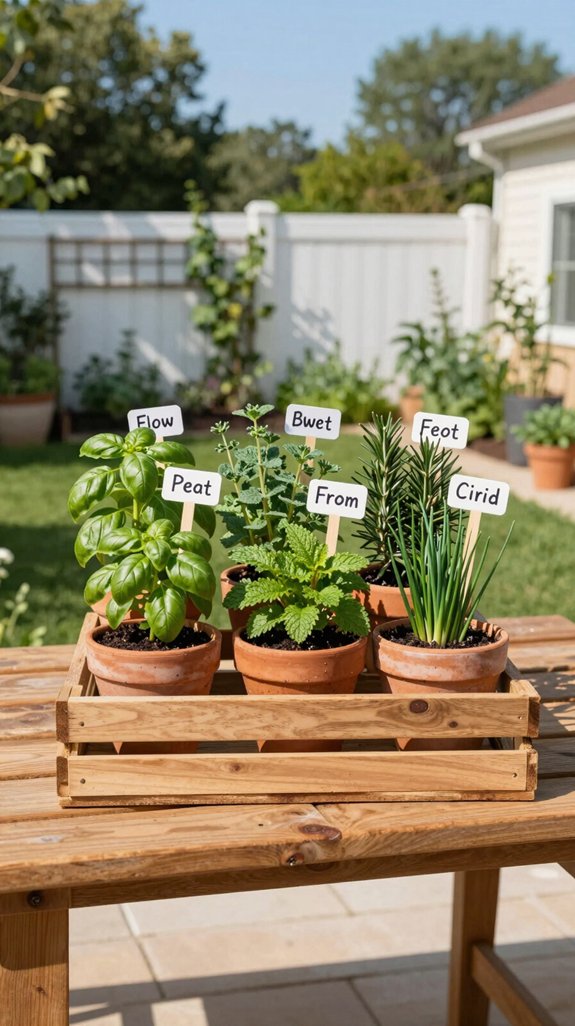
A well‑chosen container can turn a modest balcony into a productive herb garden without breaking the bank. Choose a lightweight, UV‑resistant pot with drainage holes; recycle plastic buckets or thrift‑store terracotta to cut costs. Fill it with a 1:1 mix of compost and coconut coir for aeration and moisture retention. Select compact, high‑yield herbs—basil, thyme, oregano, and chives—that thrive in confined root zones. Plant seedlings at 2‑inch spacing, water sparingly, and top‑dress with a slow‑release fertilizer granule. Position the container where it receives 4‑6 hours of indirect sunlight, and attach a simple drip line to automate irrigation and conserve water. You can integrate smart home automation into your watering system to monitor soil moisture and control irrigation schedules remotely.
Build a Raised Vegetable Bed
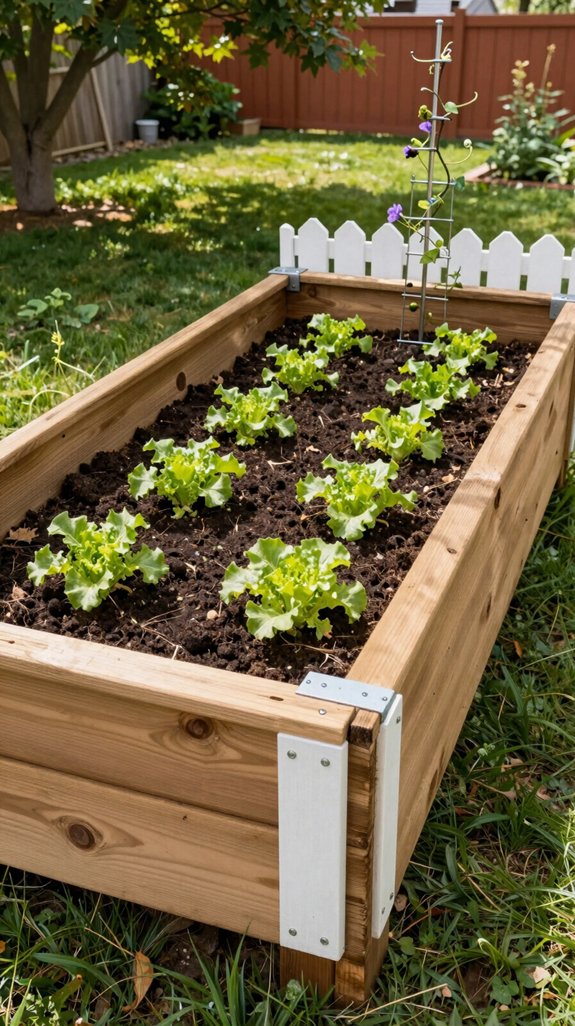
After mastering a compact herb container, you can expand your food production by constructing a raised vegetable bed that maximizes space and soil control. Choose rot-resistant lumber, such as cedar or reclaimed pallets, and cut four 4‑ft sides to form a 2‑ft‑high frame. Secure corners with galvanized brackets, then line the bottom with landscape fabric to deter weeds. Fill the cavity with a 1:1:1 blend of compost, peat‑free mulch, and coarse sand for optimal drainage and nutrient balance. Install a drip‑irrigation manifold, set timers for precise watering, and cover the top with a lightweight, UV‑stable net to protect seedlings while allowing airflow. Consider adding outdoor projection lighting to extend your gardening hours into the evening for improved visibility during maintenance tasks. This modular design scales easily, stays under $150, and integrates seamlessly with future smart‑garden sensors.
Install Solar Pathway Lights
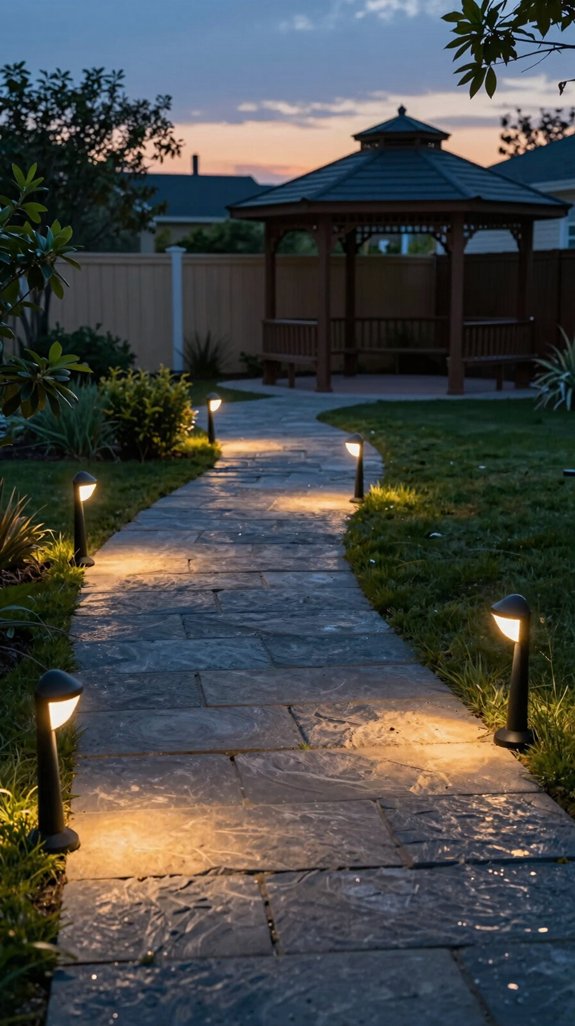
Solar pathway lights are a cost‑effective way to illuminate walkways while keeping energy bills low. First, map the route and measure spacing; 3‑4 ft between fixtures yields uniform glow without over‑buying. Choose LED modules with integrated lithium‑ion cells, rated 2‑3 years of autonomy. Drill 1‑inch holes, insert stainless‑steel stakes, and compact soil to prevent wobble. Wire a simple polarity‑protected controller if you want synchronized dimming, but most units work standalone. Mount panels facing south for optimal charging, and test at dusk. For added ambiance during evening hours, consider pairing pathway lights with warm ambient lighting fixtures to create layered illumination throughout your outdoor space. Expect installation under $15 per light, total project cost under $200 for a 20‑ft perimeter.
Create a DIY Outdoor Rug
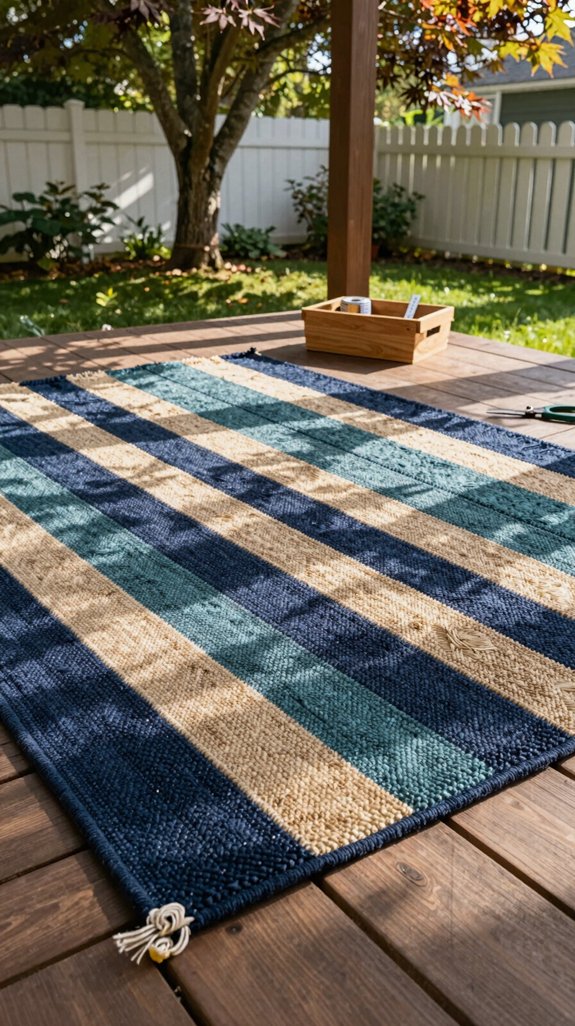
Looking to add a weather‑proof, low‑cost accent to your patio? Measure a 4‑by‑4‑foot area, then cut a heavy‑duty canvas or tarp to size. Reinforce edges with waterproof tape, then stitch a rubber‑backed grid using a basic sewing machine. Choose interlocking polymer tiles, snap them onto the canvas, and seal seams with silicone caulk for UV resistance. Attach grommets at each corner for easy hanging on a metal frame or rope. Test durability by sprinkling water and applying pressure; adjust tile layout if needed. This method yields a custom, resilient rug for under $30, blending function with innovative DIY flair. Keep your patio essentials organized and within reach by incorporating trays for organizing small items like sunscreen, tools, and decorative accents around your new outdoor rug.
Set Up a Simple Outdoor Bar
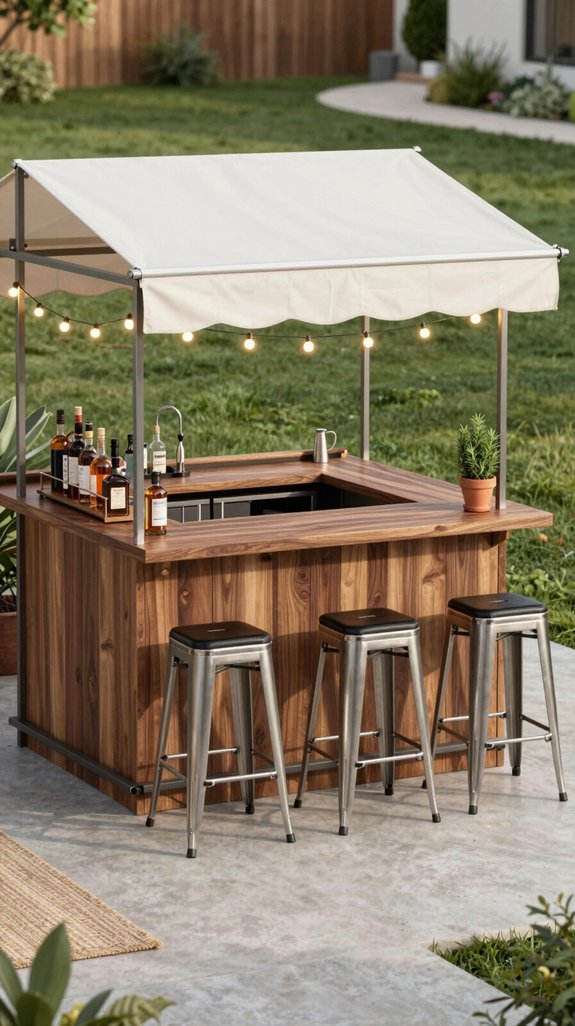
A few inexpensive pallets and a sturdy workbench are all you need to build a functional outdoor bar. First, sand and treat the pallets with a weather‑resistant sealant to prevent rot. Cut one pallet to serve as the countertop, securing it with stainless‑steel brackets for stability. Attach a second pallet as the base, reinforcing with cross‑bracing and a level‑adjustable foot. Install a simple drip edge to channel condensation away from the wood. Add modular shelving using reclaimed crates, and wire a low‑voltage LED strip for ambient lighting. Finish with a brushed‑metal faucet and a compact wine cooler to maximize utility without breaking the budget. Pair your outdoor bar with chic bistro tables to create an inviting dining and entertaining space perfect for small patios and compact outdoor areas.
Add a Recycled Pallet Swing
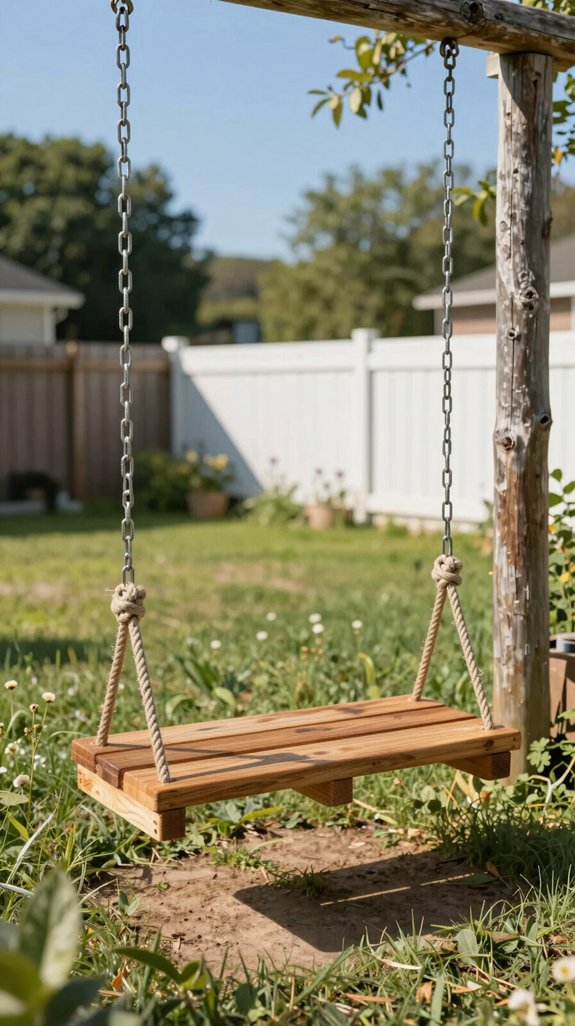
After finishing the bar, you can turn the remaining pallet into a swing that adds seating and charm without extra cost. First, sand the pallet to remove splinters and apply a weather‑proof sealant; this prevents rot and extends lifespan. Cut two **2‑inch dowels to 36 inches, drill pilot holes, and attach them as side rails using stainless‑steel bolts. Secure a sturdy rope—preferably UV‑resistant polyester—through the central holes, then knot the ends to a sturdy tree branch or a custom‑built frame. Test load capacity with a 150‑lb weight before use. For enhanced durability and aesthetic appeal similar to authentic smoky BBQ setups**, consider treating your swing frame with the same weather‑resistant techniques used in outdoor entertainment spaces. This low‑budget, DIY swing delivers functional flair and sustainable style.
Build a DIY Storage Shed
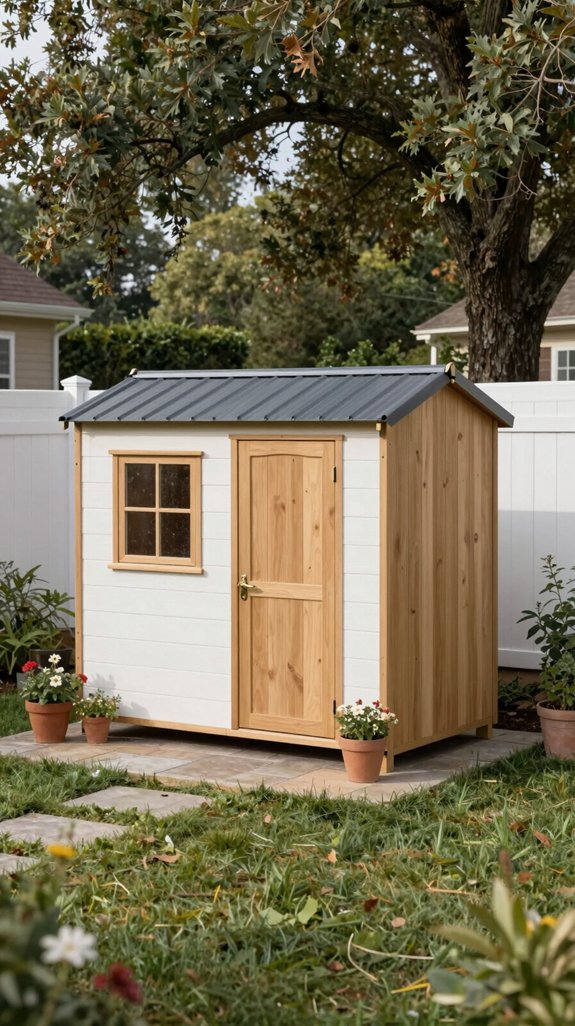
Start by sketching a simple floor plan and gathering the cheapest, sturdier materials you can find—typically pressure‑treated lumber for the frame, OSB or plywood for walls, and a basic metal roof panel. Cut studs to exact dimensions, pre‑drill holes to prevent splitting, and use galvanized nails for corrosion resistance. Assemble the base on a compacted gravel pad, then raise walls with a level and temporary braces. Attach the roof panel, seal seams with silicone, and add a lockable door using reclaimed hinges. Finish with a reflective paint for UV protection and install a simple rain gutter to divert water, keeping the interior dry and functional. Consider organizing the interior of your storage shed with smart cable management solutions to keep electrical cords, extension cords, and other cables neatly arranged and accessible.
Organize Tools With a Wall Rack
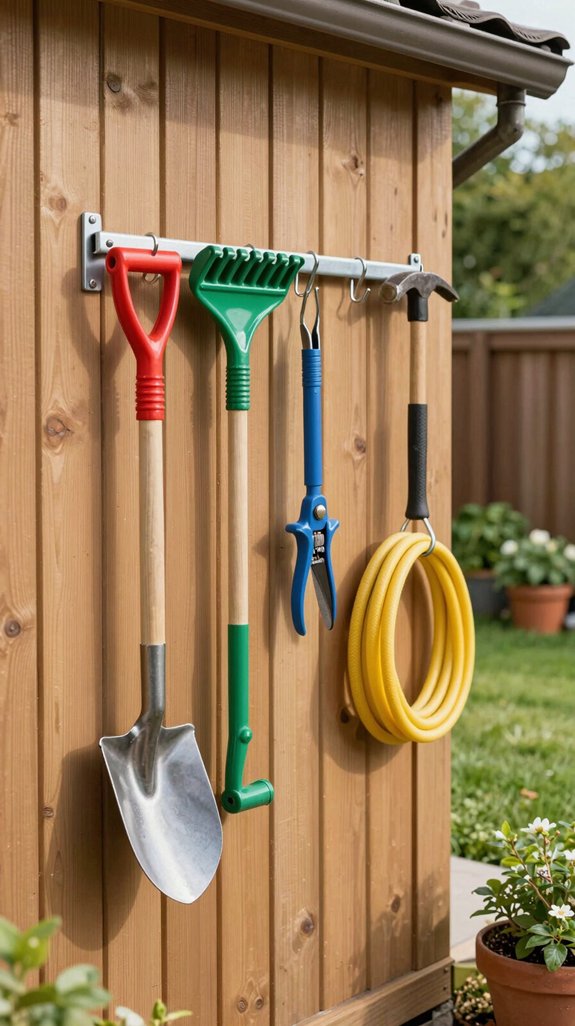
Ever wondered how to keep your hand tools within arm’s reach without breaking the bank? Install a DIY wall rack using 2×4 studs, plywood backing, and heavy‑duty pegboard. Cut the studs to 48‑inch lengths, attach them to the wall with lag bolts, then screw a ¼‑inch plywood sheet onto the frame. Overlay a 1‑inch pegboard, drill holes for hooks, and mount magnetic strips for metal bits. Use reclaimed brackets for tool‑specific slots and label each position with vinyl stickers. This modular system lets you reconfigure spacing as your collection evolves, while staying under $50 and adding a sleek, industrial aesthetic to any backyard workshop. For a polished look that keeps your tools visible and organized, consider incorporating magnetic systems to display your most-used implements while maintaining easy access.
Install a Rain‑Catch Barrel
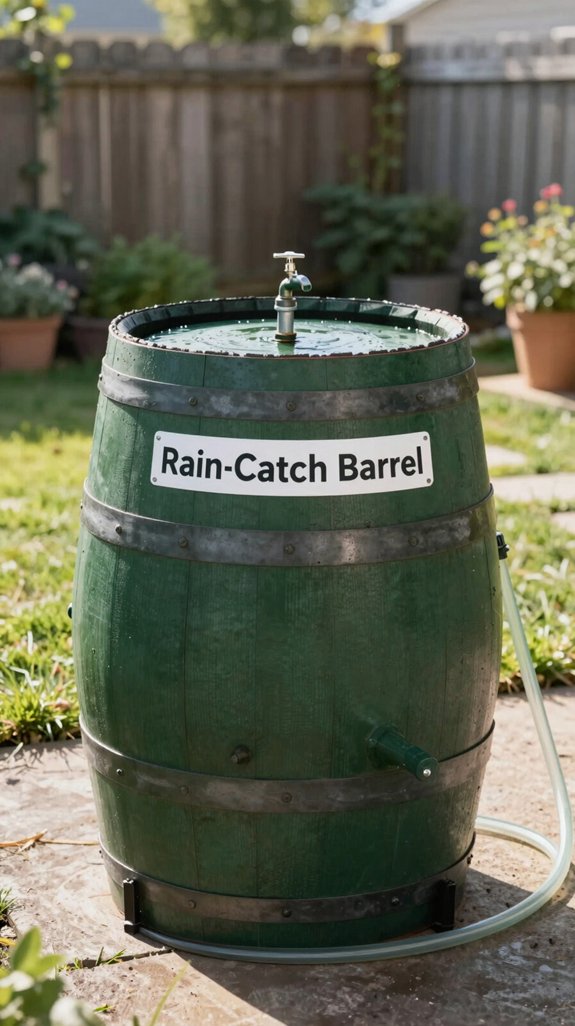
If you want to harvest rainwater without breaking the bank, set up a 55‑gallon food‑grade barrel on a sturdy wooden platform and connect it to your downspout with a simple diverter. Choose pressure‑treated lumber, secure four 2×4s with deck screws, and level the base to prevent tipping. Install a mesh screen on the barrel opening to filter debris, then attach a ½‑inch PVC diverter using a rubber gasket and hose clamps. Add a float valve to stop overflow and a spigot near the bottom for easy access. Insulate the barrel with reflective foam to reduce algae growth. Monitor water level with a magnetic gauge and use a pump for garden irrigation. Paint the wooden platform with soft taupe brown elegance to complement your outdoor landscaping while protecting the lumber from the elements.
Create a Low‑Maintenance Rock Garden
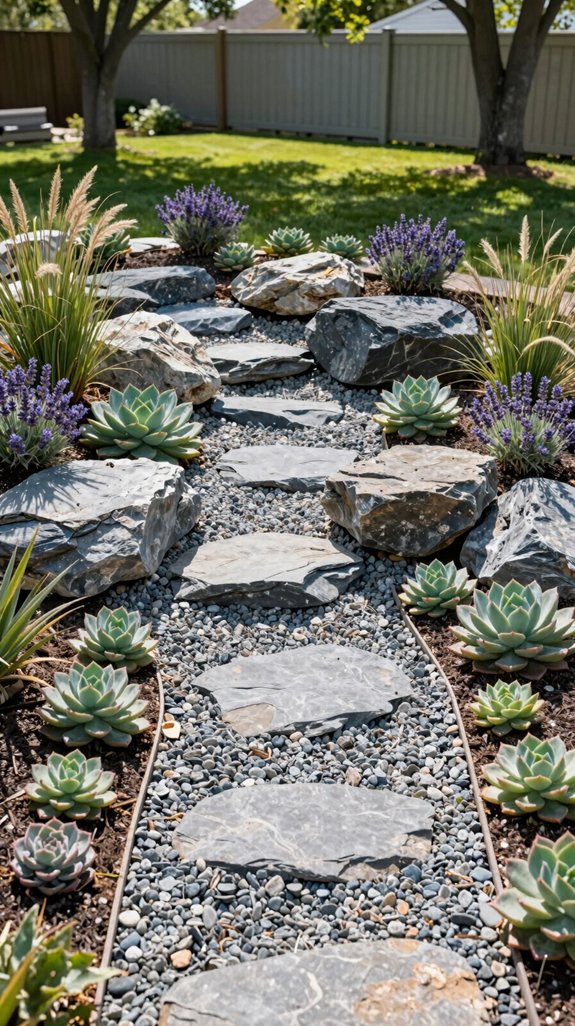
A low‑maintenance rock garden begins with a solid, well‑drained foundation; clear a layer of coarse gravel, then compact a mix of sand and topsoil to create a stable base that prevents water pooling. Choose native, drought‑tolerant succulents and ornamental grasses; group plants by water need to simplify irrigation. Use reclaimed stone or concrete pavers for edging, cutting them to fit with a wet‑saw to avoid extra cost. Install a drip‑line system with a timer, routing tubing through pre‑drilled holes in the rocks. Mulch with crushed lava rock for thermal regulation and weed suppression. For a cohesive aesthetic, consider pairing your rock garden with mint green paint on an adjacent garden wall or shed to create a fresh, airy backdrop. Periodically prune dead foliage, and you’ll enjoy a resilient, visually striking garden with minimal upkeep.
Add a DIY Fire‑Resistant Mulch Bed
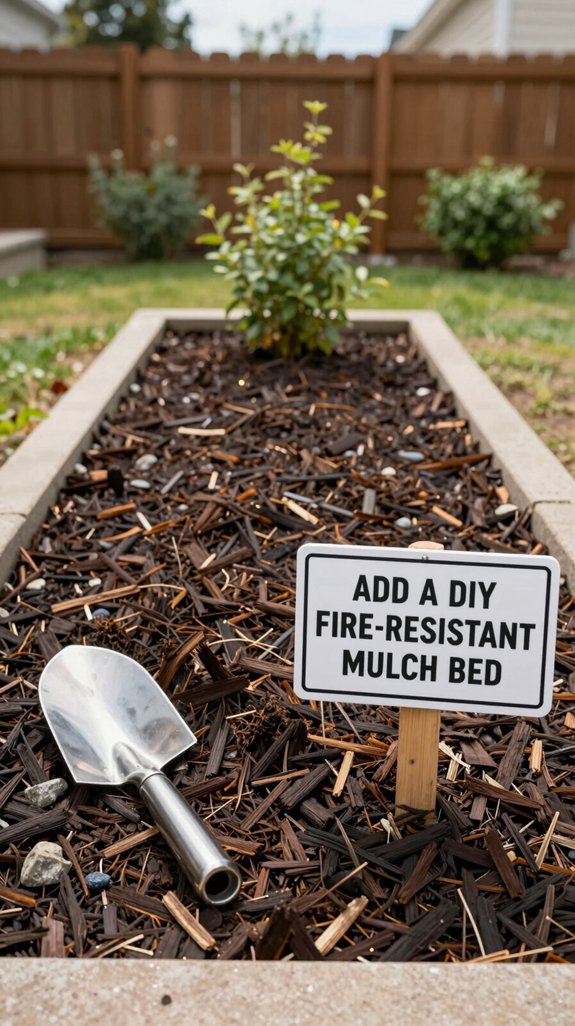
When you’re building a fire‑resistant mulch bed, start by excavating a shallow trench about 4‑6 inches deep and line it with a geotextile fabric to keep soil from mixing with the mulch. Fill the trench with a blend of mineral‑based mulch, such as lava rock or shredded bark, mixed with a thin layer of sand for drainage. Compact the material with a hand tamper, then edge the bed with metal or composite flashing to prevent wind erosion. Install a low‑profile drip‑irrigation line beneath the mulch for efficient watering. Finish by adding a perimeter of fire‑rated pavers, creating a durable, low‑maintenance, and visually striking landscape feature. Consider placing stylish patio side tables nearby to provide convenient surfaces for garden tools and outdoor essentials while you work on landscaping projects.
Build a Backyard Game Area
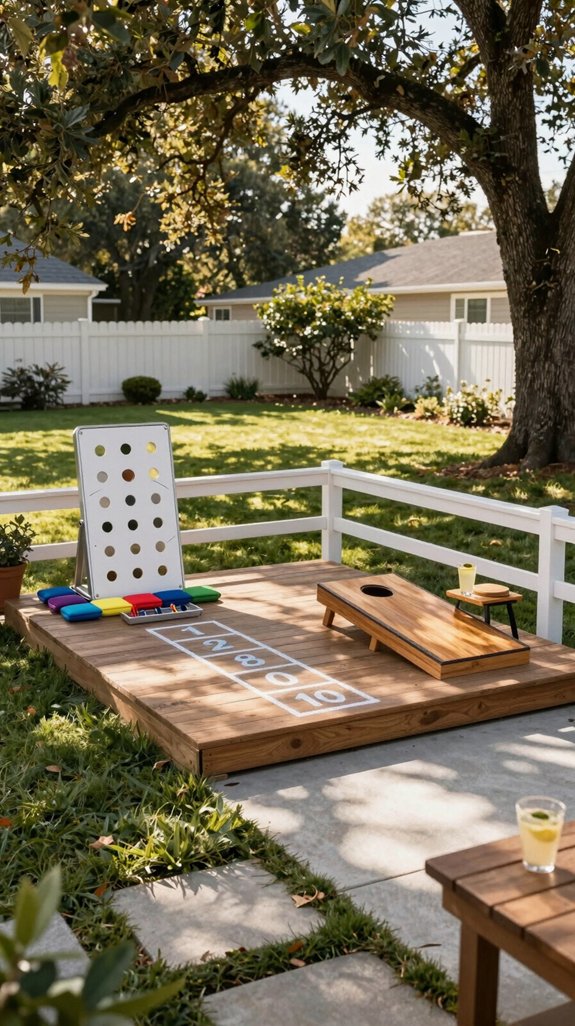
Planning a backyard game area starts with mapping out the space, measuring dimensions, and sketching a layout that fits your budget and the activities you want—whether it’s a bocce court, a ping‑pong table, or a portable cornhole set. Use a laser measure and graph paper to lock in exact footprints, then allocate drainage zones to prevent pooling. Choose reclaimed lumber for frames, composite decking for surfaces, and low‑profile footings to cut concrete costs. Install modular anchoring brackets so you can swap games without rebuilding. Run a single 12‑amp circuit with GFCI protection, and add weather‑resistant storage benches to keep equipment protected while maximizing usable area. Consider installing charging stations with integrated power banks near your seating areas to keep phones and portable speakers charged during extended game sessions.
Hang String Lights for Evening Ambiance
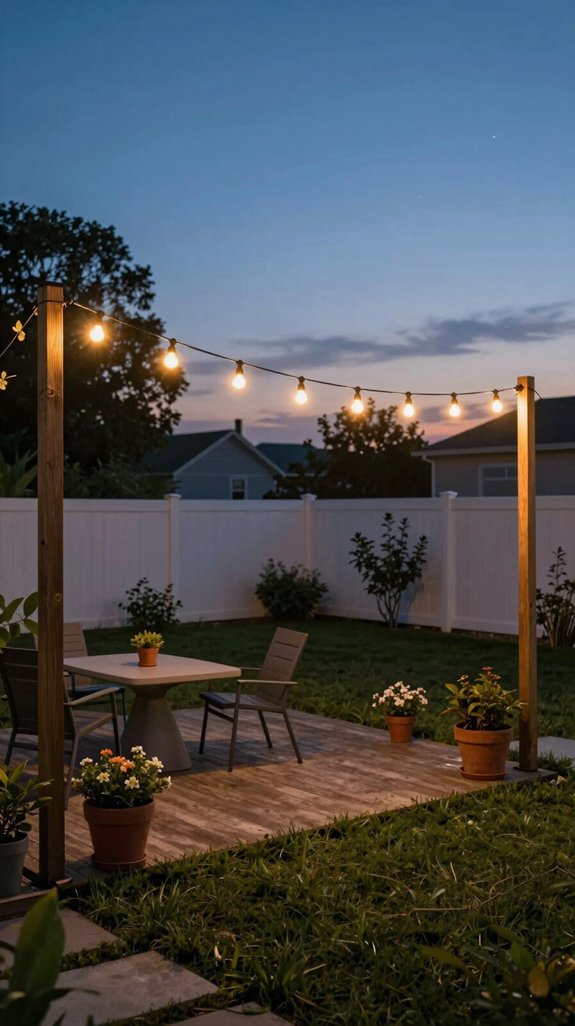
Looking to add evening ambiance without breaking the bank? Measure your patio perimeter, then select 12‑V LED string lights with a built‑in timer. Purchase a weather‑proof power strip and a low‑voltage transformer; both cost under $30 total. Use stainless‑steel eye hooks spaced 3 ft apart, drill pilot holes, and secure hooks with a cordless drill. Run the low‑voltage cord through conduit to protect it from moisture. Connect lights to the transformer, then to the timer, and test for even illumination. Adjust spacing for desired brightness, and program the timer for dusk‑to‑midnight operation. For comprehensive outdoor safety, consider pairing your ambient lighting with camera sets to monitor your yard after dark. This setup delivers a modern glow while staying under $80.
Maintain Your DIY Projects Year‑Round
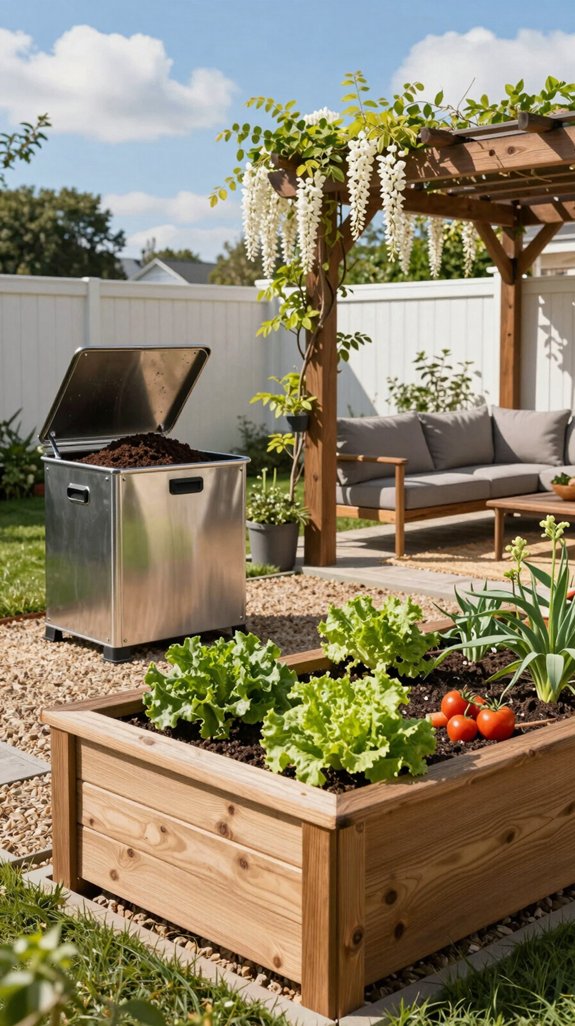
Even if you’ve built a flawless patio setup, seasonal wear can quickly erode its performance, so schedule quarterly inspections, tighten loose fittings, and replace any cracked wiring or rusted hardware before the next use. Use a moisture‑meter to detect hidden water damage, and apply a silicone sealant to joints before freeze‑thaw cycles. For wooden decks, sand lightly and apply a UV‑blocking stain; a single coat saves $200 in repairs later. Check solar lights for battery corrosion, swap alkaline cells for lithium packs, and calibrate motion sensors to avoid false triggers. Consider adding garden torches to your patio for both ambient lighting and natural insect deterrence throughout the seasons. Keep a spare kit of rust‑resistant screws, zip ties, and weather‑proof connectors on hand for quick fixes without professional fees.
Show Off Your Backyard Transformation
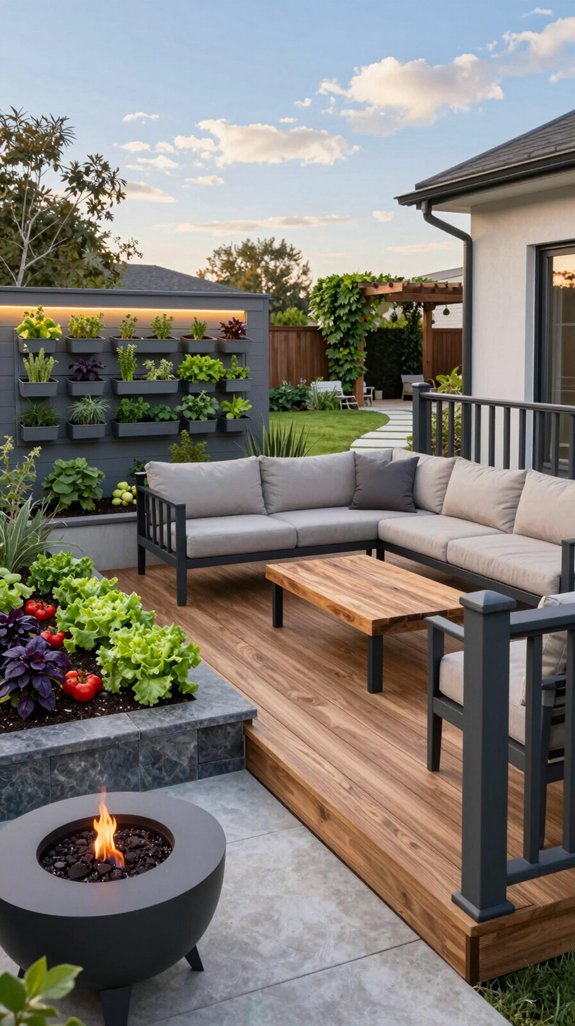
Showcase your backyard makeover by snapping high‑resolution before‑and‑after photos, then stitch them together in a quick time‑lapse video using free editing software. Choose a smartphone with HDR mode, mount it on a tripod, and capture at consistent angles. Export frames to an open‑source editor like Shotcut, set a 2‑second clip per frame, and add royalty‑free background music. Compress the final MP4 to under 10 MB for easy sharing on social platforms. Include captions that highlight cost‑saving tricks, material specs, and energy‑efficient lighting. Tag the post with DIY, budget, and innovation hashtags to attract fellow enthusiasts and potential collaborators.
Frequently Asked Questions
Will I Need a Permit for a DIY Fire Pit?
Ninety‑five percent of municipalities require a permit for fire pits larger than three feet in diameter, so check local codes. If your pit stays under that size, you can usually skip permits and save on fees.
Can I Use Reclaimed Wood for the Picnic Table Without Treatment?
Yes, you can use reclaimed wood for a picnic table without treatment if you sand it, apply a UV‑stable exterior sealant, and guarantee joints are tight; this keeps costs low while preserving the material’s rustic appeal.
How Often Should I Reseal the Deck Stain?
You should reseal the deck stain every 12‑18 months, depending on exposure and traffic. Check for water‑beading; if it beads, reseal now. Use a budget‑friendly, UV‑resistant product and reapply promptly after cleaning.
What Is the Best Way to Prevent Weeds Under the Gravel Base?
You’ll prevent weeds under gravel by laying a high‑quality landscape fabric, overlapping seams, securing with staples, then spreading a 2‑inch crushed stone layer, compacting it, and adding a polymer‑based sealant for extra blockage.
Do Solar Pathway Lights Work During Cloudy Days?
Yes, solar pathway lights still work on cloudy days, though output output drops. Choose high‑efficiency panels, larger batteries, and low‑wattage LEDs to maintain brightness while keeping costs low.