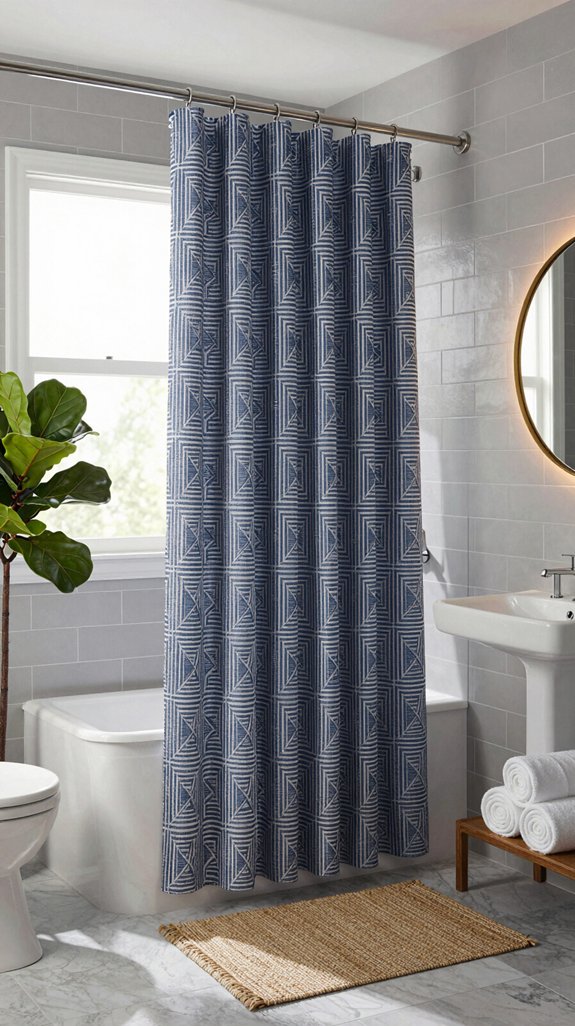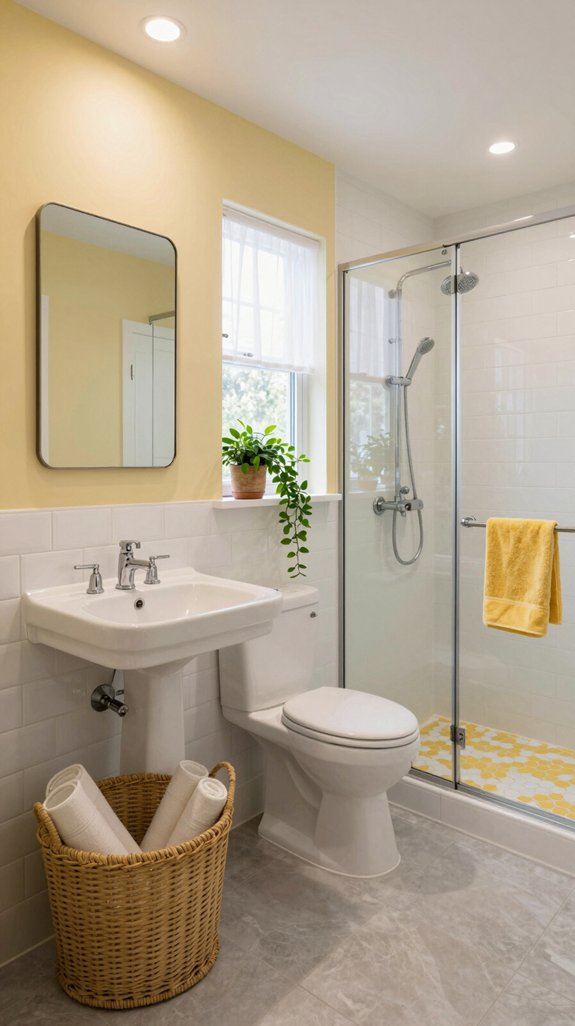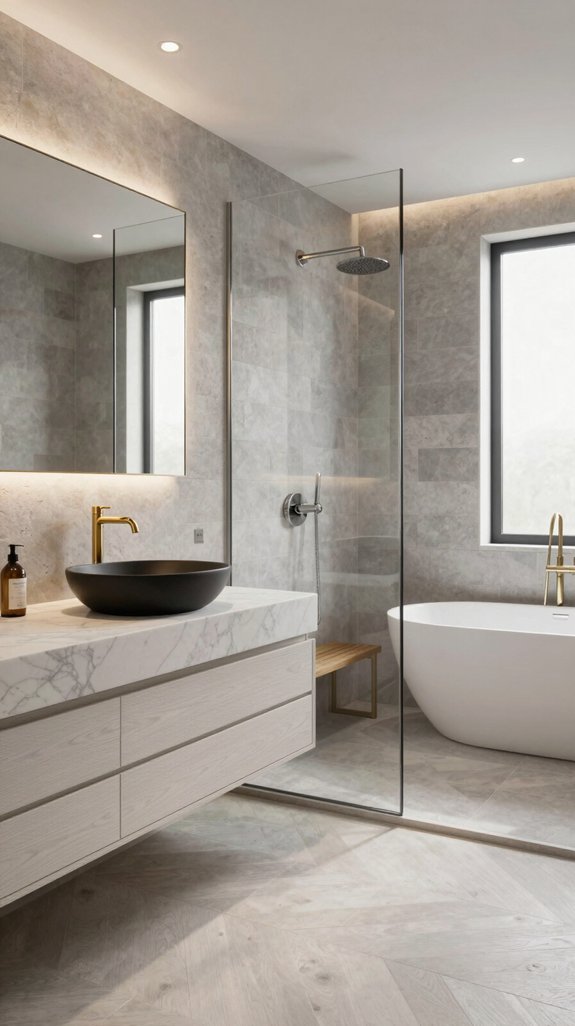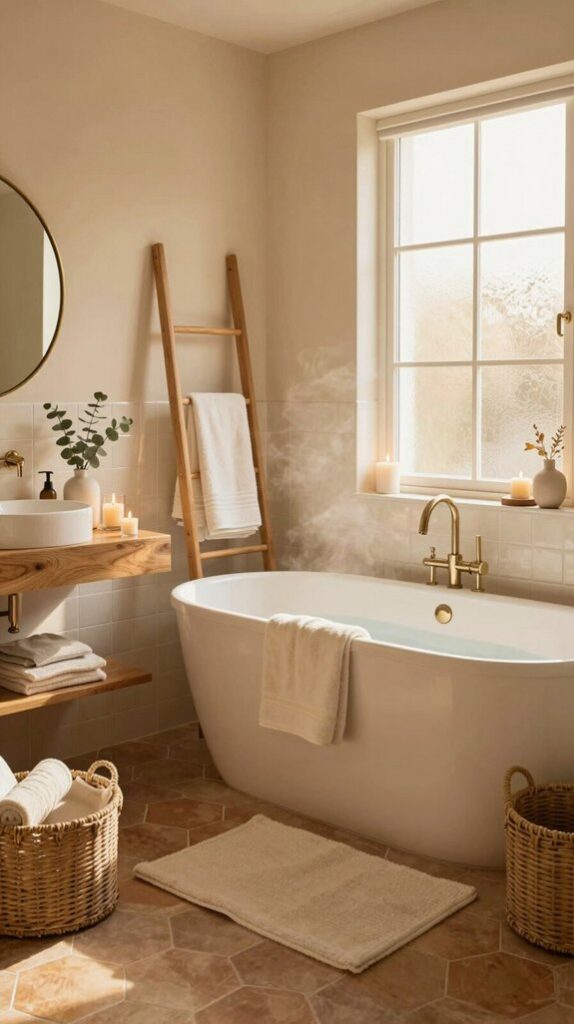

You can transform your bathroom into a warm sanctuary by layering natural wood vanities with soft neutral palettes and textured stone elements. Install layered lighting—ambient, task, and accent—with dimmable switches to customize mood. Upgrade to walk-in showers with rainfall heads, add recessed shelving for organized storage, and embrace frameless glass for seamless design. Incorporate beadboard panels and strategic color coordination with adjacent spaces to create cohesive flow. There’s much more to discover about crafting your personal wellness retreat.
Warm Up Your Vanity With Natural Wood Finishes
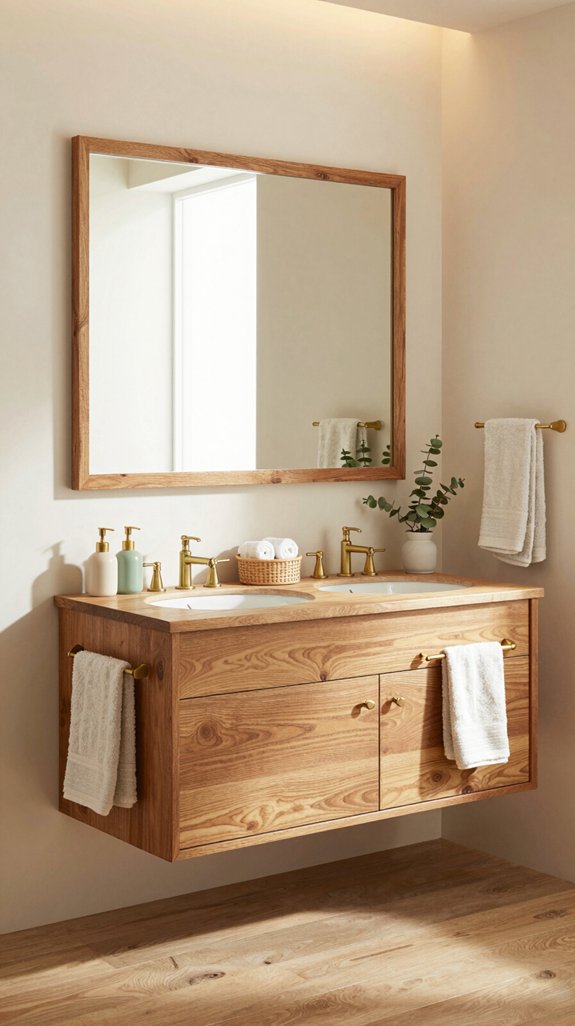
When you’re seeking to infuse your bathroom with timeless elegance, a natural wood vanity doesn’t just add furniture—it transforms your space into a sophisticated retreat.
You’ll appreciate how unique grain patterns and textures distinguish each piece, creating eye-catching focal points that elevate your room’s aesthetics.
Light wood tones like oak brighten interiors while maintaining visual depth.
Natural wood adapts seamlessly to rustic, modern, or traditional designs, developing a beautiful patina that enhances character over time. With proper care including water-resistant sealant application, your vanity will maintain its beauty and durability for decades.
You can customize finishes and stains to match your decor preferences, ensuring your vanity reflects your distinctive style while delivering warmth synthetic materials simply can’t replicate. Consider pairing your wood vanity with decorative panels to frame mirrors or conceal storage areas for a polished, integrated look.
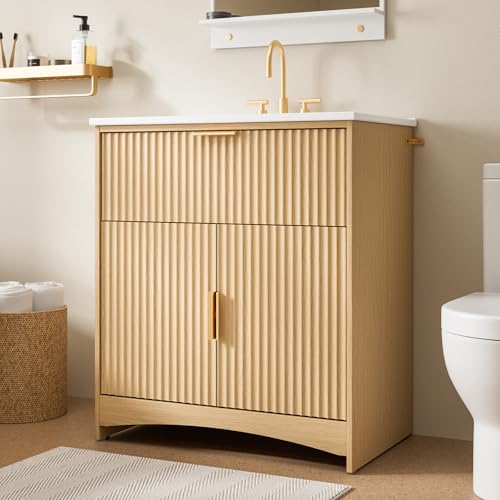
Modern Fluted Style: This fluted-style bathroom vanity adds classic simplicity and understated elegance to any bathroom with refined details, fluted panels, and an elegant finish. With smooth drawer slides and stylish metal handles, it combines everyday practicality with timeless beauty.

Modern Arched Fluted Design: This modern bathroom vanity features an elegant arched fluted panel design, paired with natural wood grain cabinet doors and gold metal handles to bring warmth and sophistication to your space. The freestanding bathroom vanities adds a stylish and refined touch, making it an ideal choice for modern small bathrooms
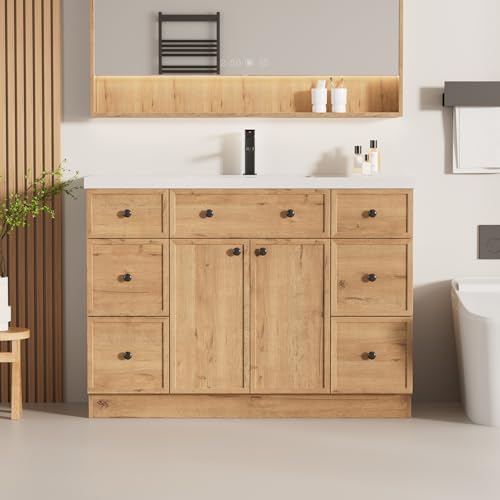
Rustic Design & Durable Use: Crafted from moisture-resistant MDF with a reinforced base, this bathroom vanity combines elegant design with robust durability, effortlessly withstanding humid conditions. Its Modern Rustic shape offers a simple, pastoral style that suits any bathroom, enhancing comfort by merging fashion and durability
Layer Natural Grains and Stone for Textural Depth
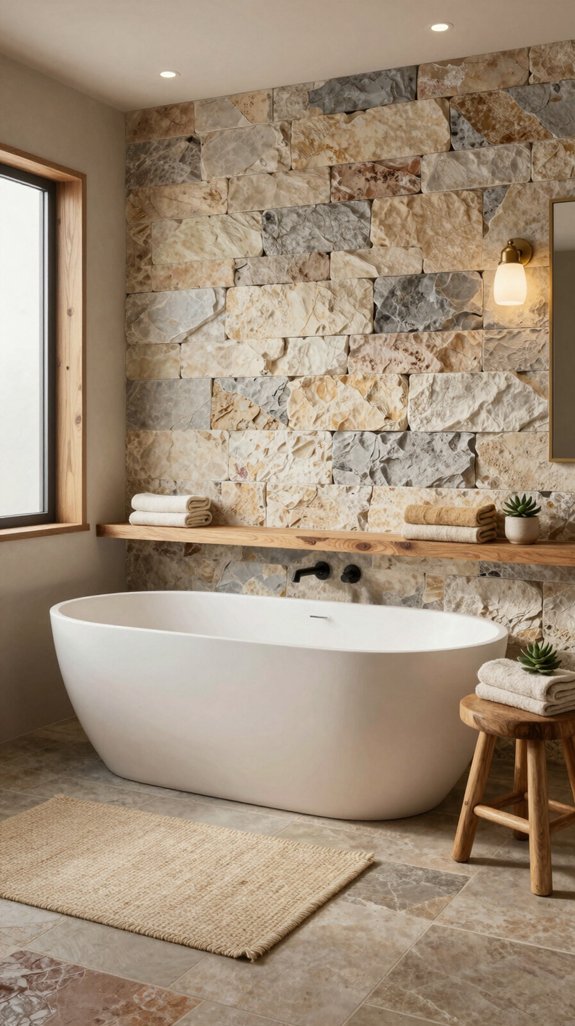
By layering natural grains and stone, you’ll create textural depth that transforms your bathroom into a sophisticated sanctuary.
Pair marble walls with slate floors to establish striking contrast in shower zones. Combine stone with warm wood cabinetry to balance cool tones and introduce organic warmth.
Consider mixing different marble varieties or stone types to prevent visual monotony while enhancing spatial dimension. Incorporate floor-to-ceiling stone features behind tubs for a spa-inspired aesthetic.
Experiment with river rocks and glass combinations for organic texture and luminous reflection.
These thoughtful combinations elevate your space beyond conventional design.

【Material】: All-metal sturdy construction. Mixing valve is made of solid brass, which has the characteristics of no rust and long life, SUS304 stainless steel shower head and self-cleaning silicone nozzle, anti-clogging, easy to clean, anti-oxidation and corrosion-resistant.

【12Inch Square Rain Shower】Excellent rain shower system. 304 # stainless steel has high rust resistance and service life. The solid ball nut with 360 degree adjustable rotation angle can realize reliable leak free connection to meet the needs of shower at different angles.

【10’’ Ultimate Matte Black Rainfall Shower Head Combo】Transform your everyday shower into a luxurious spa experience with our 10-inch high-pressure matte black rainfall shower head. The upgraded ultra-wide spray pattern fully envelops your body to rejuvenate your senses and offer total relaxation. Includes a filter and washer for enhanced leak protection.
Choose Soft Neutral Color Palettes That Calm
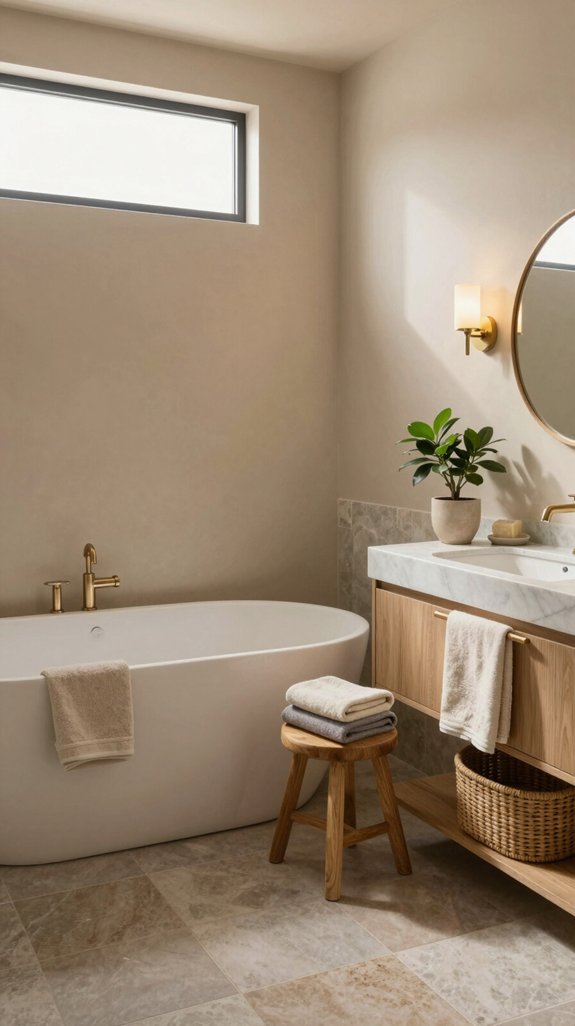
After layering natural textures and stone, you’ll want to ground your cozy bathroom with soft neutral colors that naturally calm the mind and body.
Consider palettes like warm gray with soft white, muted sage paired with light beige, or pale blush accenting cool white. These combinations create serene, minimalist spaces without overwhelming visual noise.
Sandstone blended with crisp white produces an inviting oasis aesthetic, while warm neutrals, taupes, and greiges establish spa-like tranquility.
Light-reflecting hues expand perceived space, making smaller bathrooms feel more open.
Strategic color layering transforms your bathroom into a sophisticated sanctuary that balances earthiness with contemporary elegance.

Style & Versatility: This 14" x 24" recessed medicine cabinet blends elegance with any décor. Its clean lines and sleek White finish transform clutter into a sophisticated statement piece. Easily installs in showers or walls, freeing floor space while modernizing new or remodeled bathrooms. A functional decor upgrade in minutes!
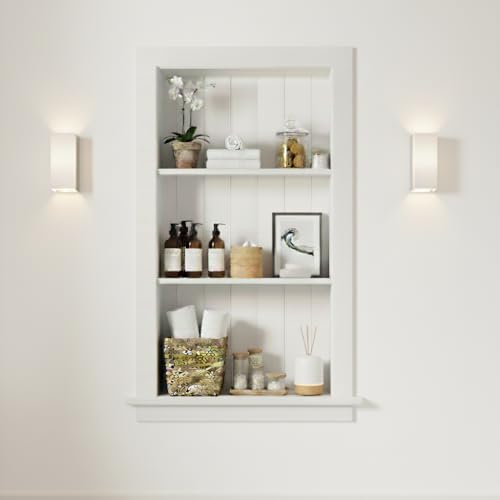
MEDICINE CABINET INSERT, NO MIRROR: A recessed cabinet with three shelves that sits flush with the wall, organising essentials without taking up floor space.

Style & Versatility: This 14" x 24" recessed medicine cabinet blends elegance with any décor. Its clean lines and sleek Black finish transform clutter into a sophisticated statement piece. Easily installs in showers or walls, freeing floor space while modernizing new or remodeled bathrooms. A functional decor upgrade in minutes!
Install Layered Lighting for Ambiance and Function
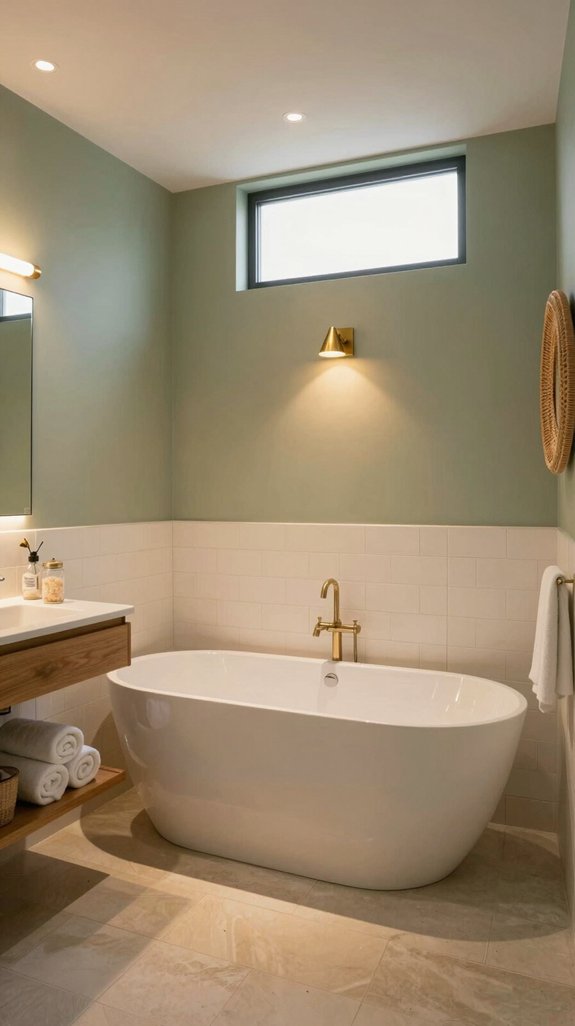
Your serene color palette sets the stage for the next critical element: layered lighting that balances ambiance with practical functionality.
You’ll create three distinct zones: ambient lighting provides foundational illumination through recessed fixtures or cove lighting at 75-100 lumens per square foot, while task lighting focuses on grooming areas with vanity-adjacent sconces positioned 60-65 inches high.
Accent lighting adds sophisticated depth through directional recesses or wall washes.
Install separate dimmable switches for each layer, enabling you to customize brightness and mood independently.
Consider using light diffusers to soften the illumination from your accent lighting and create a more refined aesthetic throughout your bathroom.
This intelligent approach transforms your bathroom into a sophisticated retreat.
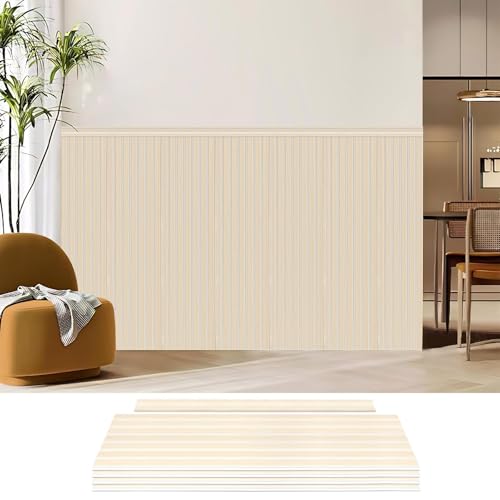
Stylish Wall Upgrade: This wainscotting wall panel kit adds texture and charm to any space. The 37.8” tall beadboard panels create a beautiful decorative accent for living rooms, bedrooms, kitchens, studies, and more

Stylish Wall Upgrade: This wainscotting wall panel kit adds texture and charm to any space. The 37.8” tall beadboard panels create a beautiful decorative accent for living rooms, bedrooms, kitchens, studies, and more

PVC WALL PANELS, 6-PIECE KIT: Elevate your walls with Plastpro’s 3-ft wainscoting panel kit. The complete solution for bathrooms, kitchens, bedrooms & living rooms. Includes 6 reversible PVC panels (3 ft high × 7¼ in wide), each pre-finished, pre-grooved, and ready to interlock. No nails or adhesive required.
Upgrade to a Walk-In Shower With No Threshold
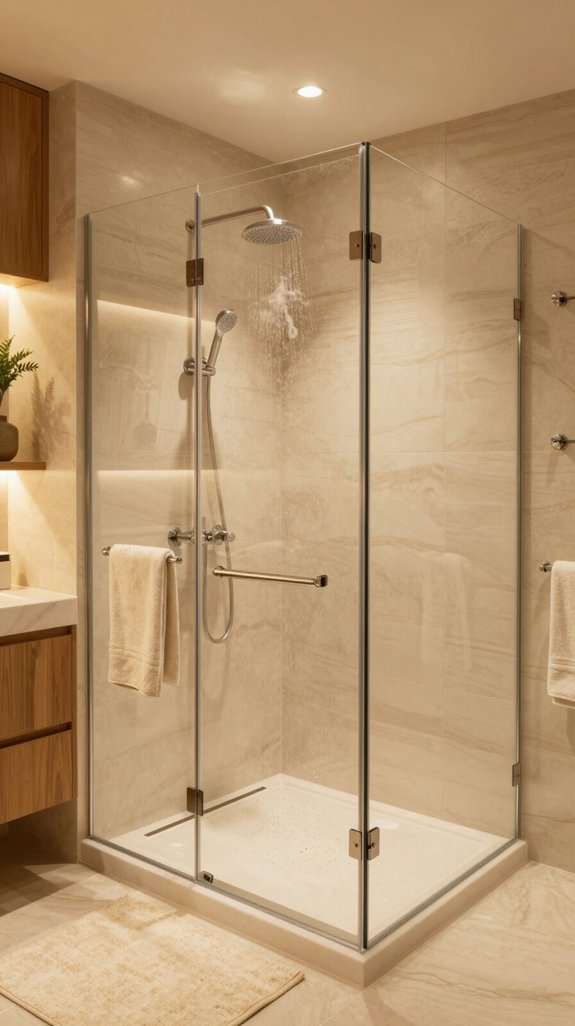
While your layered lighting establishes mood and function, a walk-in shower with no threshold elevates both accessibility and design by eliminating the physical barrier that traditionally separates wet and dry zones.
You’ll appreciate the seamless flooring change that creates an open, flowing aesthetic, enlarging your bathroom’s perceived space. Low-threshold bases with proper slope toward linear drains manage water efficiently while reducing maintenance demands.
Frameless glass doors and uniform tiling deliver contemporary sophistication. You gain universal design benefits—enhanced independence, fall risk reduction, and ADA compliance—without sacrificing style, making this upgrade a transformative investment in both form and function.

6 DISTINCT SKIN SHADES - This collection embraces a spectrum of 6 skin tones, ranging from the fairest to the deepest hues. It is tailor-made for body and facial art, comics, portrait creation, illustrations, and a myriad of other artistic endeavors. The vibrant hues retain their integrity once dry, ensuring long-lasting vibrancy without fading. These 6 skin tone options empower you to craft decorative paintings and crafts for Birthdays, Halloween, Christmas, and other special celebrations.

🌲【Vintage Christmas Wall Art Print】: Bring the timeless symbol of Christmas into your home with our vintage pine tree art print. Designed with a rustic, farmhouse aesthetic, this piece evokes feelings of warm nostalgia and cozy winter nights, instantly creating a festive and welcoming atmosphere in your living room, entryway, or dining space.

Olive Tree Wall Art: Sunlit olive tree wall art features a potted olive branch beside a rustic window, with warm beige tones, soft shadows and natural botanical charm
Install Rainfall Showerheads for Relaxation
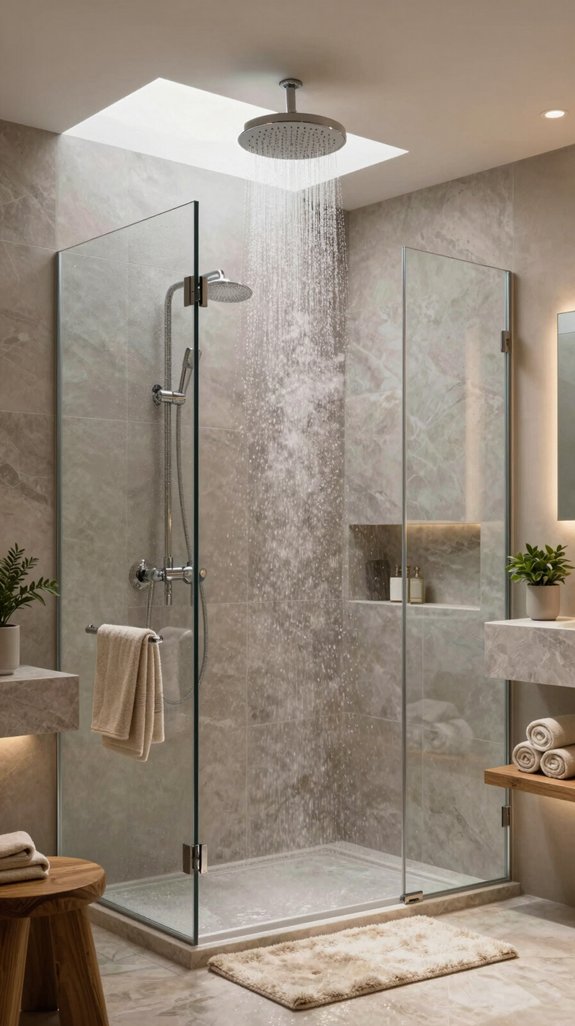
Pairing your seamless walk-in shower with a rainfall showerhead transforms bathing from functional routine into a restorative ritual.
These innovative fixtures disperse water through multiple nozzles across an 8-12 inch diameter, enveloping your entire body in gentle coverage. The soft, consistent droplets mimic natural rainfall, creating a meditative experience that reduces stress and promotes well-being.
Unlike conventional showerheads, rainfall models deliver therapeutic benefits through lower pressure, protecting sensitive skin and hair from irritation.
Installation proves straightforward, while adjustable settings let you customize flow intensity.
You’ll cultivate a spa-like sanctuary where relaxation becomes your daily practice.

Upscale Ceramic Basin:Each bathroom vanity with sink includes a premium ceramic sink characterized by its smooth, non-porous surface that is exceptionally easy to clean. The basin comes with pre-drilled holes for your faucet and drain, simplifying the upgrade process. This durable sink top perfectly complements the Fluted cabinet base, offering a polished look for any contemporary bathroom vanity setup.

⭐ Beautiful Acacia Wood: Our Wooden Risers for Decor are made of high quality natural Acacia wood and well made, These handmade counter trays add a touch of modern and farmhouse style to your decor.

Stable & Space-Saving Design: Tired of wobbly vanities ruining your bathroom vibe? This small bathroom vanity with sink (a reliable bathroom sink cabinet) features solid wood adjustable legs for uneven floors and carved 3D feet for vintage charm. The multi-function rod tames clutter—towels/tissues within reach, no messy counters.
Add Dual Showerheads for Luxurious Bathing
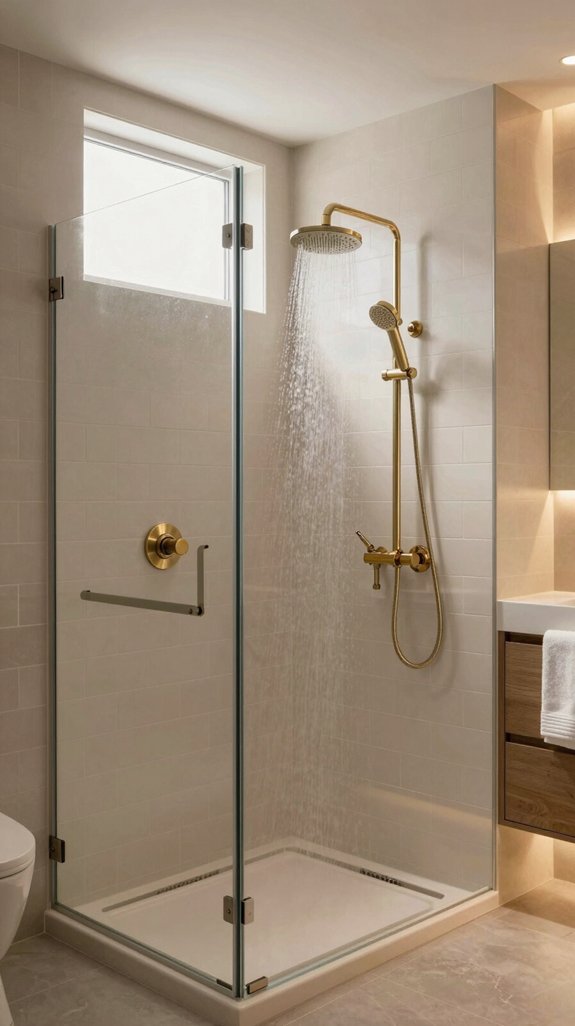
To elevate your shower experience beyond what a single fixture can offer, dual showerheads deliver simultaneous water coverage from multiple angles, enveloping your entire body in comfort while eliminating the need to reposition for thorough rinsing.
Each head operates independently with customizable spray patterns and temperature settings, accommodating different preferences effortlessly. The expanded spacing between fixtures creates ideal steam circulation, intensifying relaxation.
You’ll appreciate the practical benefits too—handheld attachments enable efficient cleaning, while dual systems maintain consistent water pressure.
This premium upgrade transforms your bathroom into a sanctuary of modern luxury, elevating both daily functionality and aesthetic appeal.

All Metal Construction: This shower faucet set is made from SUS304 stainless steel (10-inch shower head, handheld spray, shower arm, bracket holder, hose and cover plate) and brass (valve body) for rust, corrosion and high-temperature resistance in daily bathroom use

304 Stainless Steel Structure: Made of high-quality 304 stainless steel, the main body of the product is designed to resist rust and wear, ensuring long-lasting durability. It effortlessly withstands high temperatures, guaranteeing both durability and reliability.

【Material】: All-metal sturdy construction. Mixing valve is made of solid brass, which has the characteristics of no rust and long life, SUS304 stainless steel shower head and self-cleaning silicone nozzle, anti-clogging, easy to clean, anti-oxidation and corrosion-resistant.
Add Built-In Seating in Your Shower
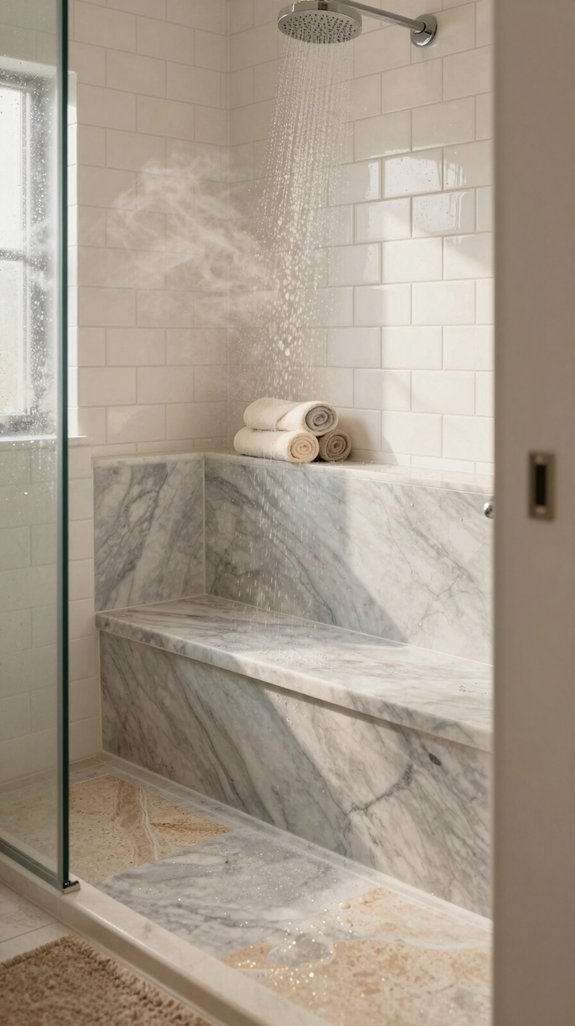
Built-in shower seating transforms your bathing space from a purely functional area into a retreat where comfort meets practicality.
You’ll discover versatile options like folding teak seats that maximize space while offering slip-resistant warmth, or floating stone-look benches that enhance modern aesthetics. Tiled surfaces withstand moisture effortlessly, while curved designs with mosaic bases add visual interest.
Beyond aesthetics, you’re gaining accessibility features—transfer seats support mobility needs, and curbless entries paired with seating create safer bathing environments. Consider recessed niches for product organization, or extended benches doubling as storage.
Match tile patterns to surrounding walls for seamless cohesion.

LAUNDRY ROOM AND BATHROOM SHELVES - The Aiden Wall Niche is handmade from real wood and features four sturdy shelves for storing and displaying personal items

Style & Versatility: This 14" x 18" recessed medicine cabinet blends elegance with any décor. Its clean lines and sleek white finish transform clutter into a sophisticated statement piece. Easily installs in showers or walls, freeing floor space while modernizing new or remodeled bathrooms.

【3 Color & Brightness Adjustable LED Light】LED medicine cabinet mirror for bathroom has 3 color light, short press the on/off button for 3 light mode adjustments, cool light, natural light, and warm light. Long press the dimmable button for step-less adjustment of light brightness from 10%-100%
Create a Wet Room for Seamless Spa Experience
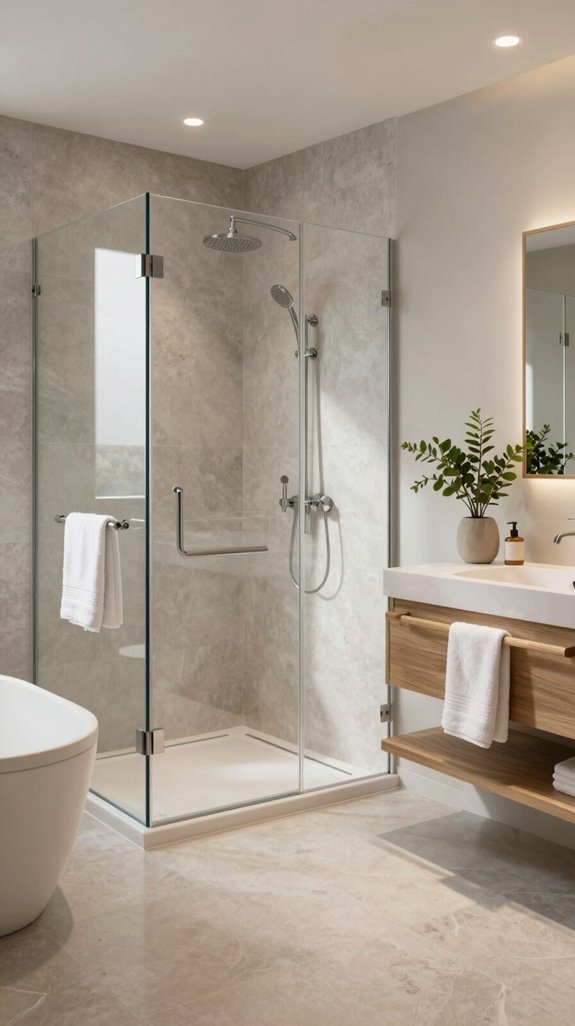
When you’re ready to elevate your bathroom beyond traditional shower enclosures, a wet room delivers the ultimate spa-like retreat by eliminating barriers between bathing zones and the rest of your bathroom.
You’ll appreciate how curbless entries and frameless glass partitions create seamless visual continuity, expanding your space effortlessly.
Sloped flooring with waterproof materials directs drainage efficiently, while heated floors add luxury underfoot.
Strategic placement of dual showerheads and freestanding tubs positions bathing as your room’s focal point.
Large windows flood natural light throughout, amplifying that coveted spa atmosphere.
You’re transforming utilitarian bathing into an immersive sanctuary.

🏠DETAILS: Size 15.8 X197 Inch , total 21.65 sq.ft(40cmX5m),Wide of wood slat: 1.42 inch. Self adhesive (no extra glue needed). Made of durable pvc vinyl, faux beadboard wallpaper Peel and stick, Waterproof, Removable.

Flexible Sizing, Easy Cutting: reversible PVC wainscoting panels are approximately 7 inches/18 cm wide, 3 ft/ 91.44 cm high, and 0.25 inch/0.65 cm thick, with a set of 10 panels; The panels can be easily cut to any length to fit various corners and spaces, achieving a seamless, professional installation
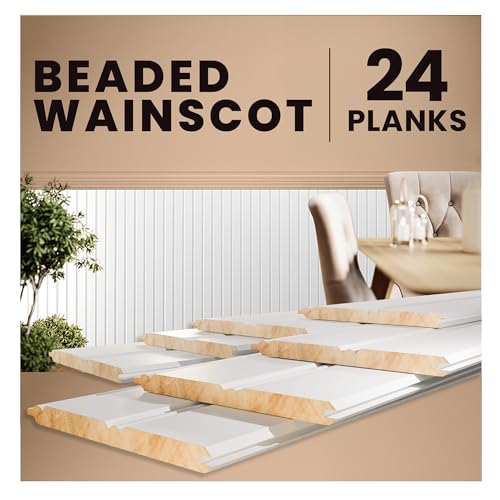
PRIMED & READY-TO-PAINT WOOD WALL PANELING: Pre-primed with a smooth white finish, these wood panels are ready for painting, perfect for accent walls, bathrooms, and hallways. The paintable beadboard design saves prep time and offers a professional-grade finish for DIY projects. Includes 24 solid pine planks covering 7 linear feet. Note: As a natural wood product, please allow 48-72 hours for planks to acclimate to your room’s humidity before installation to ensure a perfect fit
Design a Corner Shower With Frameless Glass
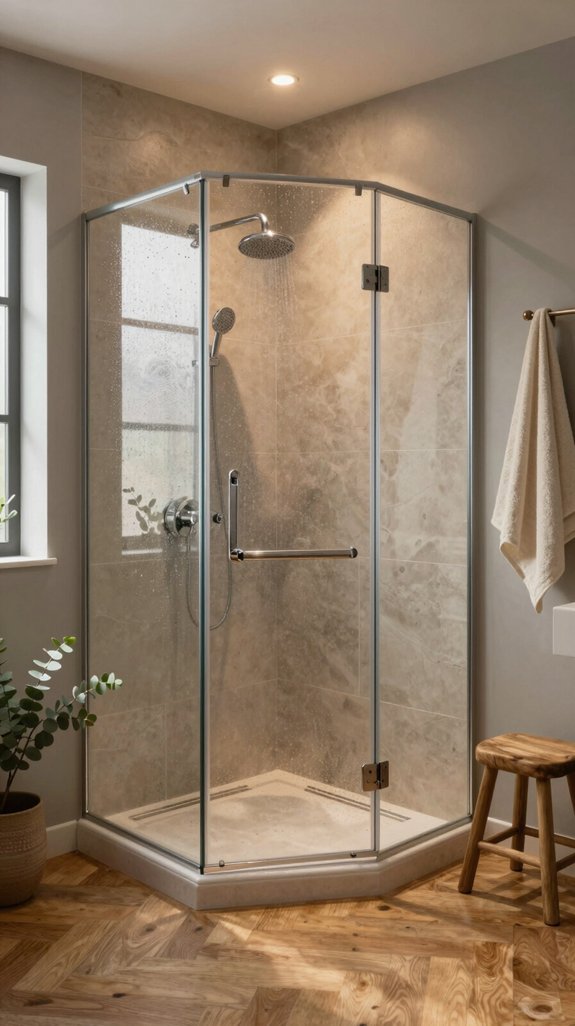
Corner showers with frameless glass bring that spa-inspired elegance down to an achievable scale, even if you’re not ready for a full wet room conversion.
You’ll maximize your bathroom’s functionality by utilizing two perpendicular walls with strategically positioned glass panels. Select 3/8-inch tempered glass minimum—8mm or 10mm for 90-degree configurations—ensuring safety compliance and durability.
Install one fixed panel paired with an outward-opening door featuring a minimum 22-inch clear opening. Incorporate proper drainage through sloped surfaces and watertight caulking.
The result? A contemporary focal point that amplifies perceived space while delivering sophisticated, maintenance-conscious design.

【Vintage Art for Wall Decor】Featuring vintage muted neutral Hydrangea art print, the farmhouse decor captures the beauty and tranquility of nature, bringing a sense of wonder into your living space. The vintage white flower pictures decor aesthetic is ideal for retro decoration, this artwork adds a vintage touch to your bathroom, bedroom, and living room, creating a serene and cozy atmosphere.

【Vintage Wall Art】: The neutral tones and timeless appeal of this vintage sketch art piece make it a versatile choice for any interior space. Whether you're looking for a nature-inspired centerpiece or a subtle accent, this piece has you covered.

VERSATILE PAINT - These artist-quality acrylic paints are rich and creamy and are perfect for basecoating, stenciling, and more. This color comes in a handy 16 oz size
Float Your Vanity to Open Up the Space
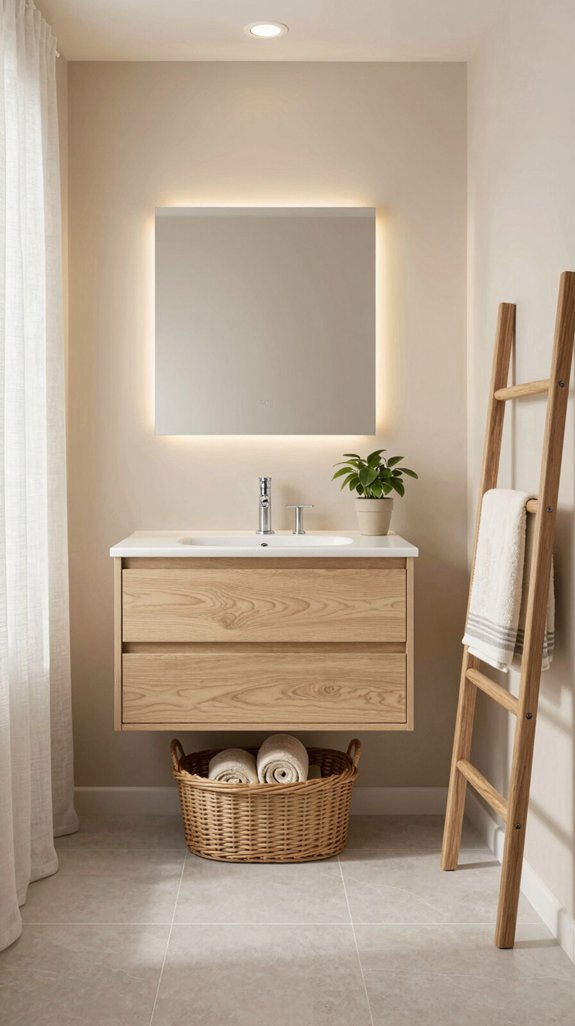
If you’re working with limited square footage, floating your vanity is one of the most transformative design moves you’ll make. By suspending your vanity above the floor, you’ll expose continuous flooring that creates an illusion of expanded space—essential for narrow or compact bathrooms.
This contemporary approach delivers sleek minimalism while showcasing decorative floor finishes as design focal points. You’ll gain practical benefits too: simplified cleaning underneath, maximized storage through thoughtful drawer designs, and customizable height options for ergonomic comfort.
The result? A spa-like atmosphere that feels both luxurious and airy, proving that smart design choices amplify your bathroom’s perceived dimensions.
Use Soft-Close Drawers and Doors for Quiet Elegance
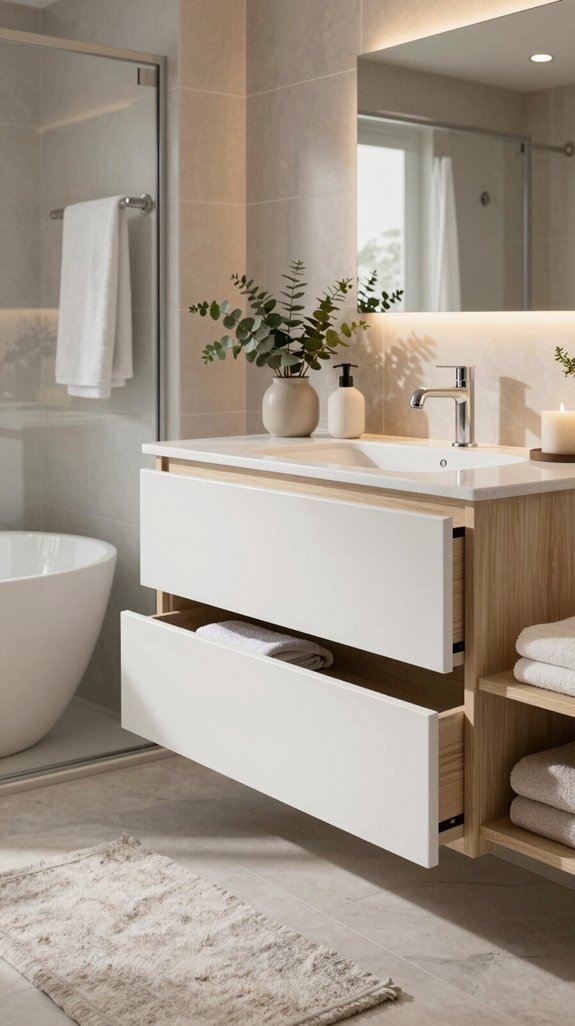
After you’ve created an open, airy bathroom with a floating vanity, soft-close hardware becomes the next essential refinement that transforms your space from merely functional to genuinely luxurious.
Hydraulic dampers integrated into hinges and drawer slides guarantee whisper-quiet closure, eliminating jarring slams that disrupt tranquility. This refined mechanism activates automatically, protecting fingers while preventing contents from shifting or rattling.
Beyond comfort, soft-close hardware extends your cabinetry’s lifespan by reducing wear on hinges and frames.
The result: a bathroom that operates seamlessly, feels premium, and conveys sophisticated design—elevating your daily routine into an experience of understated elegance.
Implement Recessed Shelving for Hidden Storage
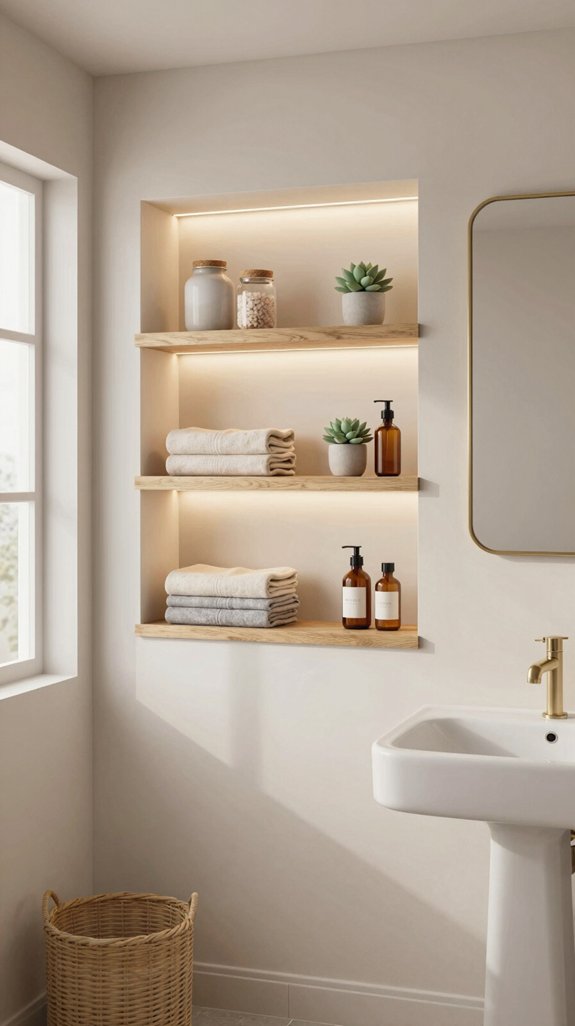
While soft-close hardware whispers elegance into your bathroom’s daily operations, recessed shelving delivers the storage sophistication that makes luxury truly functional.
You’ll transform hollow wall spaces into seamless storage solutions that preserve precious square footage. Between-stud installations maximize efficiency, while corner placements optimize forgotten areas.
Whether you’re storing toiletries above the vanity or displaying artful vessels in glass-front cabinets, recessed shelves maintain your bathroom’s visual clarity.
Waterproofing protects against moisture damage, and hidden mounting hardware eliminates visual interruption.
Consider pairing your recessed shelving with stylish loveseats and storage solutions to create a cohesive approach to maximizing space throughout your home.
This innovation creates a sanctuary where every element serves both aesthetic and practical purpose—the hallmark of genuine design sophistication.
Add Built-In Vanity Outlets to Minimize Clutter
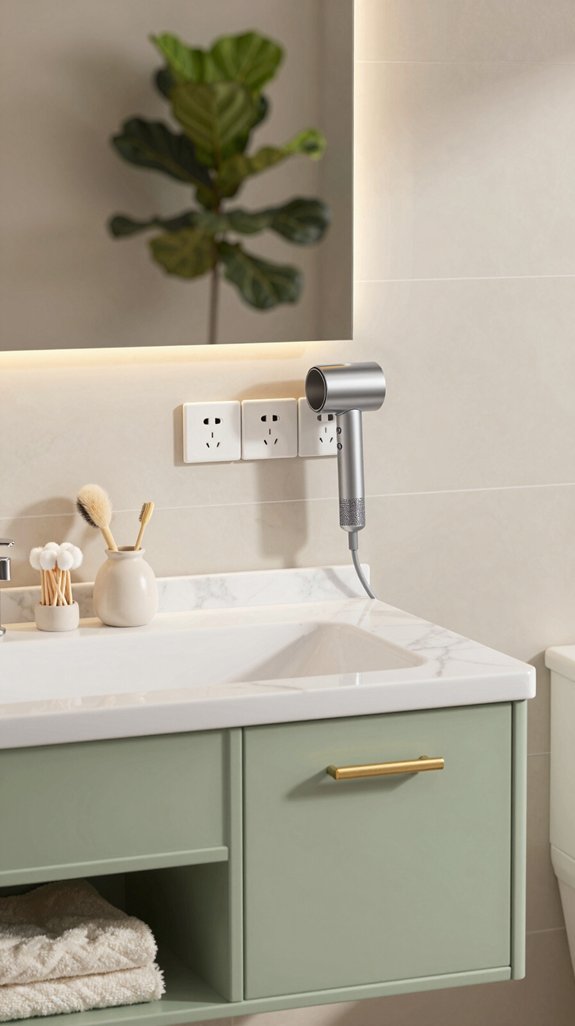
Built-in vanity outlets elevate your bathroom’s functionality beyond what recessed shelving alone can achieve, transforming your countertop into a genuinely clutter-free workspace.
You’ll integrate USB ports and traditional outlets directly into drawers or cabinetry, eliminating visible cords and freeing valuable surface real estate. This strategic design addresses older bathrooms’ limited outlet availability while supporting multiple grooming appliances simultaneously—hair tools, electric toothbrushes, and shavers operate seamlessly without competition.
Modern vanity designs accommodate both single and double sinks, offering prefabricated or custom solutions.
You’re investing in an efficient workstation that merges storage and power delivery, establishing the polished, organized aesthetic your cozy sanctuary deserves.
Add Heated Flooring for Year-Round Comfort
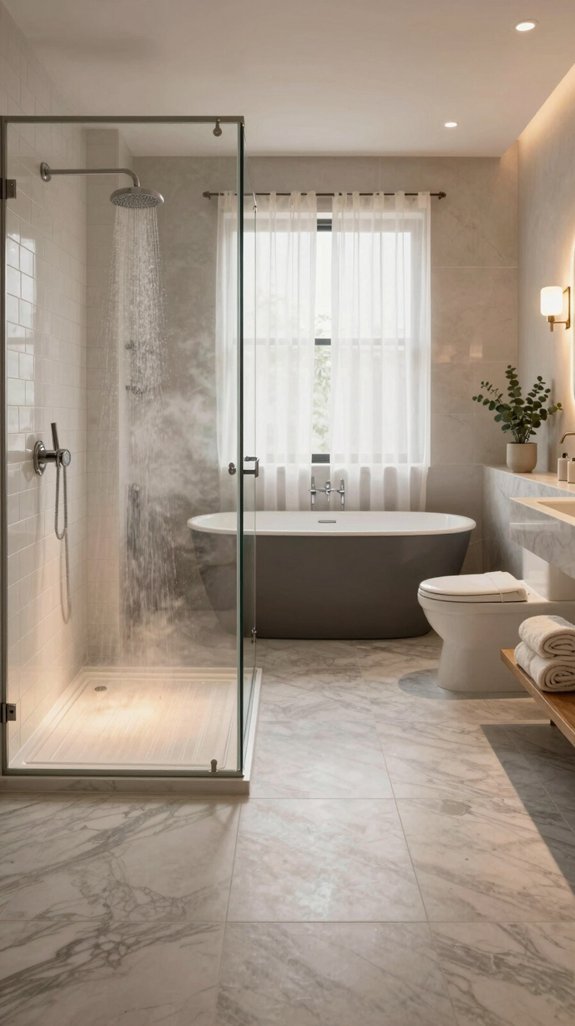
Why settle for cold tile underfoot when you can transform your bathroom into a warm sanctuary year-round?
You’ll find two primary solutions: electric radiant heating and hydronic systems. Electric systems offer simpler DIY installation beneath existing flooring, heating quickly and effectively.
Hydronic systems provide superior energy efficiency for larger spaces but require professional installation. Both work beautifully with porcelain, ceramic tile, and natural stone—materials that maximize thermal conductivity.
Consider your bathroom’s size and budget carefully. Electric systems suit smaller spaces perfectly, while hydronic installations justify their higher upfront costs through long-term efficiency gains.
Either choice elevates comfort markedly.
Install Radiant Heating as an Efficient System
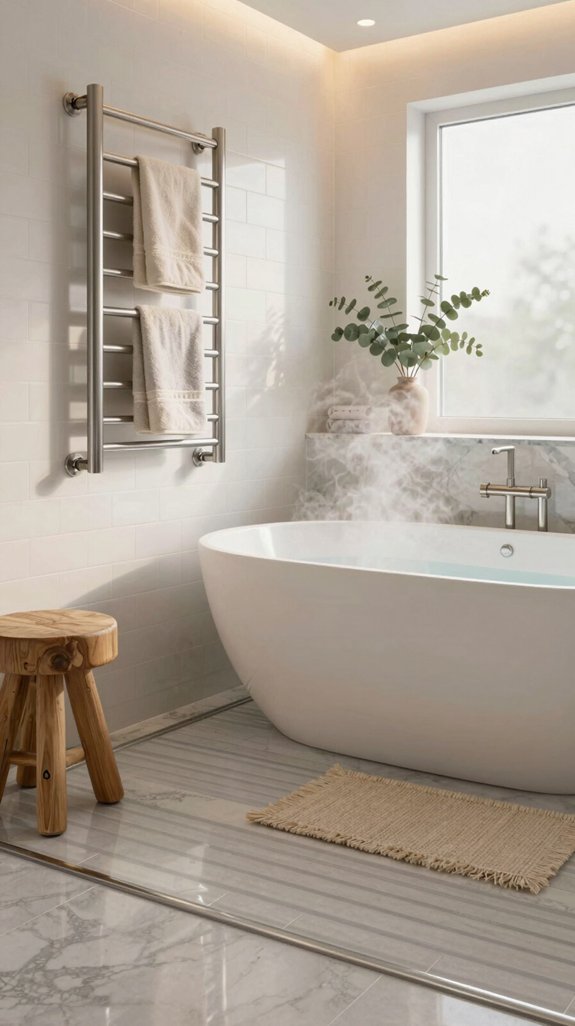
Once you’ve decided on radiant heating, understanding the installation process becomes your roadmap to a properly functioning system.
You’ll begin with heat load calculations to determine ideal tube spacing and water temperatures. Professional subfloor preparation guarantees proper insulation, while PEX tubing follows strict bend radius guidelines.
Pressure testing over 24 hours verifies watertight integrity before flooring installation. Temperature calibration targets 85–120 degrees depending on your climate and floor covering.
Licensed technicians handle water heater connections and thermostat programming, establishing predictable warm-up patterns.
Self-leveler application creates a flawless surface for tile installation, completing your efficient, innovative heating solution.
Use Reclaimed Wood for Character and Warmth
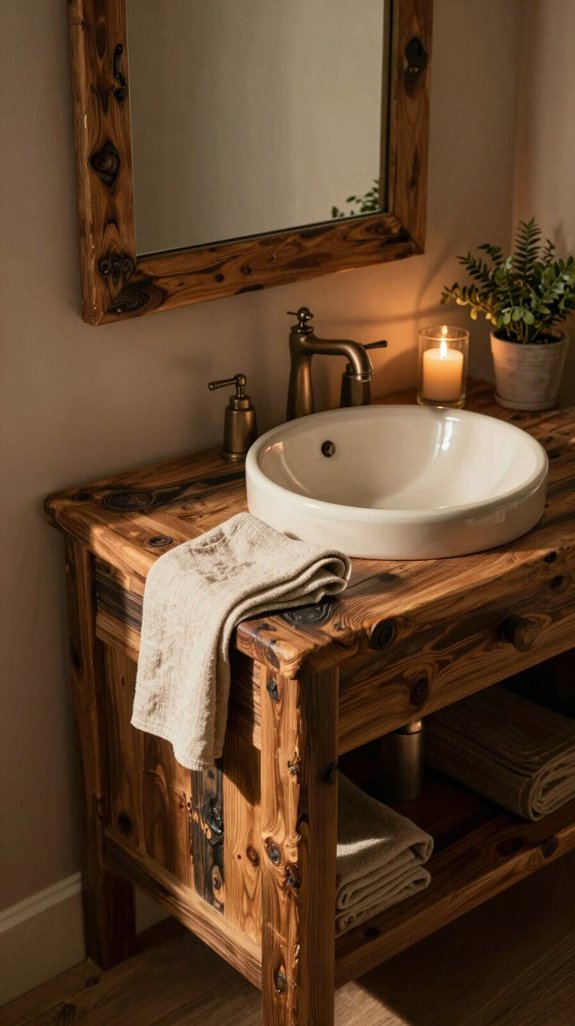
Reclaimed wood transforms bathrooms through authentic character that new materials simply can’t replicate.
You’ll appreciate the depth old-growth timber brings—denser, stronger wood that’s fully aged and resistant to warping. Each piece bears unique weathering marks and grain variations, creating visual warmth against cold tile surfaces.
Reclaimed wood works beautifully as vanity cabinets, accent walls, or flooring paired with modern elements like marble or granite. Consider arranging your bathroom layout with grouped seating elements like a bench or chair to create an inviting retreat space.
Beyond aesthetics, you’re making an eco-conscious choice: reusing timber prevents landfill waste, reduces carbon footprint, and supports sustainable practices.
Water-based polyurethane seals protect against bathroom humidity, ensuring durability for decades while boosting resale appeal.
Choose Scandi or Japandi Design Aesthetics
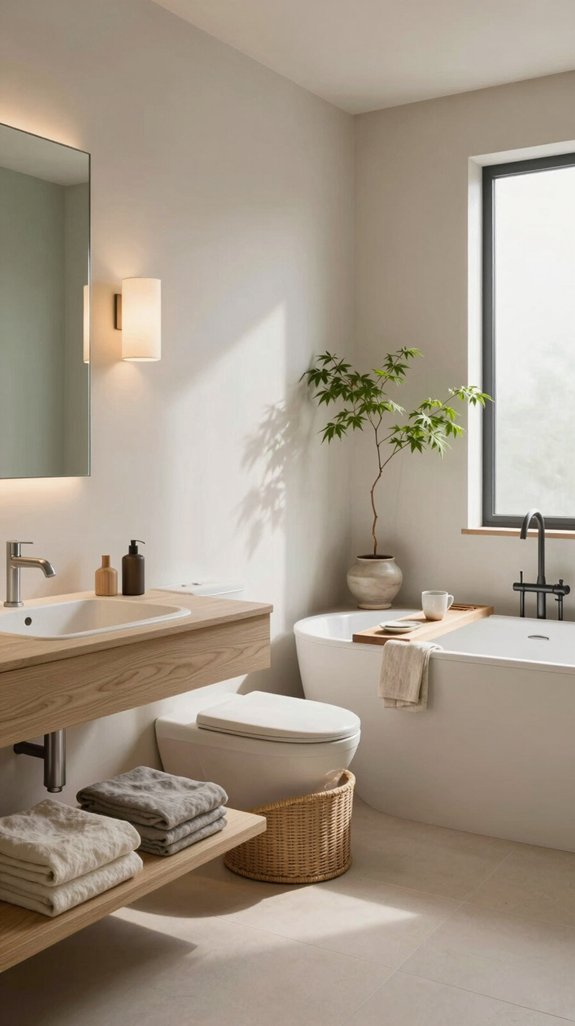
If you’re drawn to serene, uncluttered spaces, Scandinavian and Japandi design aesthetics offer the perfect foundation for a cozy bathroom. Both styles prioritize clean lines, natural materials, and minimalist functionality.
You’ll incorporate light wood tones, stone finishes, and matte ceramics that soften modern spaces while maximizing natural light. Japandi elevates this further by blending Scandi minimalism with Japanese wabi-sabi principles, introducing subtle textures and black accents for contemporary sophistication.
Hidden storage, floating vanities, and wall-mounted fixtures eliminate visual clutter. Consider adding beadboard wall panels to introduce classic interior texture while maintaining the minimalist aesthetic. Layered lighting and strategic plants complete these calming environments, transforming your bathroom into an innovative sanctuary where form and function seamlessly converge.
Expand Your Bathroom Into Adjacent Bedroom Space
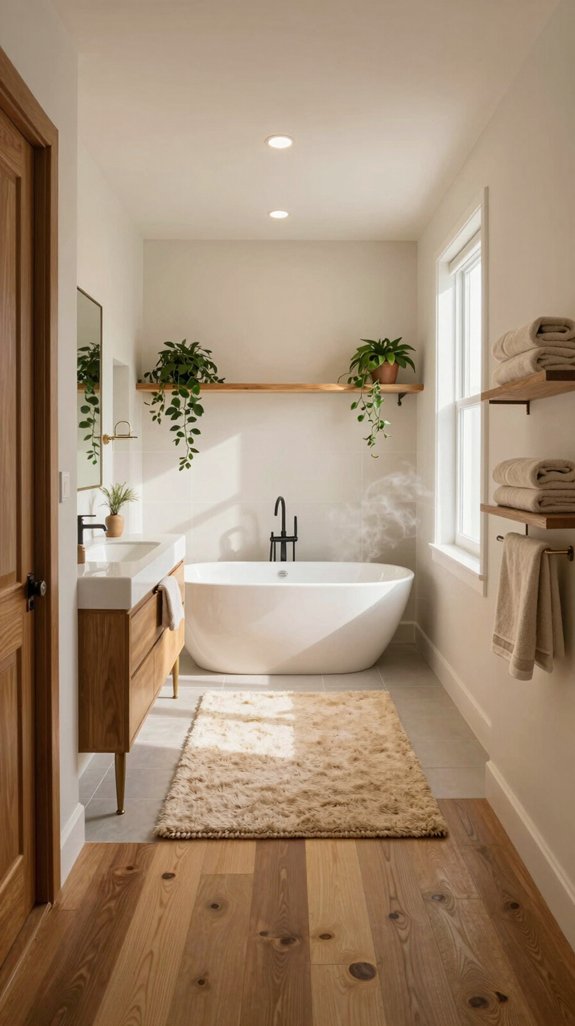
As you contemplate expanding your bathroom into adjoining bedroom space, you’re embracing a design approach that transforms your master suite into a luxurious, integrated wellness retreat.
You’ll need to prioritize seamless flow while maintaining privacy through strategic partitioning and frosted glass elements.
Consolidate plumbing along a single wall to minimize installation complexity. Implement robust ventilation systems to manage moisture effectively, protecting bedroom furnishings from humidity damage.
Coordinate your color palette across both zones using neutral bases with complementary accents.
Layer your lighting with dimmable options that guide visual continuity.
This thoughtful integration creates an airy, spa-like sanctuary without sacrificing functionality.
Combine Frameless Glass With Barrier-Free Design
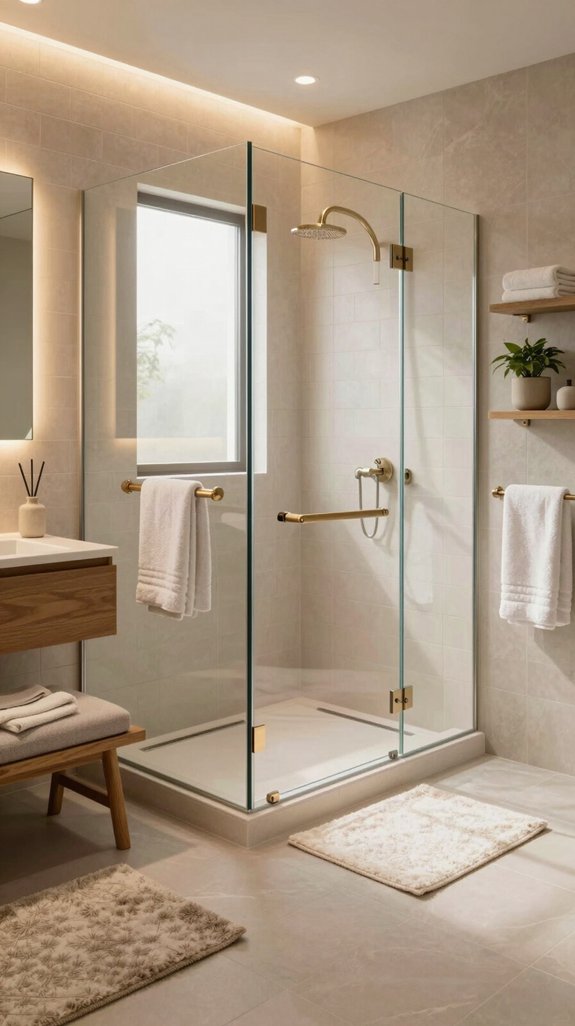
When you’re designing a truly accessible bathroom that doesn’t compromise on style, frameless glass paired with barrier-free principles creates an elegant solution that serves both aesthetics and functionality.
You’ll achieve zero-threshold entries with wider doorways that eliminate visual obstruction, allowing seamless movement throughout your space. The unframed glass maximizes sightlines, making compact bathrooms feel expansive while supporting strategic door placement for ideal accessibility.
Thicker tempered glass ensures durability in open configurations, and customizable panels adapt to your unique layout without barriers. This sophisticated combination delivers contemporary elegance alongside inclusive design—proving that accessible bathrooms needn’t sacrifice premium aesthetics.
Frequently Asked Questions
How Much Does a Bathroom Remodel Typically Cost, and What’s the Average Budget?
You’ll typically invest $12,900–$29,900 for a bathroom remodel, with the national average around $16,500. Your budget varies based on scope, materials, and regional location, ranging from $8,000 for basic updates to $80,000+ for luxury designs.
What’s the Best Way to Maximize Storage in a Small Bathroom Space?
You’ll think your small bathroom can’t accommodate adequate storage, but you’re wrong. You’ll maximize it by installing vertical shelving, utilizing under-sink organizers, strategizing door spaces, and incorporating narrow freestanding units strategically.
How Long Does a Typical Bathroom Renovation Project Take to Complete?
You’ll typically complete your bathroom renovation in 4–8 weeks. Planning takes 1–3 weeks, demolition requires 2 days, rough-in work spans 1–2 weeks, fixture installation takes 1–3 days, and final touches need one week.
Can I Install Heated Flooring in an Existing Bathroom, or Only During New Construction?
You can absolutely retrofit heated flooring into your existing bathroom—it’s like breathing new life into tired spaces. Electric mats install over your subfloor after removing old tiles, making innovation accessible without full reconstruction required.
What’s the Difference Between a Wet Room and a Traditional Shower Setup?
You’ll find wet rooms feature fully open layouts without doors or curtains, while traditional setups enclose shower areas. Wet rooms slope toward central drains; traditional designs use raised trays containing water within defined zones.
References
- https://sweeten.com/ideas-and-inspiration/popular-bathroom-design-ideas/
- https://www.housebeautiful.com/uk/decorate/bathroom/a67997604/houzz-bathroom-trends-2025/
- https://www.rebath.com/blog/primary-bathroom-designs-remodel-trends/
- https://www.seapointe.com/top-bathroom-design-ideas/
- https://www.elledecor.com/design-decorate/trends/a63285993/bathroom-trends-2025/
- https://www.hansgrohe.com/magazine/living/bathroom-trends
- https://www.spryinterior.com/blogs/news/natural-wood-vanity-bathroom
- https://www.wellfor.com/blogs/buying-guides/why-a-wood-vanity-is-the-best-choice-for-your-bathroom-remodel
- https://galeriastores.com/How-Natural-Wood-Vanities-Make-Your-Bathroom-Pop
- https://willowbathandvanity.com/blogs/latest-news/what-makes-wooden-vanity-the-best-choice-for-your-modern-bathroom