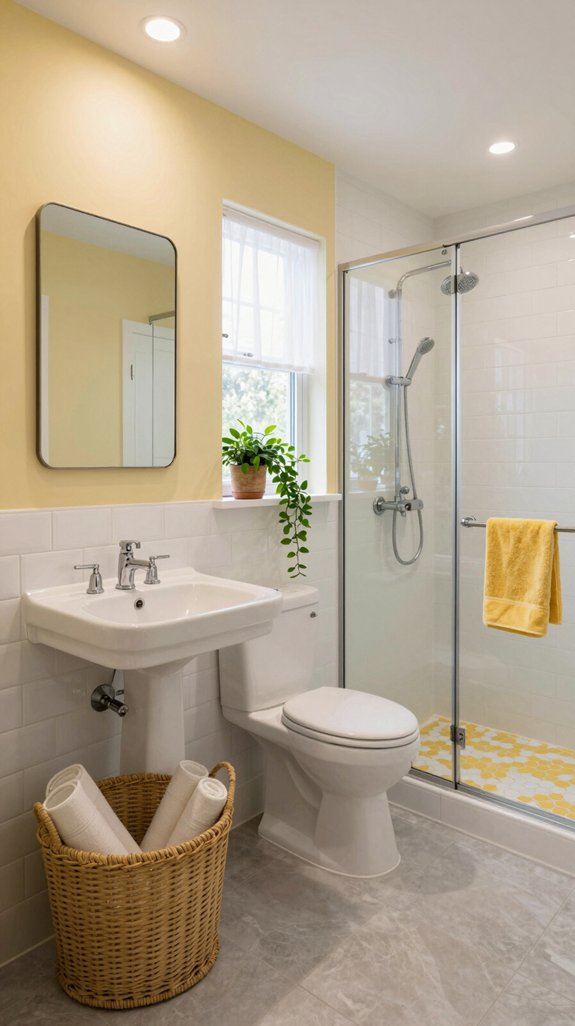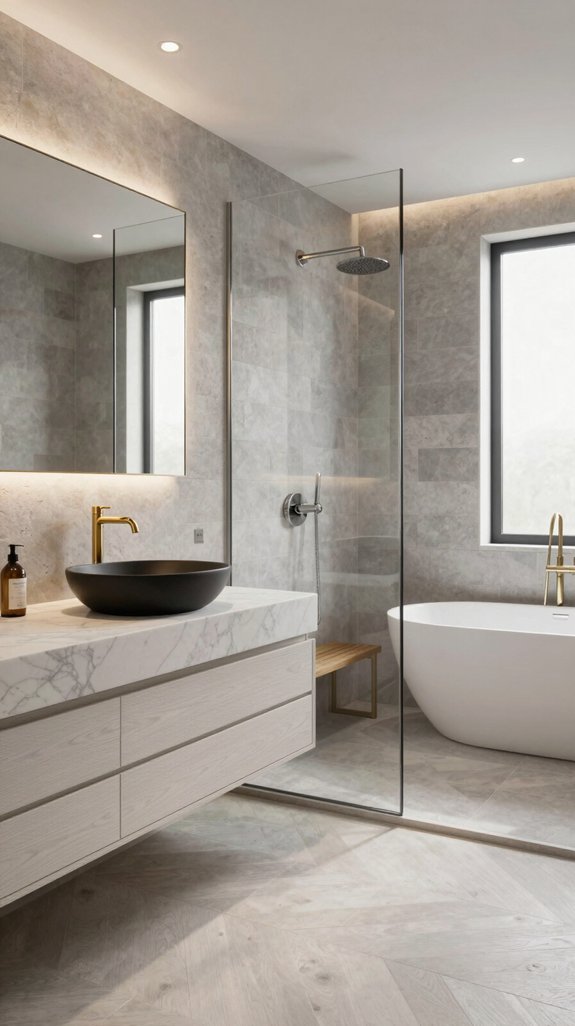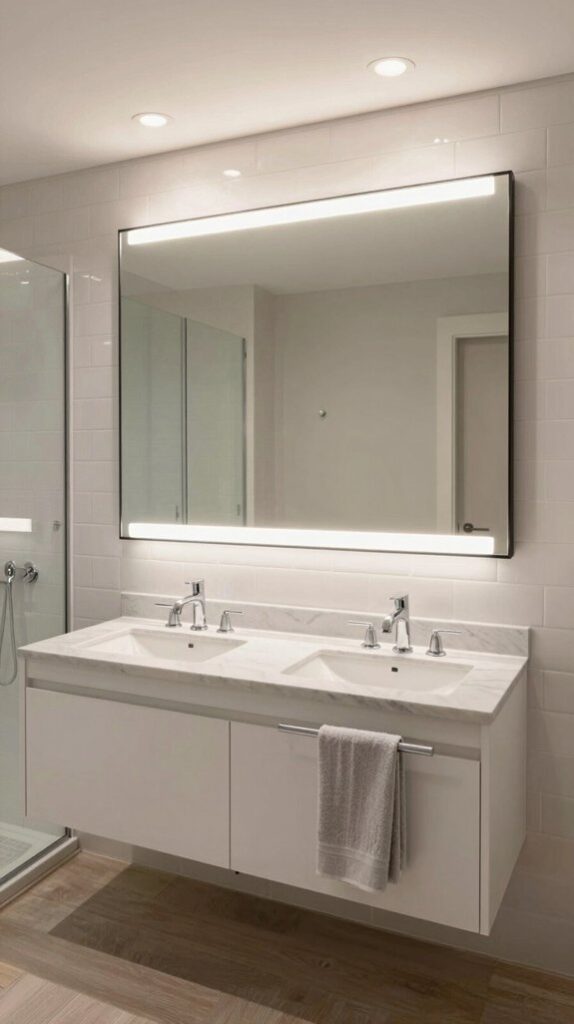
You can eliminate bathroom shadows by layering ambient, task, and accent lighting across strategically positioned mirrors and fixtures. Position sconces 60–66 inches high, flanking your mirror 36–40 inches apart for balanced illumination. Install high-CRI LED strips spaced 8–12 inches apart, and pair backlit or front-lit mirrors with recessed ceiling fixtures for foundational glow. Motion sensors and dimmers cut energy consumption while tunable-white LEDs shift color temperatures throughout your day. The complete transformation involves coordinating these elements for shadow-free grooming and spa-like ambiance.
Why Bathroom Lighting Often Falls Flat
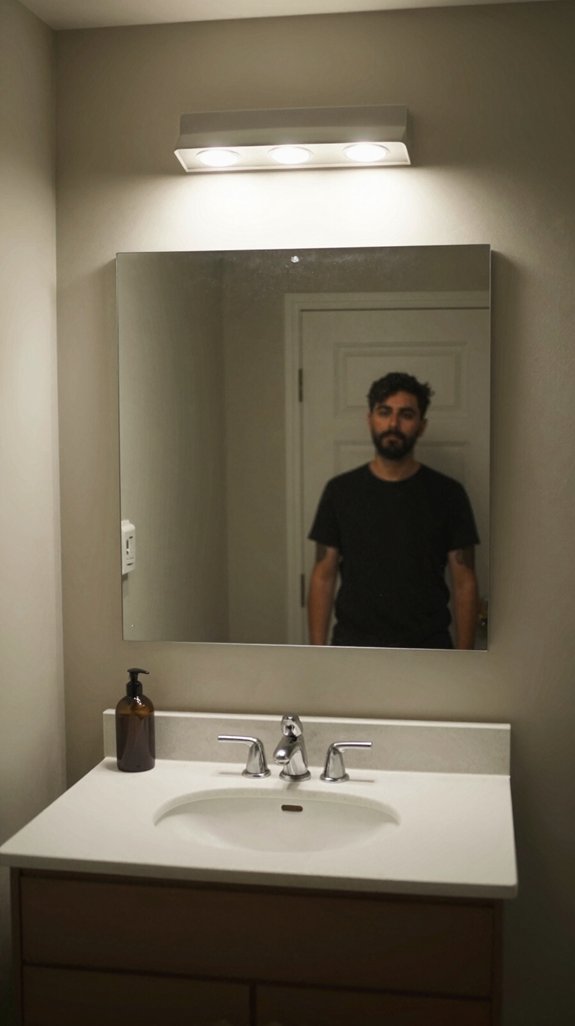
When you’re getting ready in the morning, a single overhead fixture probably casts shadows across your face—darkening your eyes and chin just when you need clarity for shaving or makeup application.
This common setup fails because it ignores spatial lighting principles. You’re relying on general illumination when you actually need focused task lighting at 50 foot-candles.
Poor placement creates harsh zones and inadequate coverage. Meanwhile, 68.5% of bathrooms fall short of focused activity standards. Research demonstrates that inadequate bathroom lighting directly correlates with higher fall rates among vulnerable populations, particularly in residential care settings where safety is paramount.
The result? Compromised grooming, increased accident risk, and a sterile atmosphere that doesn’t inspire confidence during your daily routine.
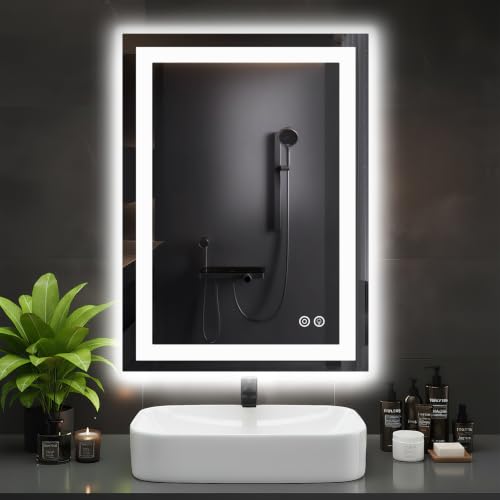
Anti-Fog Technology: This LED mirror clears fog from the center out, ensuring a clear reflection after showers. Central area stays clear while edges gradually defog, ensuring your reflection is instantly clear and ready for use

Anti-Fog Technology: This LED mirror clears fog from the center out, ensuring a clear reflection after showers. Central area stays clear while edges gradually defog. Note: No auto shut-off, in the new version, the defrost button and the power button are combined into a single button

【Dual Lighting for Clear, Even Illumination】Front and back lighting work together to deliver bright, balanced light with no harsh shadows. See every detail clearly for shaving, makeup, or daily skincare, anytime of day.
The 4-Layer Lighting System Explained
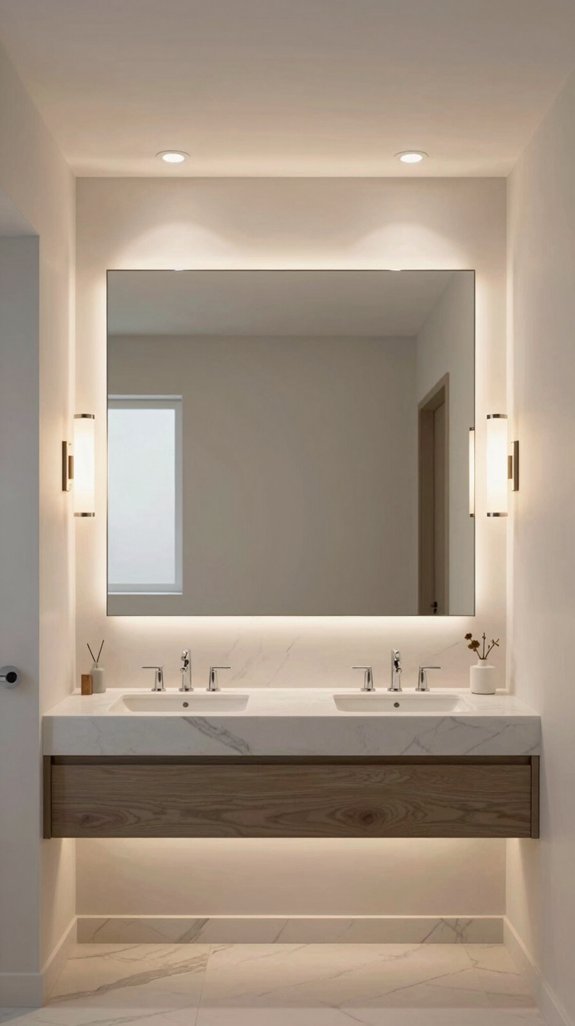
Rather than relying on a single overhead fixture, you’ll transform your bathroom by implementing a strategic 4-layer lighting system that addresses every functional and aesthetic need.
Start with ambient lighting via recessed cans for foundational illumination.
Add task lighting—sconces flanking your mirror at eye level—eliminating shadows during grooming.
Layer in accent fixtures like LED strips highlighting architectural features or your tub.
Finally, incorporate specialty enhancements: tunable-white LEDs adjustable from 2700K to 4000K, dimmers, motion sensors, and zoned controls.
Each layer operates independently, enabling precise mood customization while maximizing energy efficiency and spatial sophistication.
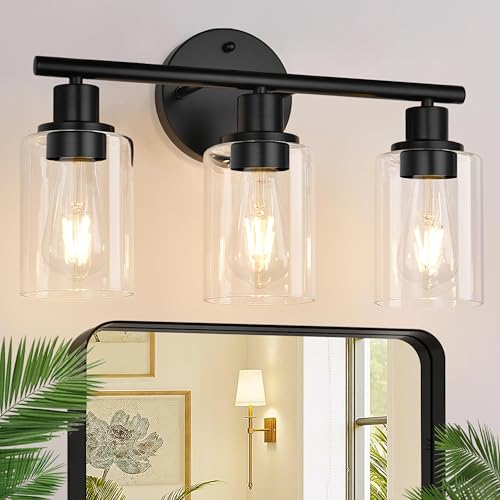
Upgraded Matte Black Finish: The vanity lighting fixtures feature a sleek matte black finish lamp body accompanied by clear glass shades. The upgraded finish not only adds an elegant touch but also includes a scratch and tarnish-resistant coating, ensuring that the black bathroom light maintains its pristine appearance over time. This exquisite bathroom vanity light is suitable for various decoration styles, making it the perfect choice to enhance your home lighting.

【Eye-catching & Modern Design】- Advanced brushed gold texture coupled (high quality metal, anti-rust and won't fade) with transparent glass retro shade, showing a refined and modern style. It is suitable for wet places such as bathroom lights over mirror, laundry rooms, dining room, living room, corridor, cafe, basement, bar, club, office, library, and bedroom.
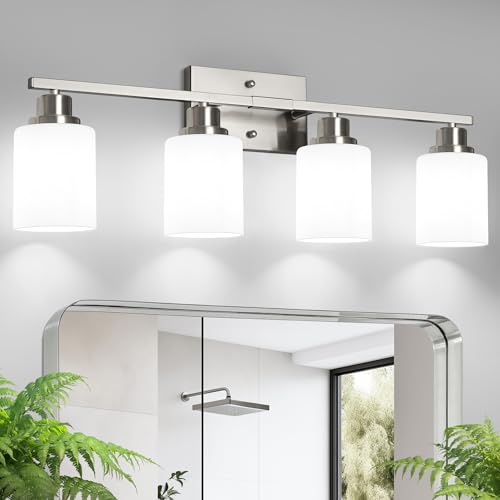
【Eye-Comforting Milky White Frosted Glass Shades】Tired of squinting under blinding vanity lights? Our vanity lights feature high-quality, milky white frosted glass lampshades that diffuse light evenly and eliminate harsh glare, creating a gentle, eye-caring illumination.
Choose Your Base: Backlit or Standard Mirrors
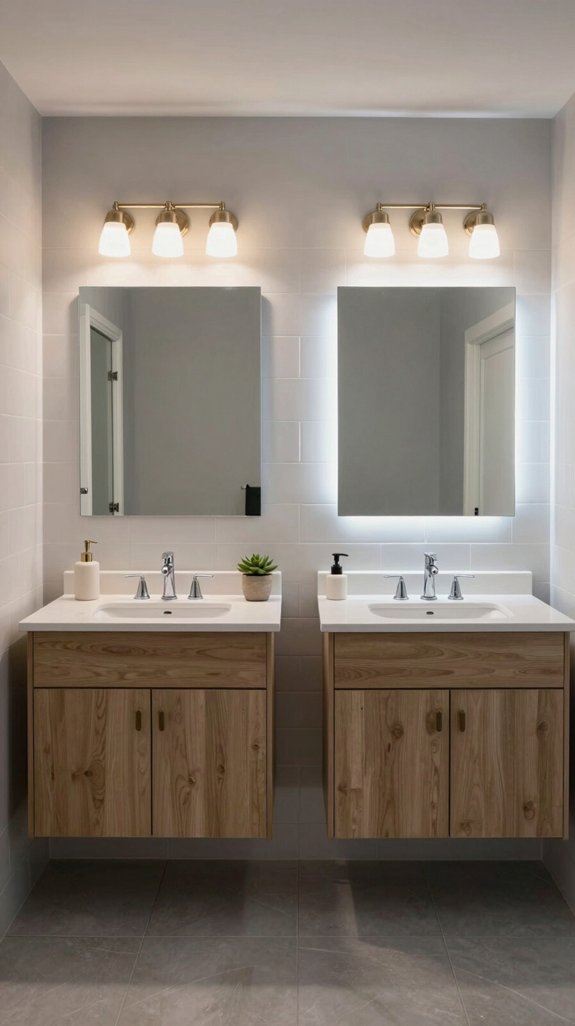
Your mirror’s lighting foundation—backlit or front-lit—fundamentally shapes both how you’ll use your bathroom and how it’ll feel.
Backlit mirrors create spa-like ambiance through diffused wall illumination, making spaces feel larger while consuming less power. They demand minimal mounting clearance but require slight wall offset for light diffusion.
Front-lit mirrors prioritize task functionality, eliminating shadows for precision grooming with dimmable LED flexibility. They mount closer to walls with sharper aesthetic definition.
Your choice hinges on whether you’re prioritizing relaxation or grooming performance—backlit for contemporary minimalism, front-lit for practical brightness.

5 CCT-in-1: 5 color temperature(2700K, 3000K, 3500K, 4000K, 5000K) is selectable to you, which successfully eliminates the hassle of returning or exchange products due to inappropriate color temperature. Just slide the switch on the side of the J-box and you will get the most-desired color that best fit in your room type.
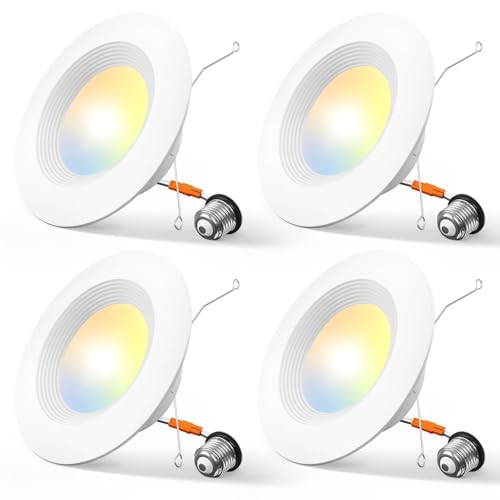
Eye protection: The brightness of the can lights can be smoothly adjusted from 10% to 100%, so you can choose the most comfortable brightness for your eyes. Note: This light is compatible with most dimmers on the market, except for the smart dimmer.

5-in-1 CCT: Eliminate the Guesswork. Because this recessed ceiling light features a 5-color switch on the J-box, you can physically toggle between 2700K Warm White and 5000K Daylight before installation. This means no more return hassles for buying the wrong color, ensuring the perfect ambiance for any room from a cozy bedroom to a bright, functional kitchen. Versatility is proven by the built-in dip switch supporting 2700K, 3000K, 3500K, 4000K, and 5000K.
Add LED Strips to Any Mirror for Energy Savings
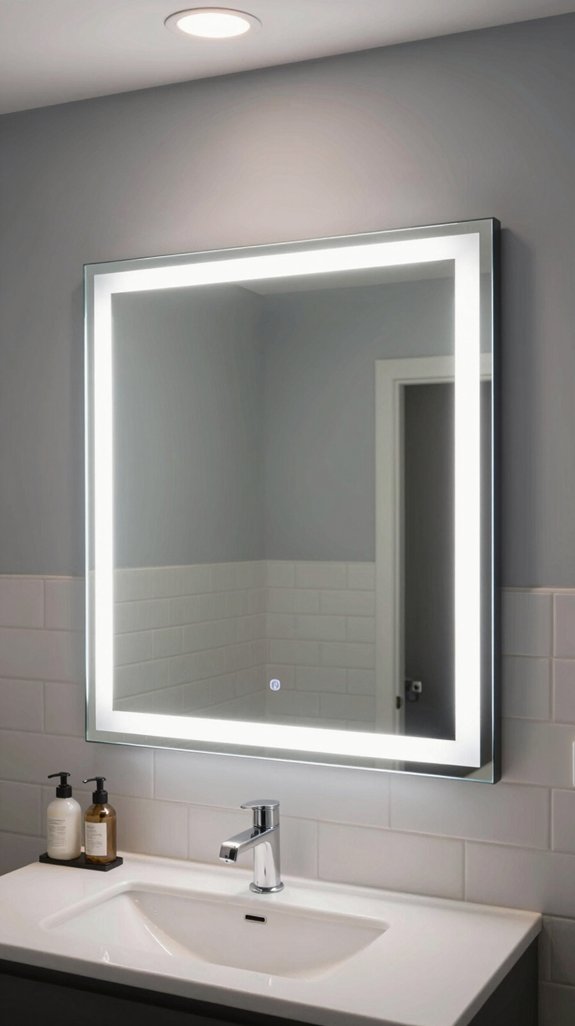
If you’re seeking a retrofit solution that combines ambient elegance with measurable energy efficiency, adhesive LED strips transform any existing mirror into a professionally lit fixture.
Position strips 3–4 inches from edges on the mirror’s back surface, angling them toward the wall for indirect illumination. This strategic placement creates a sophisticated halo effect while minimizing wasted light.
Low-voltage DC conversion dramatically reduces power consumption compared to traditional fixtures. Smart controllers enable brightness and color adjustments, optimizing usage patterns further. For comprehensive air quality improvements in your bathroom, consider pairing your mirror lighting with air scrubbers to remove airborne contaminants and enhance ventilation effectiveness.
Test placement before permanent adhesion, secure strips with plastic brackets, then connect to a matching voltage power supply for instant bathroom illumination that’s both visually striking and economically sound.

【Ultra Bright and Uniform】IP65 16.4FT DC12V 640LEDs/m high-density FCOB CCT strip with high brightness and uniform light, no dark spots, softer than traditional SMD strips with excellent color consistency.

Continuous COB white tape light featuring a high CRI (90) and tunable color temperature control
【Ultra Bright and Uniform】IP65 16.4FT DC24V 640LEDs/m high-density FCOB CCT strip with high brightness and uniform light, no dark spots, softer than traditional SMD strips with excellent color consistency.
Set Fixture Height: Sconces at 60–66 Inches
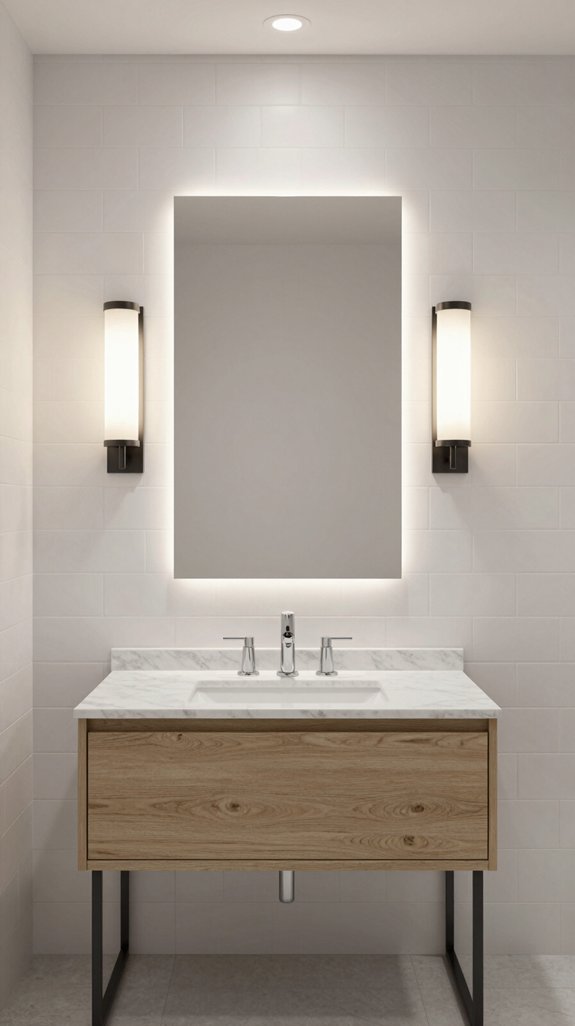
Proper sconce placement hinges on a single measurement: the distance from floor to fixture center should land between 60–66 inches, positioning the light source directly at average adult eye level.
This range eliminates shadows and glare while providing flattering illumination for grooming tasks. Adjust within this window based on your height—shorter users benefit from 60–62 inches, while taller individuals need 64–66 inches.
Account for ceiling height too; nine-foot ceilings allow 62–67 inches, ten-foot spaces use 63–69 inches.
Space sconces 36–40 inches apart, maintaining one to five inches from mirror edges for ideal visual balance and task performance.

Diffuse Backlit Design: AUVON backlit night light features 16 LED bulbs with uniform luminescence and produces diffuse backlight by reflecting light onto the wall to avoid uncomfortable feeling of direct light into your eyes. Perfect for people who are sensitive to light and prone to insomnia

Diffuse Backlit Design. AUVON backlit night light features 16 LED bulbs with uniform luminescence and produces diffuse backlight by reflecting light onto the wall to avoid uncomfortable feeling of direct light into your eyes. Perfect for people who are sensitive to light and prone to insomnia.

2 BRIGHTNESS LEVELS: The motion sensor night light comes with 2 different levels(30LM/60LM) of brightness control settings. You can slide the brightness slider button on the motion activated night light to adjust it to the level you want.
Light Both Sides to Eliminate Shadows
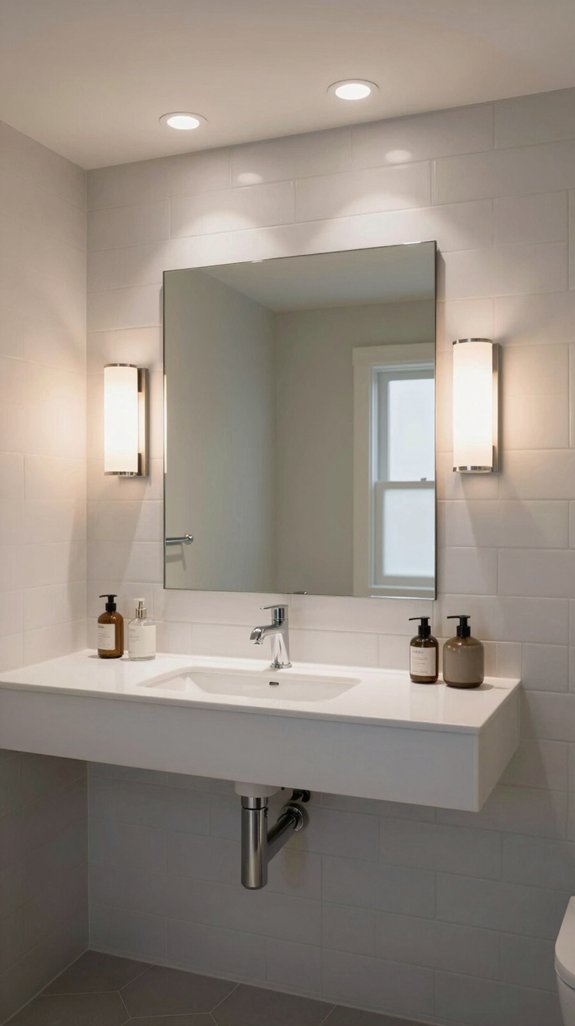
When you position fixtures on both sides of your mirror at eye level, you’ll create cross-illumination that bathes your face in even, flattering light—the same technique professional theater dressing rooms have perfected for decades.
This strategic placement eliminates shadows under your eyes and cheeks by directing light across your face from opposing angles. You’ll achieve uniform illumination without harsh glare, particularly effective in larger bathrooms or dressing areas.
Mounting sconces equally on both sides delivers balanced, symmetrical lighting while angled inward toward the mirror’s center maximizes coverage and minimizes dark spots for ideal visibility. Wall sconce lighting options can range from modern minimalist designs to ornate vintage styles, allowing you to choose fixtures that complement your bathroom’s aesthetic while providing optimal illumination.

Lighted Bathroom Mirror with Dual Illumination: Backlight and frontlight LED technology. This lighted bathroom mirror features high-quality, CRI>90 light strips that deliver even, stable illumination and render colors with exceptional accuracy—ideal for precise makeup application, shaving, and skincare routines. The dual light sources can be controlled independently, giving you ultimate flexibility to create your perfect lighting setup.

[Dual Illumination & Professional Lighting]: Lighted bathroom mirror built-in CRI>90 LED waterproof and high quality energy saving light strips makes the backlight and front double lighting sources can be independent controled for lighting, we use can keep the light working stably, even light, no delay, helping you see every detai, ideal for makeup, grooming, shaving, dressing, skin care or putting in contact, perfect for your bathroom remodel and upgrade.

DUAL LIGHTING SYSTEM: Features both backlit and front-lit LED illumination for optimal brightness and ambiance, providing professional-quality lighting for makeup application, grooming, and daily routines.
Position Overhead Fixtures Without Exceeding Mirror Width
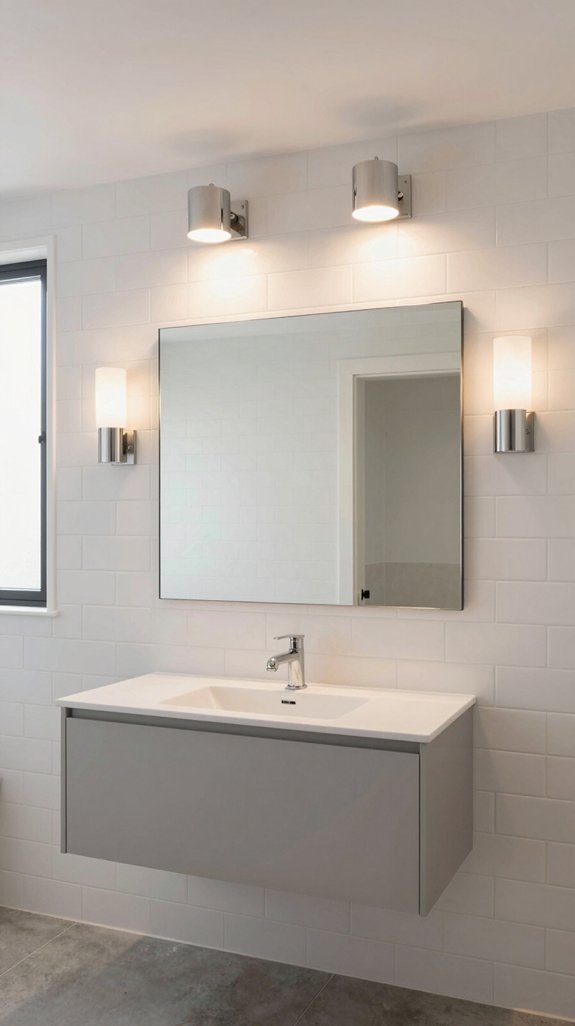
Three critical measurements determine whether your overhead fixture enhances or disrupts your bathroom’s visual balance and functionality. Your fixture width should span approximately 75% of your mirror’s width, preventing visual dominance while ensuring adequate illumination coverage.
Position the fixture 6 to 8 inches above your mirror’s top edge, maintaining a minimum 3-inch clearance for even light distribution. Install it at 75 to 80 inches from the floor to the fixture’s center.
This proportional approach eliminates harsh shadows, prevents glare, and creates sophisticated spatial harmony while optimizing grooming visibility throughout your vanity area.

Elegant Stylish Design - Our vanity lights for bathroom feature a modern, gold-colored light frame with a milky white glass globe shade that instantly creates a sophisticated ambiance. Its elegant and stylish design adds a unique charm to your home and is suitable for modern, mid-century and many other decorative styles.

【Elegant Crystal Design with Vintage-Modern Fusion】This modern crystal vanity light enhances your space with its beautiful craftsmanship.It features high-transparency K9 crystal shades with finely cut facets that create elegant light refraction. The combination of a black finish and vintage-inspired crystal details produces a sophisticated, modern ambiance, bathing your vanity area in warm and inviting light. It also serves as exquisite accent lighting for your bedroom, living room, hallway, entryway, bathroom, or even above a kitchen sink.

Modern Minimalist Style: This 4-Light bathroom light fixture features a matte black frame and clear glass shades. Crafted from anti-rust baked varnish metal, it’s durable and ideal for damp bathroom environments. Fits various decor styles, adding classic elegance to your home
Go Frameless and Large to Amplify Light
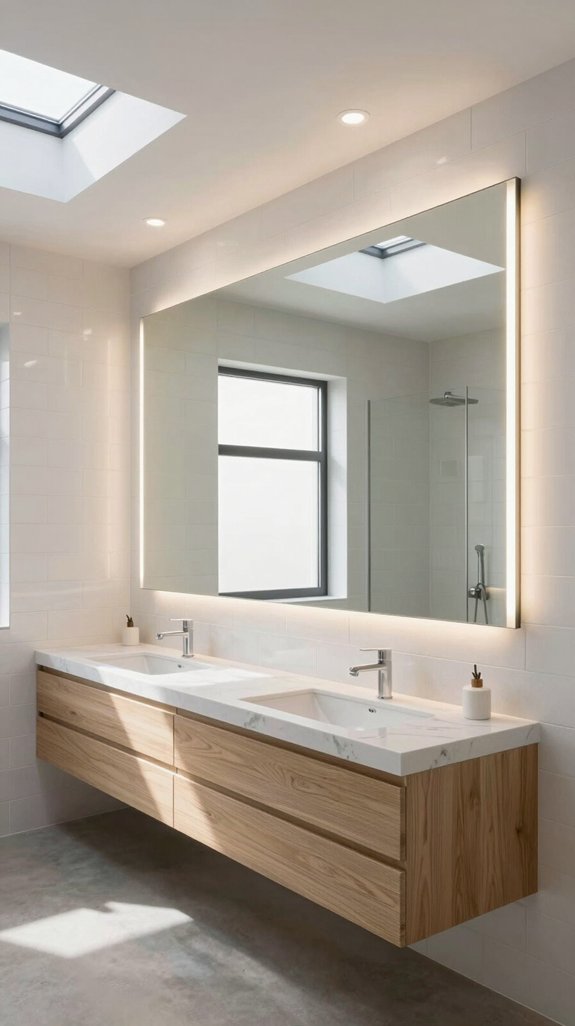
Beyond strategic overhead placement, you’ll amplify your bathroom’s luminosity and perceived spaciousness through frameless, oversized mirrors that reflect light without interruption.
These unobstructed reflective surfaces expand visual depth while maintaining clean architectural lines. When paired with LED backlighting, frameless designs distribute illumination evenly across the mirror’s full surface, eliminating shadow zones created by traditional frames.
The seamless integration of light and reflection stretches spatial perception, making compact bathrooms feel substantially larger. For maximum impact, consider full-wall installations that extend from floor to ceiling, creating an immersive, transparent aesthetic that transforms your space into a luminous, contemporary sanctuary.

DESIGN: Ultra-slim 6 inch led recessed lighting with canless construction eliminates housing requirements, featuring less than 1/2 inch profile for direct ceiling mounting in tight spaces and avoiding joists or ducting.

RETROFIT: Easy installation converts existing 5 in or 6 inch recessed lights to energy-efficient LED can lights without rewiring, fitting standard housings with secure torsion springs for reliable performance.

💡【5 CCT-in-1】5 color temperature options (2700K/3000K/3500K/4000K/5000K) for different application scenarios, eliminates the hassle of returning or exchange products due to inappropriate color temperature. Just slide the switch on the side of junction box for your desired color temperature.
Install Dimmable Controls for Morning and Night
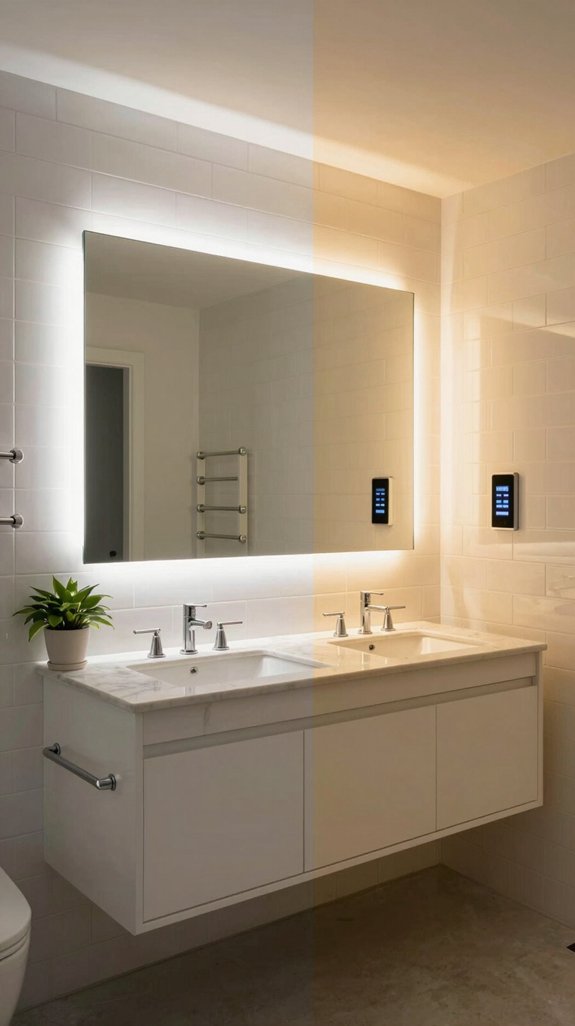
Since your bathroom serves distinct functions throughout the day—from energizing morning routines to calming nighttime visits—installing dimmable controls lets you calibrate lighting to match each moment’s purpose.
Wireless dimming modules communicate seamlessly with Pico controls, enabling brightness adjustments from multiple locations without extensive rewiring.
LED fixtures with A-Series dimming ballasts deliver flicker-free illumination across any setting. You’ll reduce eye strain during nighttime visits while decreasing energy consumption at lower levels.
Integrate occupancy sensors to automate activation, eliminating forgotten lights. This flexible infrastructure scales effortlessly, whether you’re upgrading a single bathroom or managing multi-floor installations with sophisticated control systems.
Keep essential sponges nearby for quick bathroom cleanups between deeper cleaning sessions.

【Ultra Bright and Uniform】IP66 DC24V 640LEDs/m high-density FCOB CCT strip with high brightness and uniform light, no dark spots, softer than traditional SMD strips with excellent color consistency.

【Tunable White CCT COB LED Strip Light】Dimmable white light from warm white to cool white (2700K-6500K), Whether you are working or relaxing, this light meets your needs. With 8640 LEDs, AXMOTUT Dual White LED Strip Light creates brighter, softer and more even lighting

【Ultra Bright and Uniform】16.4FT DC24V PWM RGB+Tunable 3000K-6000K 960LEDs/m High-Density FCOB RGBCCT strip with high brightness and uniform light, softer than traditional SMD strips with excellent color consistency.Additional pure white light chasing effect is more energy efficient compared to mixed white light.
Add Pendant Lights Over the Sink for Task Work
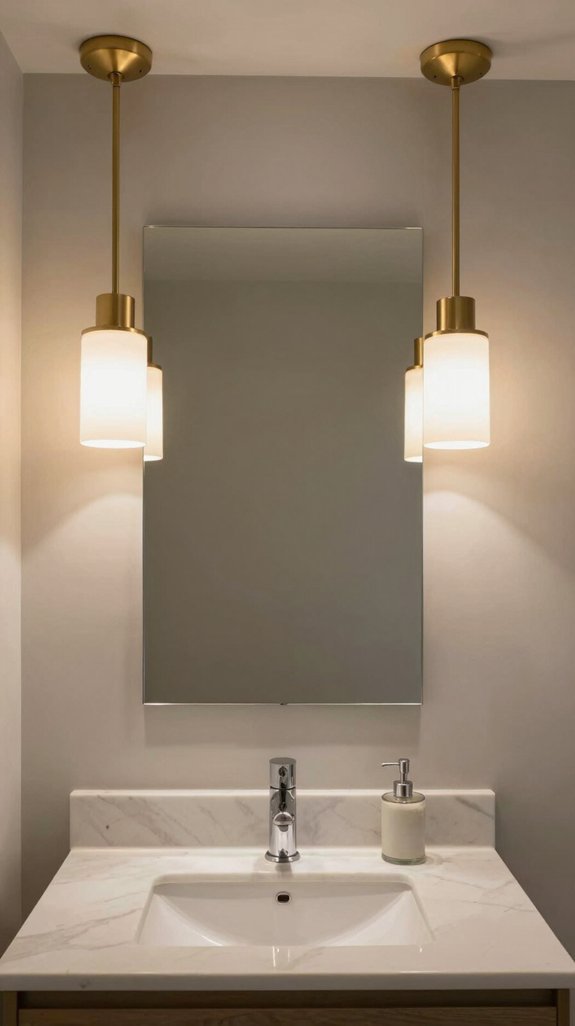
Pendant lights positioned above your sink deliver the focused task lighting you need for grooming, makeup application, and skincare routines while eliminating the unflattering shadows that single overhead fixtures create.
Choose IP44-rated fixtures for wet-location safety, positioning them 7 feet above floor level to frame your mirror and sink as functional focal points.
Select 8-12 inch diameters proportional to your vanity width, or opt for slim 6-10 inch profiles in compact spaces.
Side-by-side placement guarantees even task coverage without glare, while their vertical dimension visually expands cramped bathrooms and adds sophisticated design impact. Consider incorporating complete smart lighting kits to automate brightness levels throughout your bathroom and enhance both functionality and ambiance.

[180-Day Battery Life & USB-C] Stop wasting money on AA batteries. This eco-friendly LED light fully charges in 3 hours via USB-C and lasts up to 6 months in sensor mode. ClimatePartner certified for a smaller carbon footprint and bigger savings on your energy bill

Applicable to Multiple Scenarios: Lyridz smart night light has 2 dependent modes of the light sensor(auto-on when dusk to dawn) and motion sensor(auto-on when motion is detected only in the dark), which is perfect for the bathroom, bedroom, hallway, stairs, kitchen, corridor, children's room, locker, etc

🚽 MOTION ACTIVATED NIGHT SAFETY FOR THE WHOLE FAMILY - Featuring an upgraded 170° wide-angle motion sensor, this toilet light automatically illuminates when movement is detected in the dark and turns off after 2 minutes of inactivity. The soft LED glow helps children, adults, and seniors safely navigate nighttime bathroom trips without turning on harsh overhead lights
Layer in Recessed Ceiling Lights for Ambient Glow
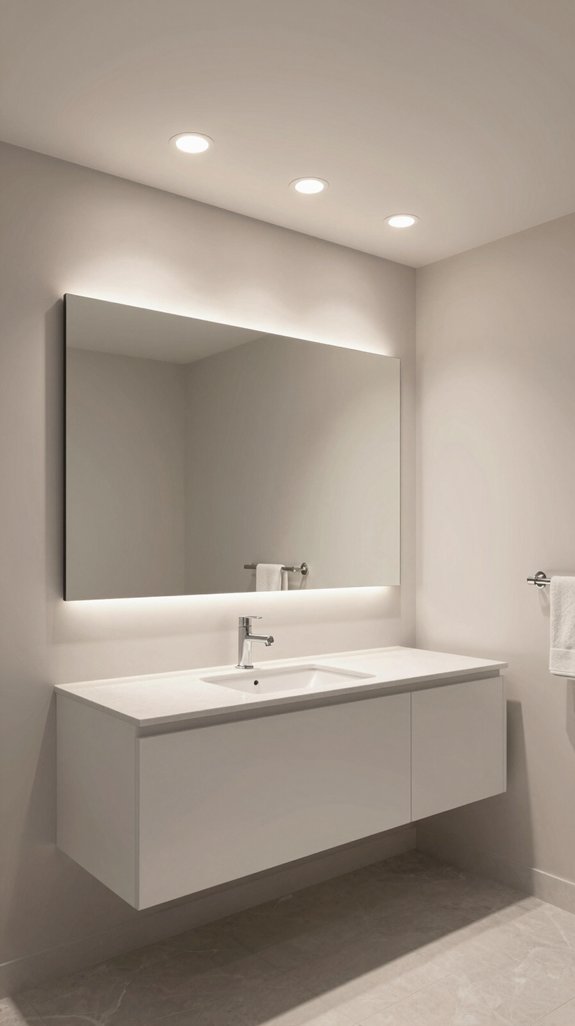
While pendant lights handle your task lighting needs, recessed ceiling fixtures create the even, diffused glow that transforms your bathroom into a cohesive, well-lit space.
Space your fixtures 4 to 6 feet apart—divide your ceiling height by two for precise spacing. Position them strategically: two fixtures flank your bathtub’s ends, while eyeball lights direct illumination 1 to 2 feet from your shower entrance.
Choose dimmable, adjustable fixtures to customize ambiance and direct light toward high-activity zones. Layer these recessed lights with your pendant setup to eliminate shadows and establish sophisticated, layered illumination throughout your bathroom.
Install Sensor-Activated Brightness That Adjusts Automatically
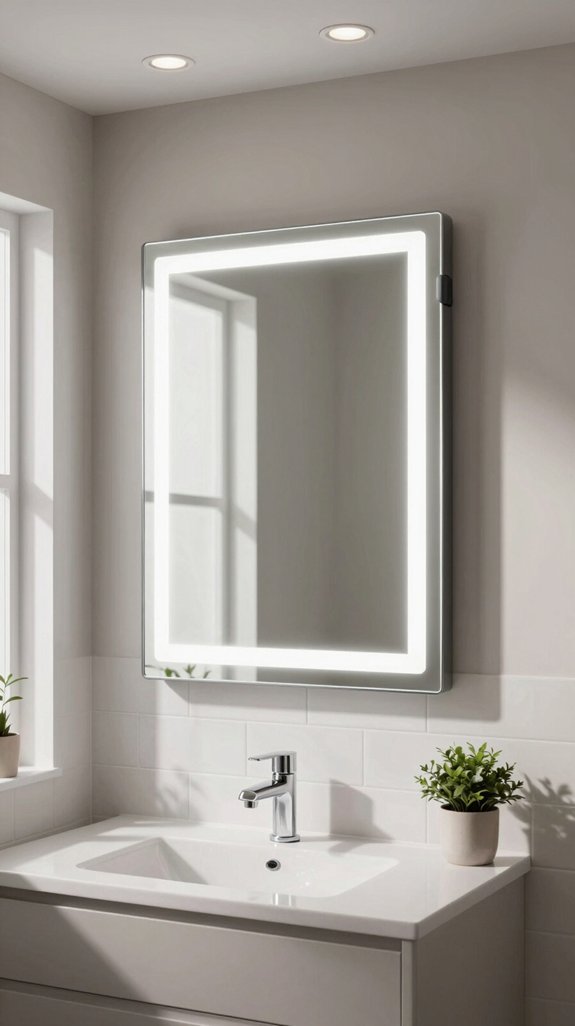
To eliminate the need for manual switching and create an adaptive lighting environment, install motion-sensor fixtures that automatically adjust brightness based on occupancy and time of day.
You’ll customize detection ranges to suit your bathroom’s dimensions, ensuring ideal coverage. Synchronize multiple sensors for simultaneous activation across mirror and ceiling fixtures.
Adjust sensitivity settings to prevent false triggers from air currents. Configure light duration to match your routines.
Position sensor angles strategically for extensive detection. Consider pairing your sensor-activated lighting with sound-absorbing panels to further enhance your bathroom’s acoustic environment while maintaining its modern aesthetic. This intelligent system delivers convenience while reducing energy consumption, transforming your bathroom into a responsive, modern space that intuitively responds to your presence.
Use High CRI LEDs So Colors Look True
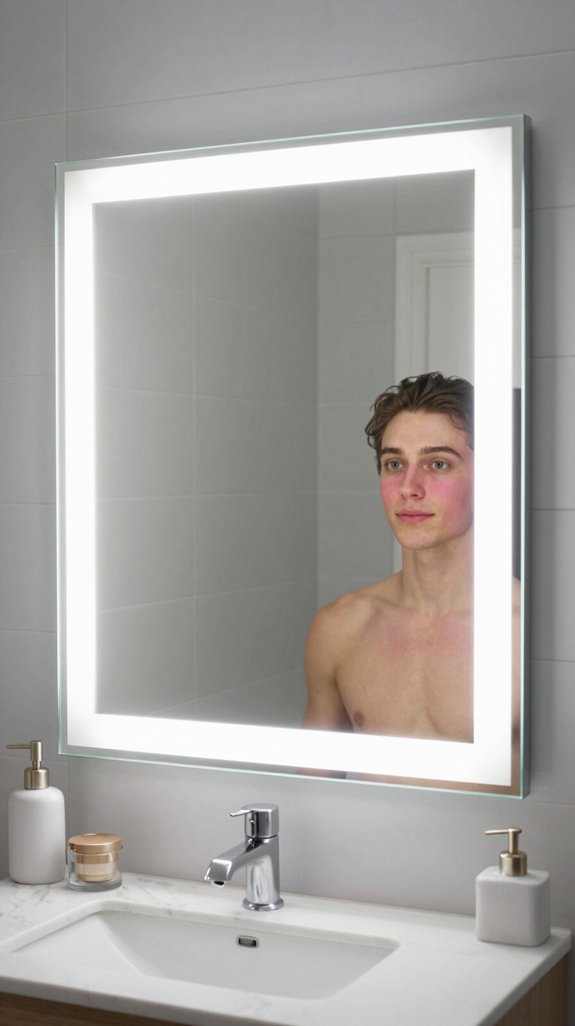
Beyond the convenience of automated brightness, you’ll want lighting that renders colors with absolute fidelity—and that’s where high CRI LEDs transform your bathroom mirror into a true reflection of reality.
High CRI (Color Rendering Index) above 90 reveals vibrant, undistorted colors essential for grooming tasks. You’ll see accurate skin tones, hair nuances, and makeup application with precision. These LEDs display tile finishes, countertop details, and cabinetry colors exactly as intended, preventing washed-out appearances.
Available in water-resistant designs rated IP44 or higher, high CRI LEDs combine with versatile color temperatures like 2700K–5000K, creating both functional and aesthetically harmonious bathroom environments.
Add Under-Cabinet Lighting for Safe Night Navigation
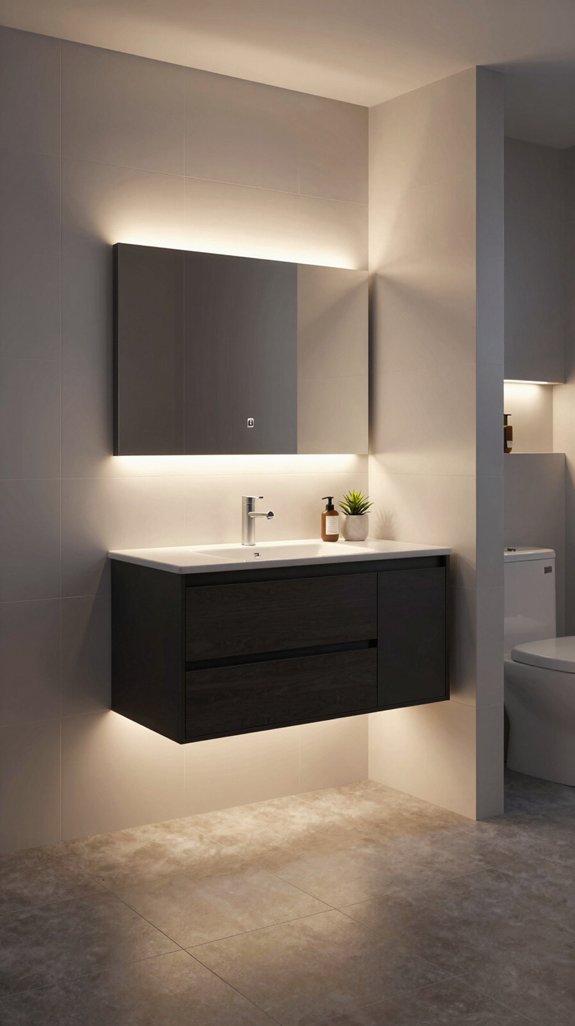
When you’re maneuvering your bathroom in darkness, under-cabinet lighting transforms those shadowy spaces into safely illuminated pathways while adding subtle ambient appeal to your vanity setup.
Install adhesive-backed LED strips spaced 8 to 12 inches apart for even coverage across your cabinet’s underside. Begin by cleaning the mounting surface thoroughly, then peel the backing incrementally while pressing strips every half-inch into place.
Choose plug-in setups for flexibility or hardwired options for seamless integration. Test strips before permanent installation, ensuring proper polarity.
Position aluminum channels on rough surfaces for durability. This approach delivers both functional safety and contemporary design sophistication.
Shift Color Temperature From Warm to Cool
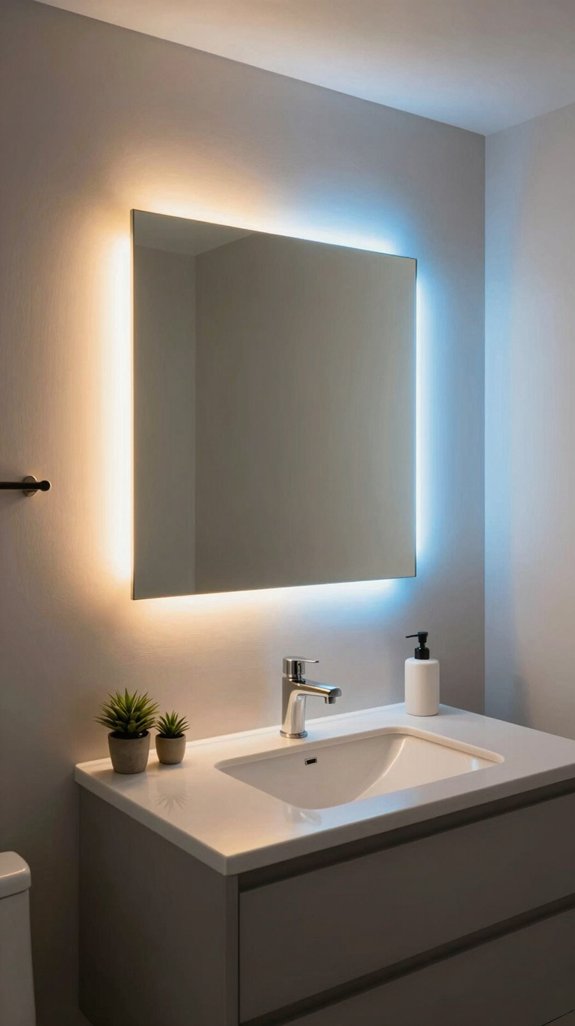
While your bathroom’s warm lighting creates a cozy ambiance, shifting toward cooler color temperatures—measured on the Kelvin scale from 4000K to 5000K—transforms your vanity into a functional grooming space where you’ll see true colors and fine details with clarity.
Cool white LEDs reduce visual fatigue while enhancing cognitive performance during makeup application and shaving. A CRI of 90+ guarantees accurate color rendering, preventing muddy appearances on white surfaces.
This neutral-to-cool range optimizes your mirror’s spatial functionality, balancing task-oriented visibility with acceptable comfort levels. You’ll experience superior color differentiation without excessive glare or dimming sensations.
Place Mirrors Across From Windows to Bounce Daylight
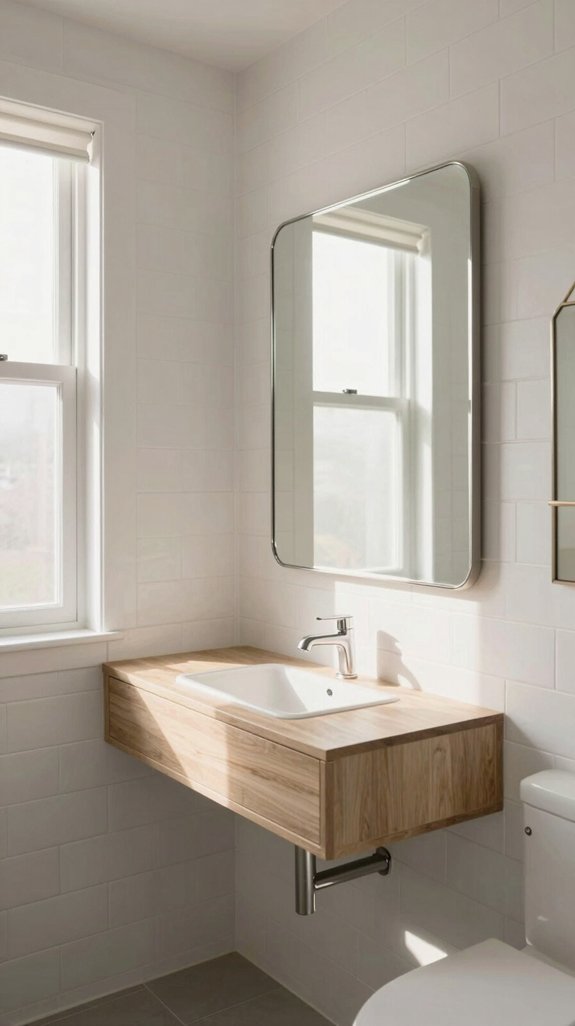
Strategic mirror placement opposite windows transforms your bathroom by leveraging natural light’s reflective properties—bouncing incoming daylight throughout the space while eliminating reliance on artificial fixtures during daylight hours.
Position mirrors on adjacent or opposing walls to capture and redirect window light effectively, experimenting with angles to maximize reflection without glare.
Float vanities in front of large windows, allowing light circulation around edges.
Pair reflective surfaces with light-colored walls to amplify brightness exponentially.
This technique particularly benefits confined bathrooms, creating visual expansiveness while reducing energy consumption and enhancing your grooming environment with natural illumination.
Use Multiple Smaller Mirrors in Dark Corners
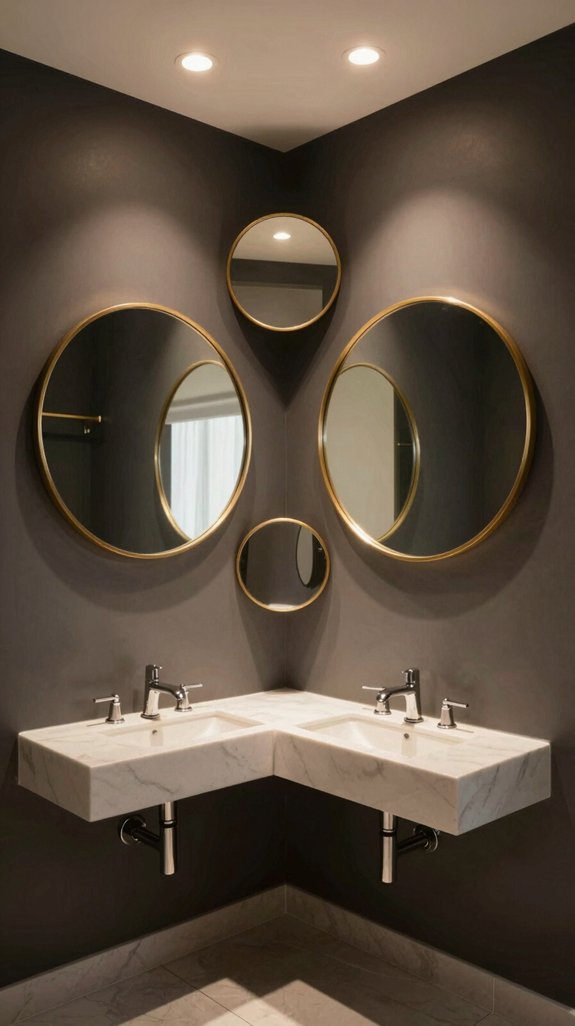
Dark corners don’t have to remain dim—you can transform shadowy bathroom zones by strategically positioning multiple smaller mirrors to redirect available light throughout the space.
Corner placement allows mirrors to catch light from multiple angles, creating layered reflections that enhance brightness perception.
Smaller dimensions make installation practical in tight areas without requiring structural modifications. You’ll appreciate the design flexibility: vary frame styles, finishes, and shapes—ovals, arches, rectangles—to develop distinctive wall compositions with enhanced visual impact.
This segmented approach distributes visual focus while maintaining balance in compact layouts. Individual mirrors clean faster, cost less than large installations, and you can replace single units independently, maximizing both function and aesthetic innovation.
Activate Smart Controls via App or Voice
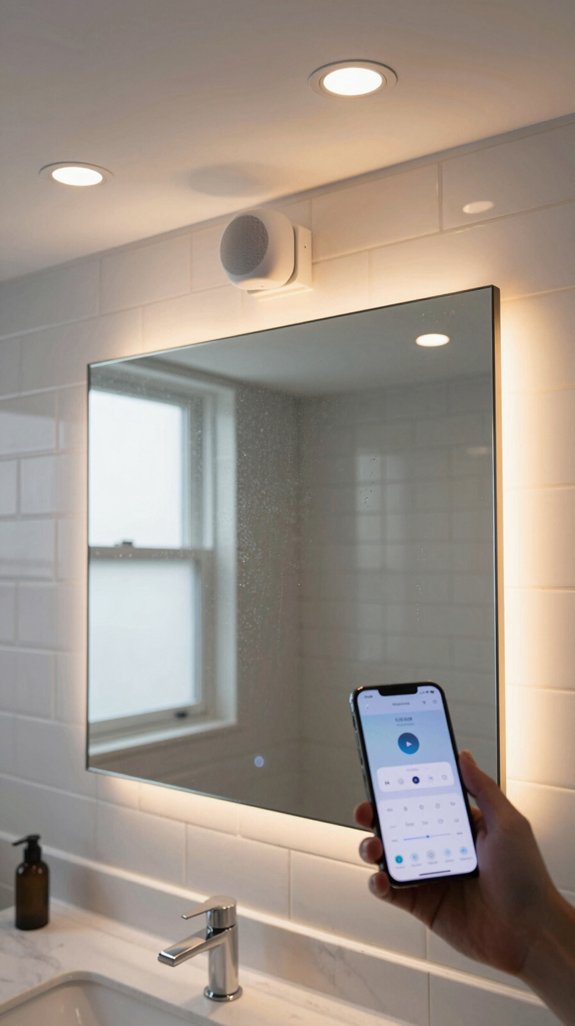
Modern bathroom mirrors transform into intelligent command centers when you activate smart controls through your smartphone or voice assistant.
You’ll adjust lighting intensity, temperature, and entertainment features seamlessly via dedicated apps with precision sliders.
Voice commands through Google Home or Alexa enable hands-free operation, perfect for morning routines.
Touchscreen interfaces provide intuitive tap-and-swipe controls, while motion sensors automatically activate displays when you enter.
Bluetooth connectivity streams music directly through built-in speakers.
Wi-Fi access delivers real-time weather, news, and calendar updates instantly.
These integrated systems create cohesive smart bathroom environments where every function coordinates effortlessly.
Install Anti-Fog LED Mirrors for Year-Round Clarity
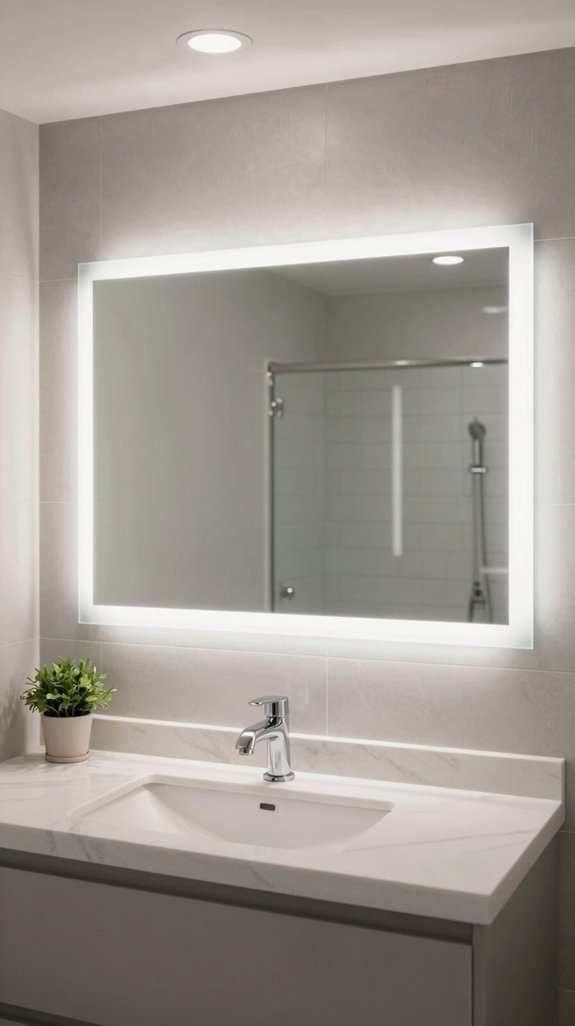
While smart mirrors handle your digital needs, you’ll want to address a physical challenge that plagues every steamy bathroom: persistent fog obscuring your reflection.
Anti-fog LED mirrors eliminate this frustration through integrated heating pads that warm glass surfaces, preventing condensation buildup. You’ll enjoy uninterrupted clarity regardless of humidity levels, plus substantial energy savings—LED technology consumes up to 80% less power than traditional bulbs while delivering 50,000+ hours of performance.
Touch controls let you adjust brightness and color temperature from warm to cool white settings. With waterproof IP54 ratings and copper-free silver coatings, these contemporary fixtures combine durability with sleek aesthetics. Smart display technology can further enhance your bathroom experience by integrating mirror functionality with voice controls and personalized morning routines.
Pair Curved Mirrors With Integrated LED Lighting
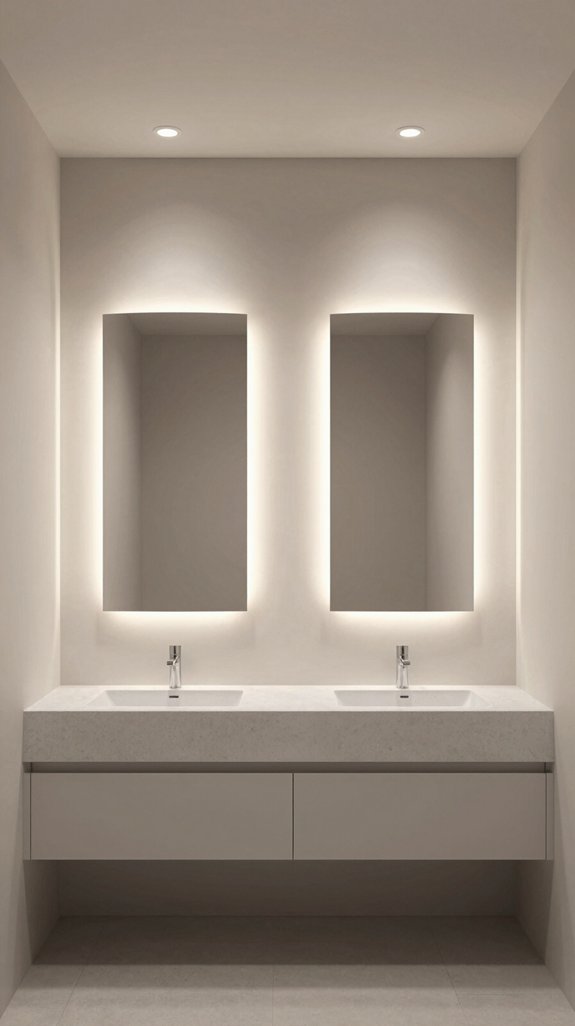
By softening angular bathroom layouts with gentle curves, you’ll create visual harmony that transforms your space from purely functional to genuinely inviting.
Curved mirrors paired with integrated LED lighting deliver layered illumination that eliminates shadows during grooming tasks. The halo effect from backlit designs softens shifts between hard surfaces, while dimmable color temperatures—ranging from warm 3000K to cool 6500K—customize your ambiance.
High Color Rendering Index above 90 guarantees natural skin tones. These frameless or metal-framed contemporary focal points echo curved sconces and faucets, establishing cohesive design language throughout your bathroom. Consider incorporating stylish shelving units to display bathroom accessories while enhancing your overall aesthetic.
Cross-Light With Fixtures on Both Mirror Sides
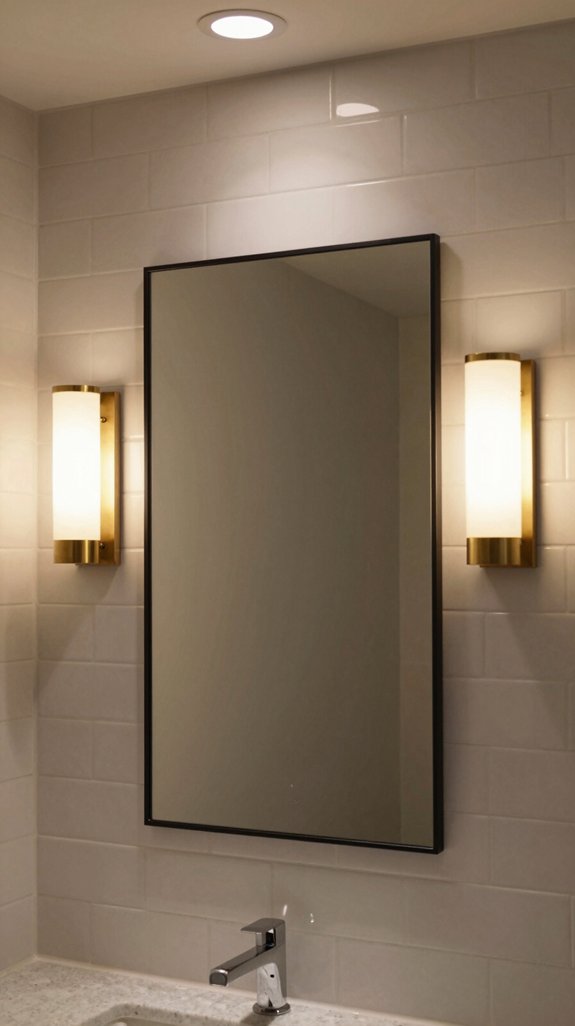
Curved mirrors with integrated backlighting create ambiance, but they won’t solve the shadow problems that plague your grooming routine—side-mounted fixtures do.
Positioning dual LED strips at face height on both mirror sides delivers balanced, shadow-free illumination that overhead lighting can’t match. You’ll see facial details with precision, eliminating missed spots during shaving or eyebrow work.
This configuration frames your vanity intentionally, adding symmetry and visual interest while maximizing wall space—particularly valuable in compact bathrooms.
The result? Functionally superior grooming accuracy combined with sophisticated design that elevates your bathroom’s modern aesthetic.
Add Motion Sensors and Dimmers to Cut Energy
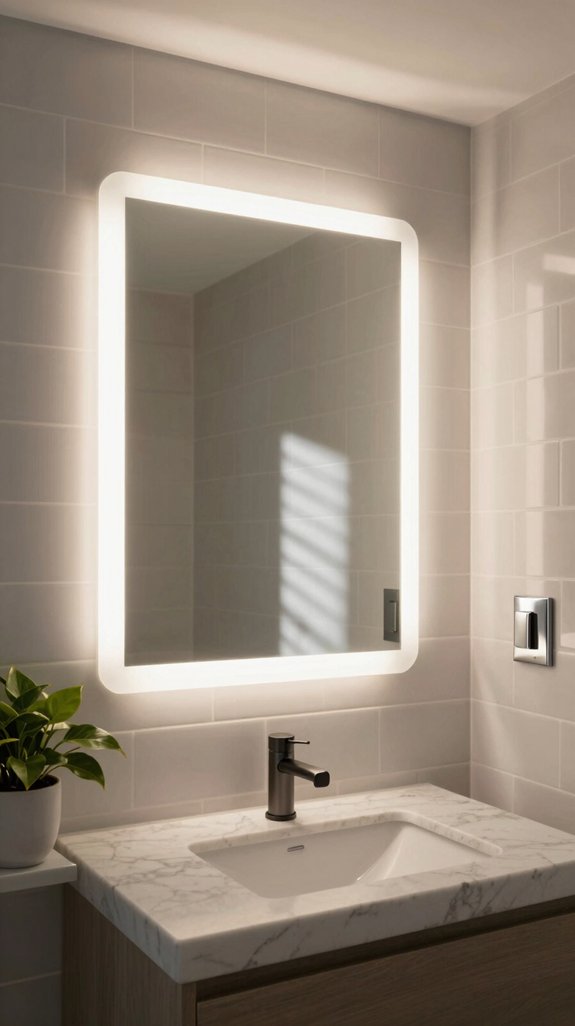
Motion sensors and dimmers work together to dramatically reduce your bathroom’s energy footprint while maintaining the lighting precision you’ve established with side-mounted fixtures.
These integrated systems detect occupancy and automatically adjust brightness levels, cutting energy consumption by 30-60%.
Smart dimmers like Leviton and Lutron Maestro let you program timeout settings from 5-30 minutes while dimming to low levels when full brightness isn’t needed.
Pair them with LED bulbs for maximum efficiency.
Adjust sensor sensitivity by tilting downward to minimize false triggers near moisture sources, ensuring reliable performance in your bathroom’s humid environment.
Combine Anti-Glare Features With Full-Spectrum Color Shifts
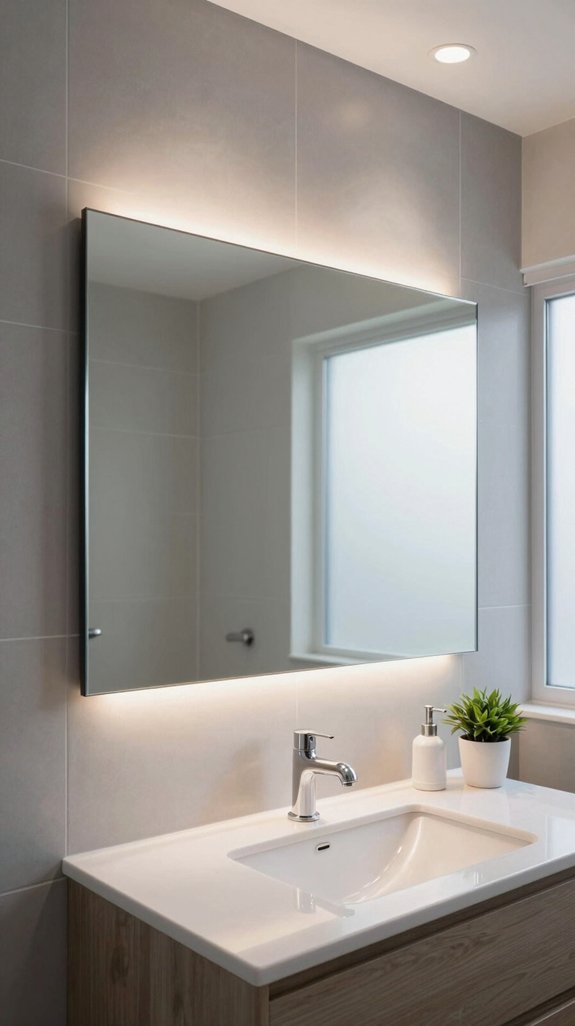
Crystal clarity and adaptive illumination work in tandem to transform your bathroom mirror into a precision grooming station.
You’ll control LED anti-glare systems that eliminate harsh reflections while adjusting color temperature from warm 2700K to cool 6500K tones. This spectrum shifting mimics natural daylight, ensuring accurate color rendering for makeup application and shaving tasks.
Touch sensors let you customize ambiance instantly, matching your space’s humidity and lighting conditions. Door sensors can also integrate with your bathroom lighting system to automatically adjust illumination when you enter or exit the space.
Waterproof tempered glass houses these integrated technologies, delivering fog-free visibility with shadow-free illumination.
You’ll complete grooming routines faster, with enhanced visual precision and modern aesthetic appeal.
Frequently Asked Questions
How Much Does It Cost to Install Integrated LED Bathroom Mirror Lighting?
You’ll invest $200–$1,500 for mirrors with integrated lighting, plus $80–$150 hourly electrician fees (typically one to three hours). Add $50–$150 for permits. Your total illuminated installation ranges $380–$1,800, depending on complexity and features you’re selecting.
What’s the Best Way to Retrofit Existing Mirrors With LED Strips?
You’ll flip your existing mirror to access back mounting points, then adhere LED strips along the edges while maintaining airflow gaps. Connect your strips using connectors, test placement first, and wire through a low-voltage driver for peak performance.
Can I Use Smart Lighting Controls Without Rewiring My Entire Bathroom?
You can absolutely retrofit smart lighting without rewiring. Install Brilliant Smart Dimmer Switches in existing electrical boxes, use battery-free wireless kits like RunLessWire, or mount Sonoff Zigbee relays behind your current switches for seamless automation.
How Do I Choose Between Warm and Cool Color Temperatures?
You’ll want cool light (4000K+) if you’re prioritizing task visibility and crisp white surfaces, or warm light (2700K-3000K) if you’re designing for relaxation. Consider your wall colors and desired mood.
What Maintenance Do Anti-Fog LED Mirrors Require Over Time?
You’ll maintain your anti-fog LED mirror by activating its anti-fog function regularly, cleaning surfaces with microfiber cloths and mild solutions weekly, inspecting LEDs monthly for flickering, and scheduling professional electrical reviews annually to guarantee peak performance.
References
- https://gomcdaniels.com/blog/latest-trends-for-bathroom-lighting-and-mirrors/
- https://www.edwardmartin.com/blogs/information/what-is-the-current-trend-in-bathroom-mirrors
- https://www.destinationlighting.com/fliptheswitch/what-is-the-best-lighting-for-a-bathroom/
- https://www.lightopia.com/bathroom-lighting-ideas-over-mirror
- https://hailekitchen.com/the-ultimate-guide-to-perfect-lighting-and-mirrors/
- https://www.houzz.com/discussions/3010188/ratio-of-vanity-mirror-and-light-fixture
- https://pmc.ncbi.nlm.nih.gov/articles/PMC12227831/
- https://www.simplyled.co.uk/blog/top-10-common-bathroom-lighting-mistakes-and-how-to-fix-them/
- https://parrotuncle.com/blogs/news/what-type-of-lighting-is-best-for-a-bathroom
- https://www.paclights.com/explore/solving-common-lighting-challenges-with-bathroom-led-lights/