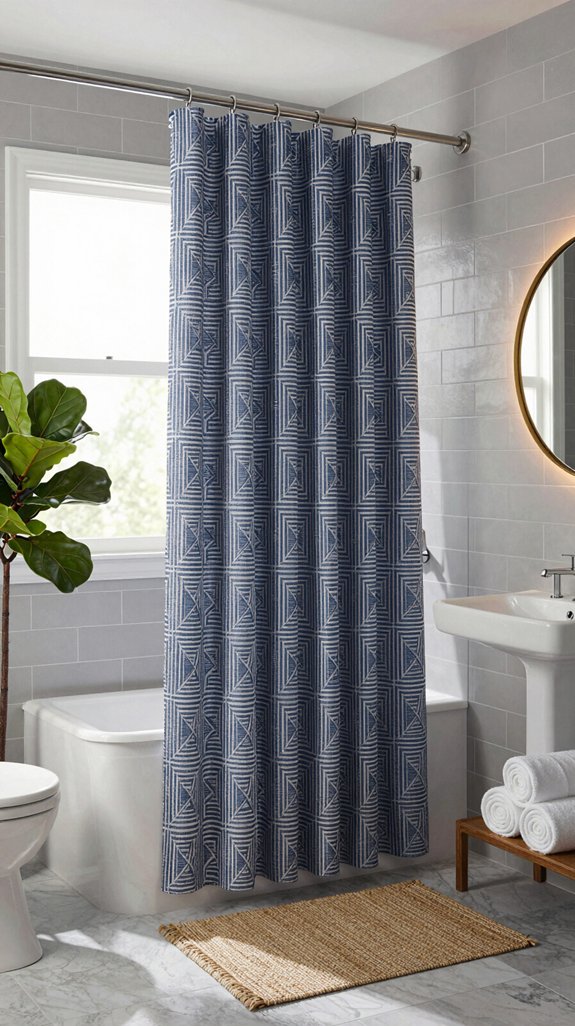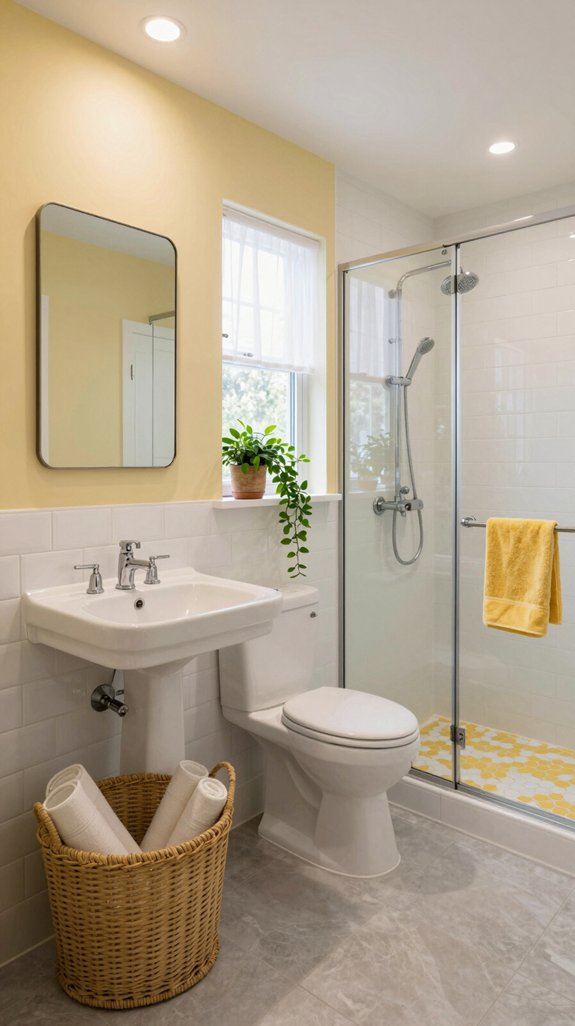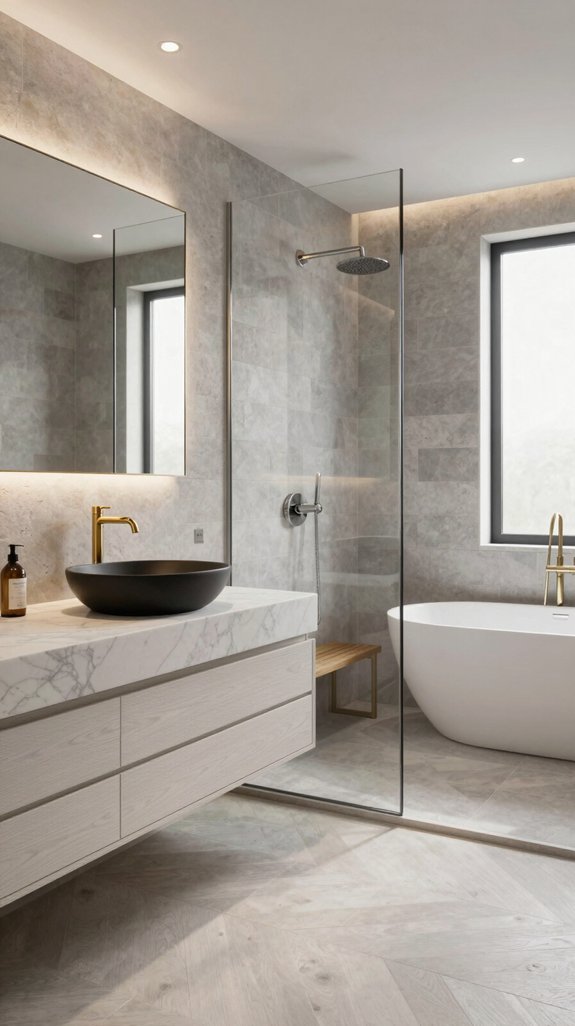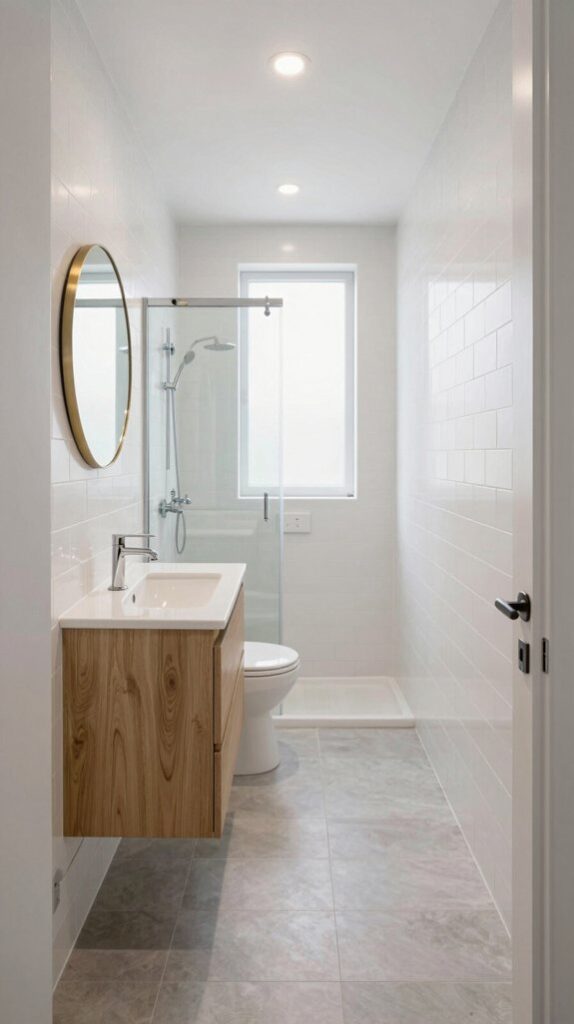
You’ll transform your long narrow bathroom by positioning fixtures on opposite walls to enhance flow and separate wet zones from dry areas. Install a pocket door to reclaim 9-12 square feet, and choose a walk-in shower on the short wall to maximize space efficiency. Layer ambient and task lighting to eliminate dark corners, use wall-hung toilets to create perceived spaciousness, and incorporate floating shelves for smart storage. Large-format tiles and frameless glass doors amplify natural light and continuity. There’s much more you can discover about optimizing every inch of your layout.
Choose Between a Walk-In Shower and Bathtub for Your Layout
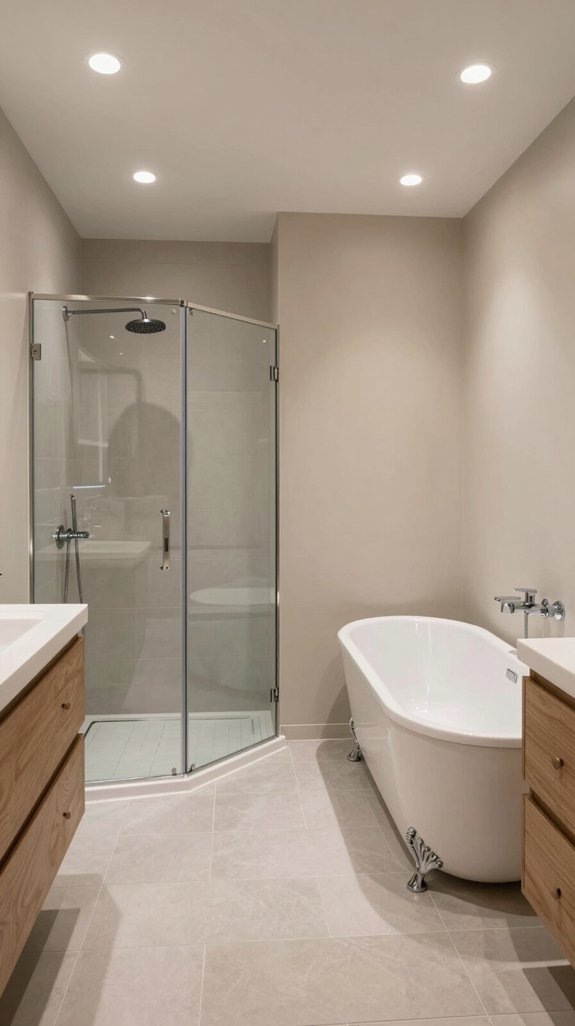
When you’re redesigning your bathroom, the choice between a walk-in shower and a bathtub fundamentally shapes your space’s functionality and feel.
Walk-in showers occupy roughly 9 square feet compared to 13 for standard tubs, making them ideal for narrow layouts. They eliminate tripping hazards, feature slip-resistant surfaces, and require minimal maintenance. Their popularity has increased significantly since 2022, reflecting the growing demand for contemporary bathroom designs.
Showers consume 20–25 gallons per use versus 40–70 for baths, delivering water efficiency.
However, bathtubs offer relaxation and appeal to families with children.
Consider your daily routine: quick showers favor modern efficiency, while soaking prioritizes comfort.
Your choice depends on space constraints and lifestyle priorities. Walk-in showers are particularly ideal for homeowners planning long-term stays, as they can be customized with safety features that accommodate aging individuals and mobility issues.

Common Slot Size, Easier to Replace or New Install: This pocket door lock fits standard doors 1-3/8 to 2-11/64" thick with a 2-1/8" recessed mounting bore, 1" cross bore, and 2-3/8" backset. This pocket door lock and pull can be used for both left-hand and right-hand doors

Pocket Door Edge Pull: Easily extract the pocket door from within the wall
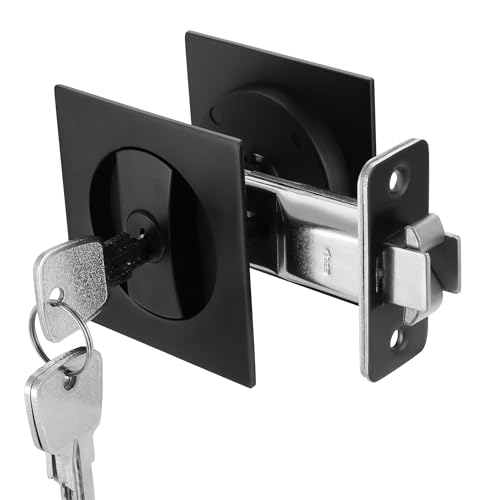
【Universal Mounting Hole Size】: This black pocket door lock with key is suitable for standard doors with a thickness of 1-3/8" to 2-11/64", with a mounting hole diameter of 2-1/8", 1" cross bore, and 2-3/8" backset. This pocket door hardware can be used for both left-hand and right-hand doors
Position Your Shower on the Short Wall to Maximize Space
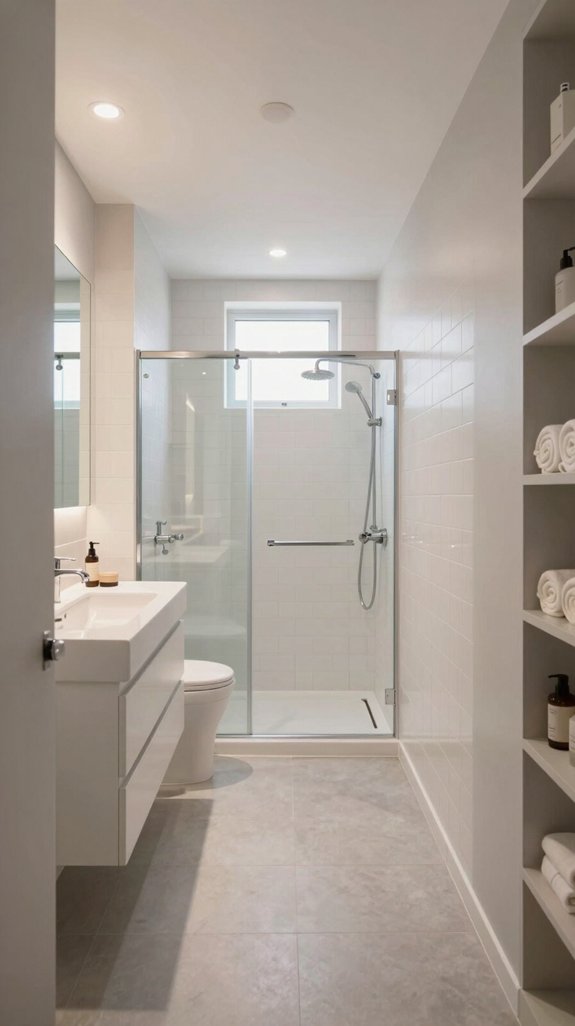
Once you’ve settled on your shower type, the next strategic decision involves placement. Position your shower on the short wall to enhance spatial efficiency in narrow layouts.
This approach frees your long walls for vanity, toilet, and unobstructed pathways. You’ll maintain the 24-inch minimum clearance at the shower entrance while creating a spacious, functional zone beneath windows.
Corner placements maximize unused areas, while centered configurations with double doors optimize accessibility. Wall-mounted systems further preserve floor space and visual flow.
This positioning strategy balances comfort and code compliance while reducing plumbing costs in compact bathrooms.

Silicone Brush Head :Mounted wall toilet scrubber The head of the brush is made of TPE material, will not hurt the toilet and pick up dirt. You can reach hard-to-reach areas with perfect cleaning results.

【100% Solid Paulownia Wood】Tinpin white wall bathroom shelves is made of natural, eco-friendly and solid paulownia wood. The paulownia wood shelf is Lightweight so that it is Easy for One Person to Put the Bathroom Shelf Together and Hang it On the Wall. Don't worry about the weakening of load bearing. After our test, load bearing absolutely meet everyone's daily needs. The installation steps are also optimized while ensuring the stability. What's more, each piece of the paulownia wood board has unique natural wood grain and color.

【100% Solid Paulownia Wood】Tinpin bathroom shelf is made of natural, eco-friendly unique wood grain and color Paulownia wood, which possesses wear resistance and strong toughness, ensuring long-term flatness and anti-corrosion of the storage board. The hollow structure of the Paulownia wood board makes the placement board while also lightweight. The frame of the product is made of stainless steel, which not only prevents rust but also significantly reduces the weight of the frame.
Install a Pocket Door Entrance to Save Critical Inches
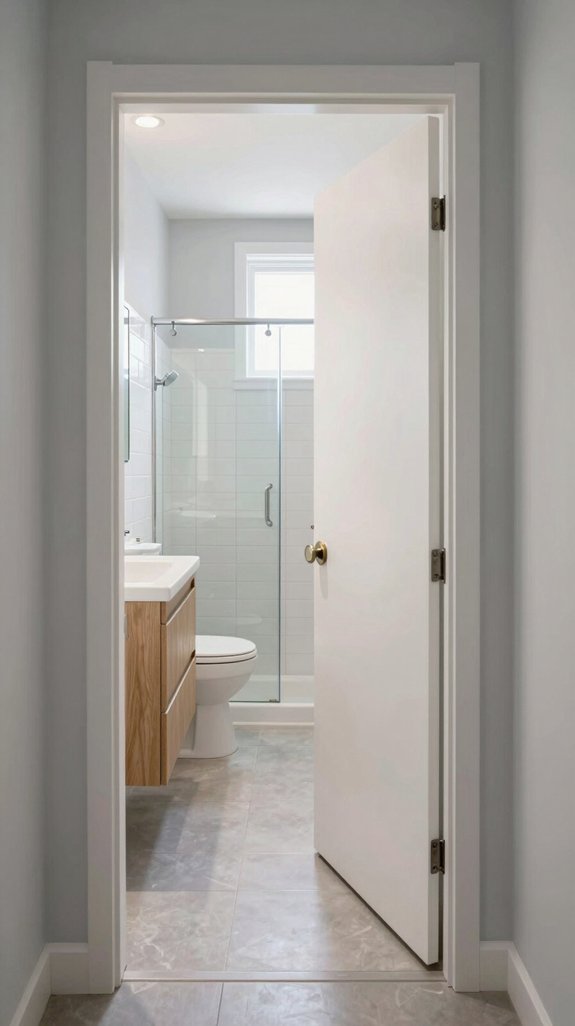
After positioning your shower strategically, you’ll want to reconsider your bathroom entrance itself—because traditional hinged doors consume 800–1000 mm of swing clearance that you simply can’t afford to lose in compact layouts.
Pocket doors slide seamlessly into wall cavities, instantly recovering 9–12 square feet of usable floor space. This liberation transforms your layout possibilities: you’ll position fixtures freely, eliminate collision risks, and create unobstructed entryways ideal for accessibility.
Glass pocket doors amplify natural light, reinforcing the visual expansion of your narrow bathroom.
The result? A streamlined, modern aesthetic that prioritizes functionality without sacrificing design sophistication or spatial efficiency.

Solid Paulownia Wood: Our floating shelves are crafted from 100% paulownia wood with a fine wood grain and attractive finish. Paulownia wood is naturally resistant to decay, warping, and pests, making these bathroom shelves perfect for wall decor in any living space.

Expand Space and Modern Design: With clean lines and a warm finish, these small bathroom shelves expand wall space in dry bathroom zones and double as stylish bathroom organizers and storage. Effortlessly organize towels, toiletries, and decor with the invisible bracket that creates a sleek, modern display appearing to float seamlessly on your wall — perfect for over the toilet bathroom organizer setups and completing your bathroom wall decor

[Excellent Quality for Long Lasting Use] - Our floating shelves are handcrafted from sturdy and durable MDF - sure to become an old companion that brings you a comfortable and durable experience. The metal rails are forged from the toughest steel and powder coated to prevent rust over time. We provide more stable and stronger construction - Each shelf is strong enough to hold up to 20 pounds with ease! Toilet paper, picture frames, and small greenery can be placed at will.
Use Frameless Glass and Sliding Doors for an Open Feel
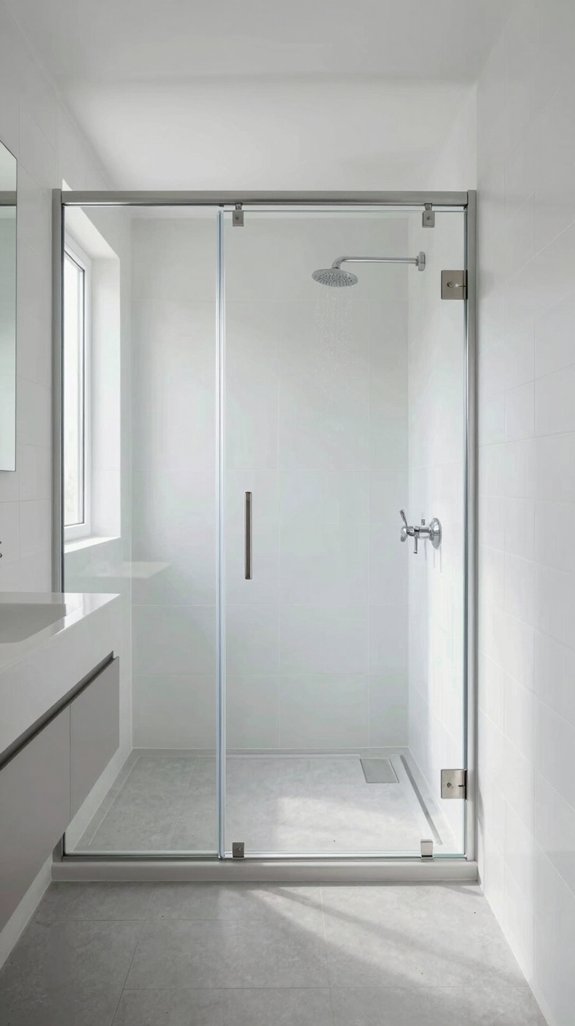
Your pocket door entrance sets the stage for a bathroom that breathes—and frameless glass shower enclosures complete that vision.
These seamless installations eliminate visual barriers, amplifying your narrow space’s perceived square footage. Sliding doors glide effortlessly, requiring minimal clearance while maintaining that coveted open aesthetic.
The transparent glass floods your shower with natural light, brightening the entire room and highlighting tile details.
You’ll appreciate the practical benefits too: fewer frame crevices mean less soap scum buildup, simpler cleaning routines, and reduced mold growth.
Tempered glass delivers durability while custom sizing adapts to any bathroom configuration, delivering luxury that transforms flow and function.

Black and white peel and stick vinyl floor tile with a bold and modern style

Nexus Vinyl Tiles: Refresh your home for a low cost and no hassle with the Nexus Vinyl Floor Tiles. Our tiles can be used in any room in your home including the kitchen, dining room, bedrooms, bathrooms, foyers, and basements. No messy glue or adhesives needed. Includes 20 vinyl tiles.

Black and white geometric floral peel and stick floor tiles
Arrange Fixtures Opposite Each Other for Better Flow
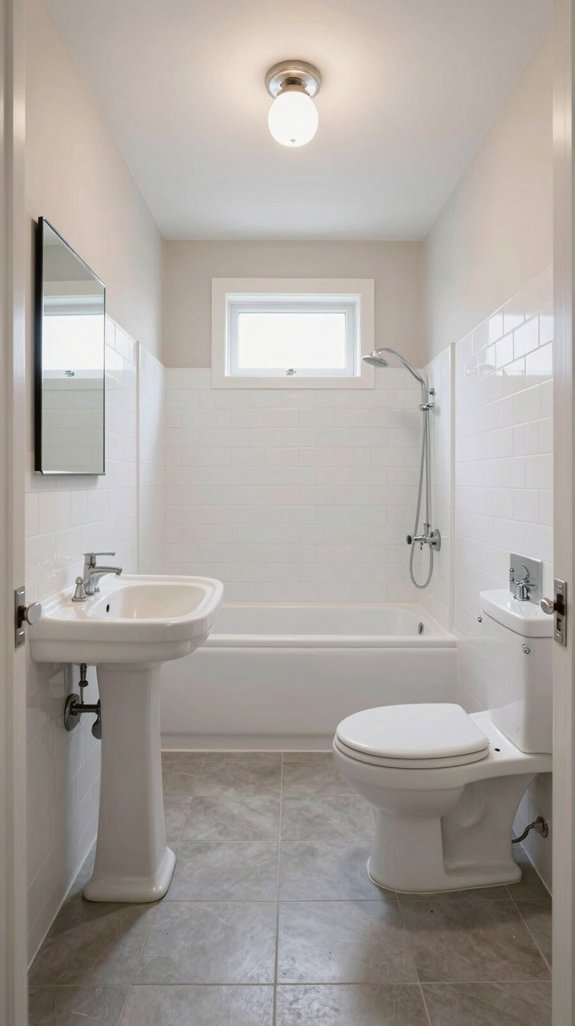
While narrow bathrooms demand strategic planning, arranging fixtures on opposite walls creates a galley-style layout that maximizes both flow and functionality.
You’ll keep your center floor clear for unobstructed movement, making the space feel larger and less cramped. This configuration separates wet zones like showers from dry areas like vanities, enabling multiple users simultaneously without interference.
You’ll also benefit from simplified plumbing installation—aligning fixtures with existing wall-based utilities reduces labor costs and maintenance complexity.
The balanced, symmetrical design distributes elements evenly across opposing walls, enhancing natural traffic patterns and eliminating fixture conflicts in your compact bathroom.

Extra Short SIZE: Width(left to right): 70"; Height/Length(top to bottom): 48"

Extra Short Size:72" wide by 48" Long(High)/6ft x 4ft (W x H), 12 holes/metal grommets and 12 plastic hooks.

Install a Wall-Hung Toilet to Free Up Floor Space
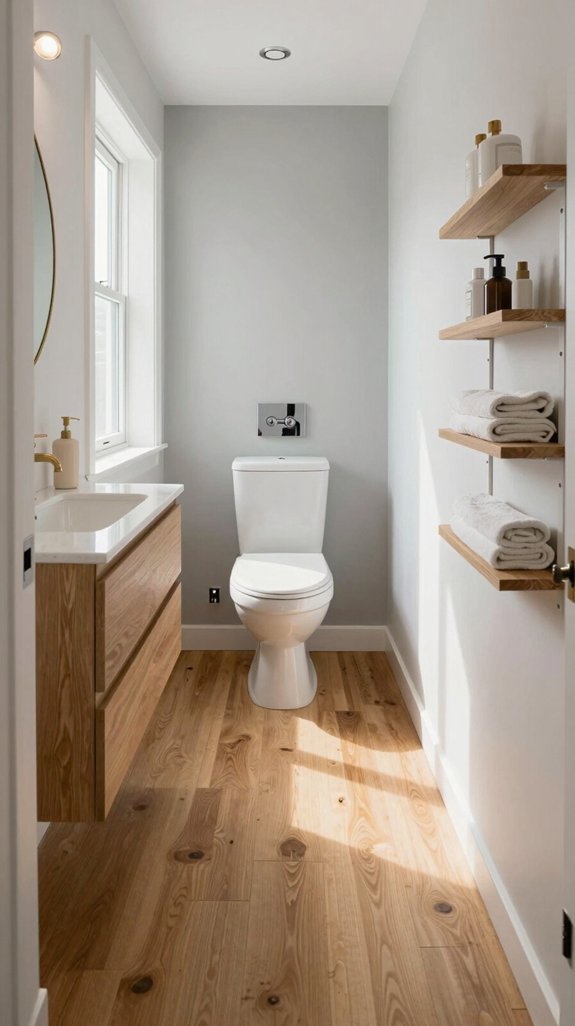
Wall-hung toilets reclaim precious square footage in compact bathrooms by eliminating the footprint of a traditional floor-mounted base.
You’ll instantly gain 8–12 inches of floor depth, creating an optical illusion of spaciousness in narrow layouts. The concealed wall-mounted cistern frees up valuable real estate while enabling seamless mopping underneath—reducing bacteria buildup and simplifying maintenance.
With customizable heights ranging from 15–19 inches, you’ll accommodate accessibility needs while meeting ADA compliance. The reinforced steel frame supports up to 880 pounds, delivering stability matching traditional toilets.
This minimalist design maximizes flow, enhances hygiene, and transforms cramped bathrooms into open, inviting spaces. Keep the area around your toilet clean and hygienic by using furniture and upholstery cleaners regularly to prevent dust and grime accumulation on nearby surfaces.

Product Info.: The door curtain package comes with 1 panel. Each panel measuring 30 inches wide by 40 inches long comes with matching adjustable TIEBACK. 2 rod pockets (diameter: 1" each) on both top and bottom sides give the curtain a nice fit.

【Universal Mounting Hole Size】: This gold pocket door lock with key is suitable for standard doors with a thickness of 1-3/8" to 2-11/64", with a mounting hole diameter of 2-1/8", 1" cross bore, and 2-3/8" backset. This pocket door hardware can be used for both left-hand and right-hand doors

[Straightforward Fit & Installation] – The matte black pocket door hardware designed for standard interior doors, fits 1-3/8" to 2-3/16" thick doors with a 3-step cuttable tailpiece. Requires a 2-1/8" bore and a 2-3/8" fixed latch, making it compatible with most pocket door
Select a Standard Toilet Over an Elongated Model
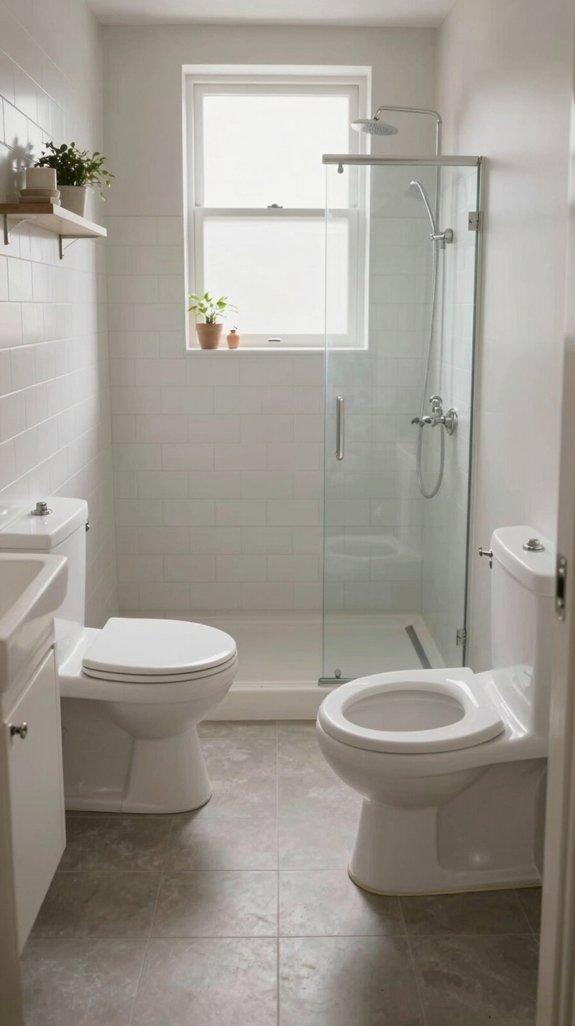
Toilet selection fundamentally shapes bathroom flow, and choosing between round and elongated models requires understanding their spatial trade-offs.
Round toilets demand only 24 inches of front clearance, making them ideal for narrow bathrooms where every inch matters. You’ll appreciate their compact 16.5-inch depth and budget-friendly pricing.
Elongated models, while offering superior comfort and stronger flushing performance, require 30 inches of ADA-compliant clearance.
For long, narrow spaces, round toilets maximize usable floor area without sacrificing functionality.
Both share identical 12-inch rough-in standards, ensuring straightforward installation compatibility regardless of your bathroom’s configuration.

Material selection: Wooden medicine cabinets for bathroom is made of PB and MDF. PB has good load-bearing and moisture-proof properties and is suitable for humid environments; while MDF has a smooth surface and is easy to clean, which can effectively resist moisture, improve durability and aesthetics, and provide reliable protection for daily storage.


PREMIUM BAMBOO: This white bathroom shelf is made of 100% MOSO bamboo with white finish, more durable and sturdy
Choose a Corner Sink or Floating Vanity to Reduce Footprint
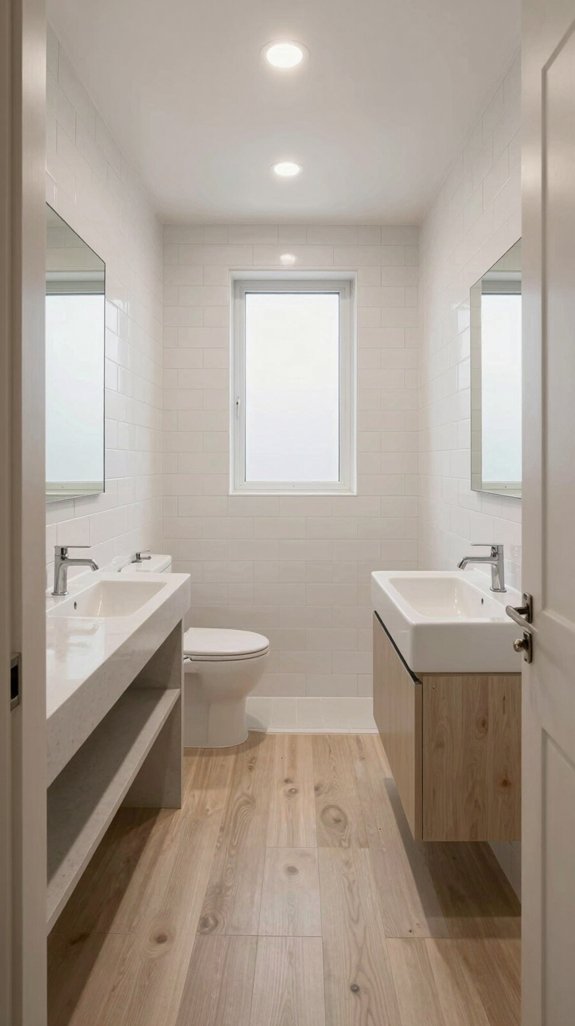
After optimizing your toilet selection, you’ll want to address sink placement—arguably the most impactful choice for bathroom flow.
Corner sinks and floating vanities transform dead space into functional zones, liberating your central floor area for seamless movement. Wall-mounted options eliminate visual bulk while preserving unobstructed pathways—critical in narrow layouts. Consider pairing your vanity with an upholstered headboard-style backing to add soft texture and visual interest above the sink area.
Corner cabinets deliver integrated storage without expanding your footprint, solving dual organization challenges. These fixtures come in varied styles and materials, seamlessly adapting to your aesthetic vision.

Material: Medium Density Fiberboard, outlasts wood in damp bathroom environments

Multi-functional Design: This shelf consists of a towel rack and three laminated panels. You can use a towel rack to hang your towels, which will dry them faster. And the laminate can hold the bottles and cans

【SPACE SAVING & LOOK NEATER】 4 pack acrylic shelves for wall provide multi-layer storage, allowing you to utilize wall space more efficiently. You can conveniently store everything while keeping your room organized. It's a great space-saving wall organizer!
Place a Freestanding Bathtub Diagonally in the Corner
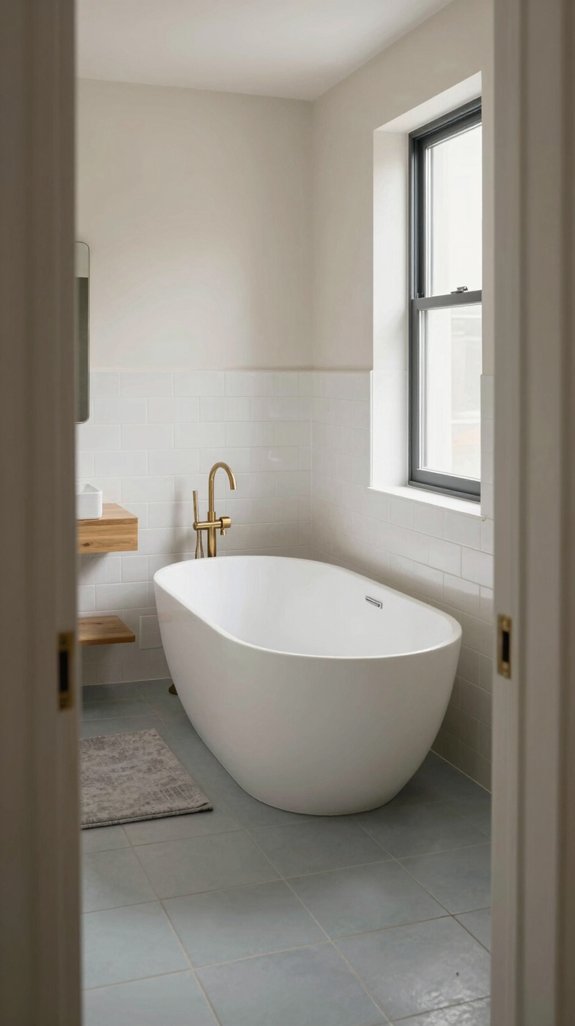
Positioning a freestanding bathtub diagonally in your bathroom’s corner transforms an awkward dead space into a striking focal point while preserving precious floor area. This angled placement maximizes floor space in narrow layouts, allowing you to incorporate storage shelving or other functional elements alongside the tub.
The diagonal orientation enhances visual flow, preventing the typical wall-aligned positioning that can feel cramped. You’ll need wall-mounted plumbing and reinforced flooring, but the result delivers spa-like luxury with sculptural appeal.
Consider 67 x 32-inch dimensions for ergonomic access, and pair with stone resin or durable acrylic materials for low-maintenance elegance that complements modern aesthetics.

Nexus Vinyl Tiles: Refresh your home for a low cost and no hassle with the Nexus Vinyl Floor Tiles. Our tiles can be used in any room in your home including the kitchen, dining room, bedrooms, bathrooms, foyers, and basements. No messy glue or adhesives needed. Includes 20 vinyl tiles.

Burgundy red and white Old World mosaic-inspired peel and stick floor tiles by FloorPops

Size: This peel and stick floor tile measures 12 x 12 inches and is 0.04 inches thick. Each box of 20 peel and stick bathroom floor tiles covers 20 square feet. The marble peel and stick floor tile can be cut in any combination so you can let your creativity run wild
Add Vertical Storage With Tall Floating Shelves
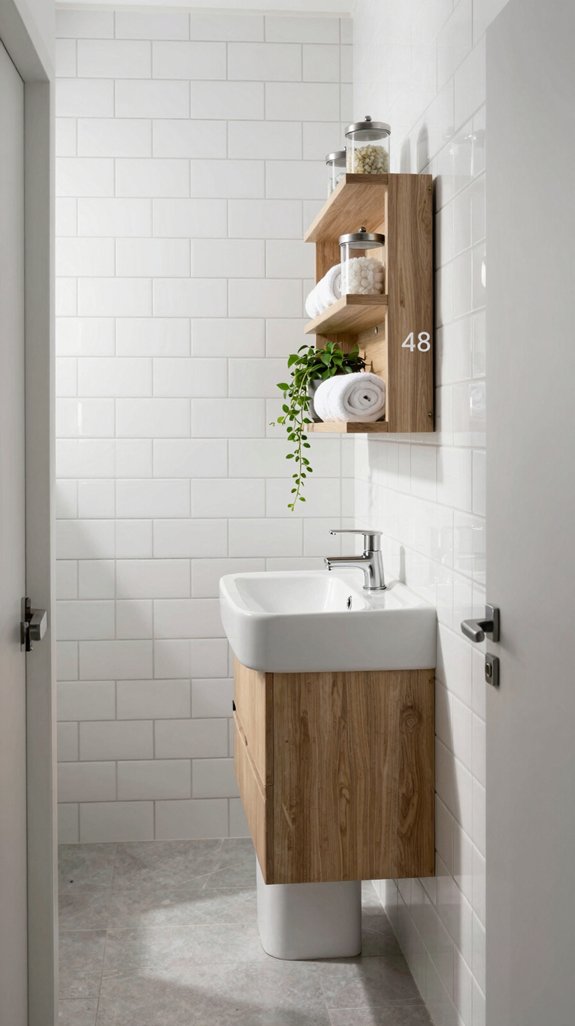
While horizontal space in bathrooms remains at a premium, floating shelves capitalize on underutilized wall real estate to dramatically expand your storage capacity.
You’ll maximize vertical zones above toilets, tubs, and sinks with minimal installation effort. Select moisture-resistant materials—solid wood, glass, or quality MDF—that withstand humidity while complementing your design aesthetic.
Hidden bracket systems create a seamless floating effect, supporting up to 40 pounds per shelf.
Strategic placement at varying heights accommodates towels, bath accessories, and décor without consuming floor space. Consider incorporating 3D wall art pieces to enhance visual interest and add dimension to your shelving displays. This approach transforms narrow bathrooms into organized, visually open environments while maintaining easy accessibility for daily routines.
Incorporate Built-In Niches for Toiletries
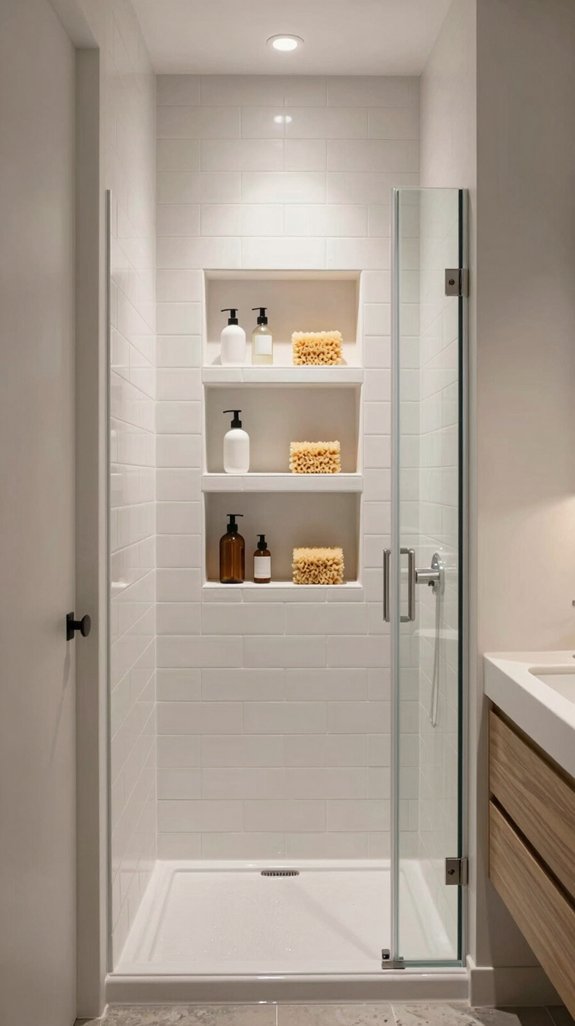
Built-in niches transform shower walls into organized storage zones that you can customize to your household’s specific needs.
You’ll maximize functionality by strategically combining horizontal and vertical niches that accommodate varying toiletry sizes without consuming floor space. Matching niche tiles to your shower wall creates visual continuity, while bullnose trim provides polished edges.
Consider hidden placements on back walls to maintain seamless aesthetics in tight layouts. For specialized needs, incorporate shaving niches with custom height positioning.
Alternatively, slotted corner shelves offer superior water drainage and utilize diagonal spaces efficiently, preventing moisture accumulation while preserving your minimalist design.
Choose Large Porcelain Tile to Make Space Feel Bigger
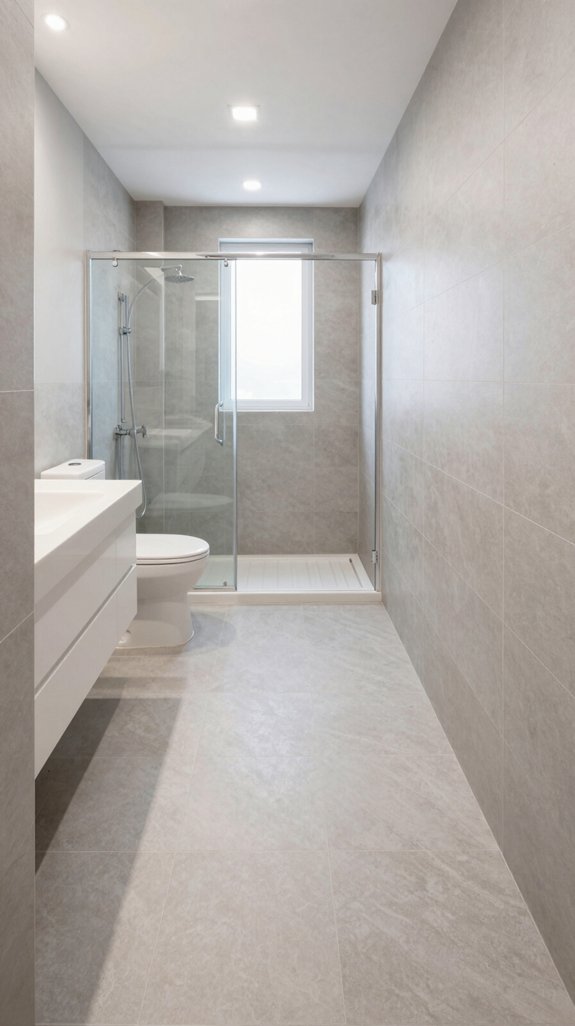
Large-format porcelain tiles work alongside your built-in storage solutions to amplify the sense of spaciousness throughout your bathroom.
Fewer grout lines create visual continuity that makes compact spaces feel expansive and airy. The seamless surface allows light to reflect evenly, enhancing brightness and flow.
You’ll appreciate the practical benefits too: large tiles require fewer cuts during installation, reducing lippage and guaranteeing a flatter finish.
With minimal joints to harbor moisture and grime, maintenance becomes effortless.
Porcelain’s exceptional durability and water resistance guarantee long-term performance, making it an innovative choice for maximizing both aesthetics and functionality.
Extend Tile to the Ceiling to Add Height
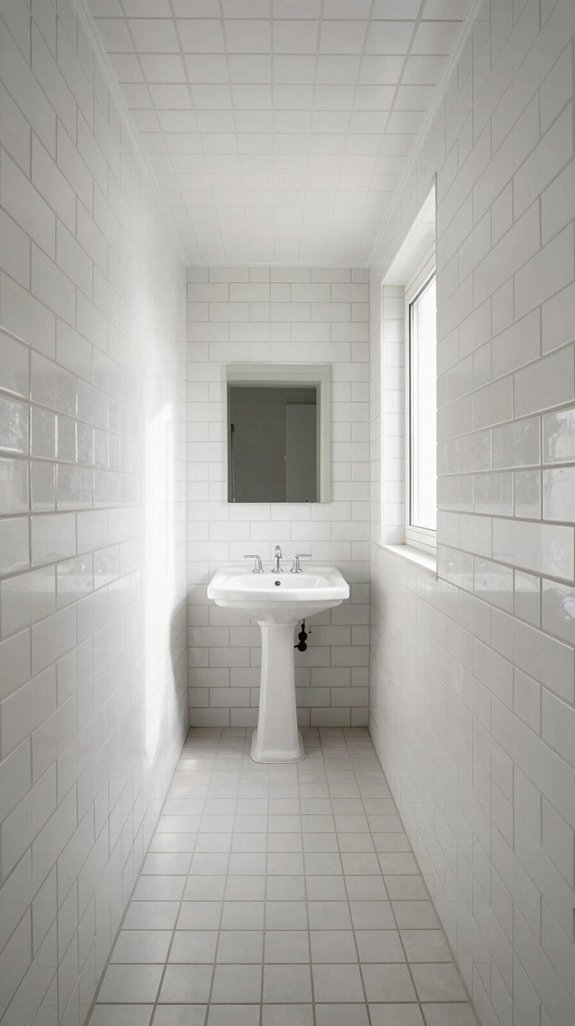
By extending tile from floor to ceiling, you’ll instantly draw the eye upward and create a stronger sense of vertical space in your bathroom.
This seamless visual flow eliminates interruptions that narrow the perception of your space, making rooms feel twice as tall. Light-colored tiles amplify this effect, expanding the shower area and enhancing the illusion of openness.
The continuous tiling also delivers practical benefits: superior moisture protection, mold resistance, and easier maintenance than painted surfaces.
Though ceiling reinforcement is necessary for tile weight, the resulting modern, cohesive aesthetic justifies the investment, transforming your narrow bathroom into an elegant, spacious retreat.
Hang a Large Mirror to Reflect Light and Depth
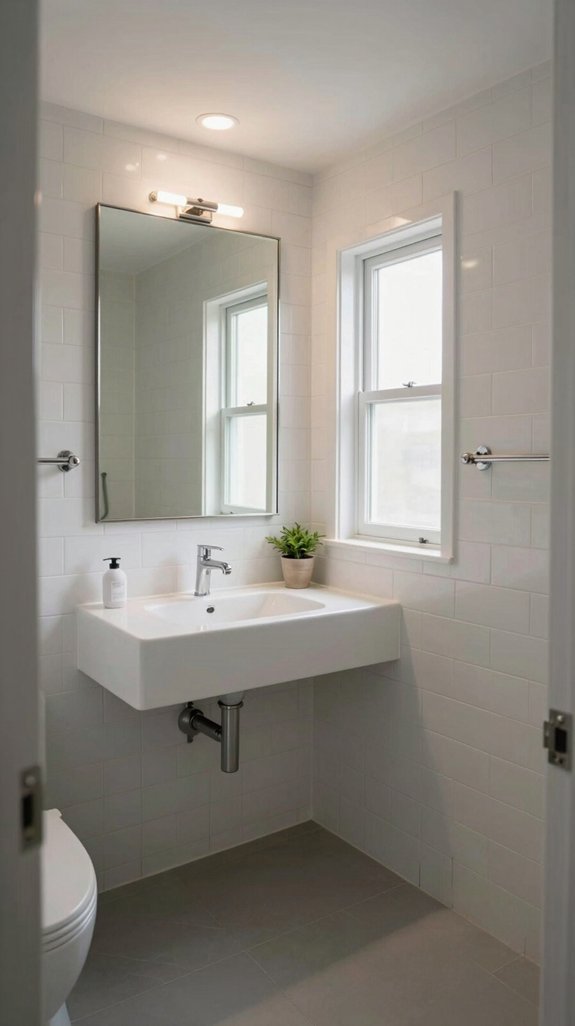
When you’re working with a compact bathroom, a strategically positioned mirror becomes one of your most powerful design tools.
Position your large mirror opposite or adjacent to windows to amplify natural daylight throughout the space. Floor-to-ceiling designs create the illusion of endless vertical space, while horizontal placement stretches perceived width in narrow layouts.
Quality float glass delivers distortion-free reflections that enhance both brightness and spatial perception. High-resolution reflections help your brain interpret authentic depth, effectively doubling your room’s perceived size.
This approach eliminates the need for additional light fixtures while simultaneously solving flow challenges in tight quarters.
Paint Walls and Choose Light Tile to Expand Visually
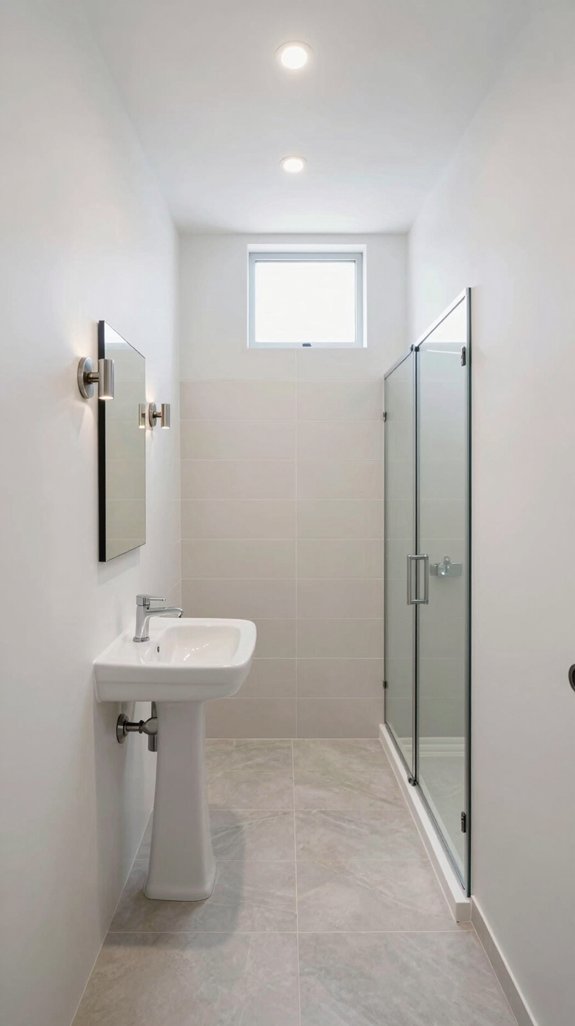
Light colors and reflective surfaces work together to expand your bathroom’s visual dimensions.
Choose whites, creams, or soft pastels for walls to reflect natural light and create openness. Pair these hues with glossy porcelain tiles that amplify brightness and add depth.
Large-format tiles in light tones reduce visual grout lines, streamlining the space further. Consider tone-on-tone schemes with white-on-white for an enhanced airy feel.
This strategic combination—light paint, reflective surfaces, and expansive tile formats—eliminates visual barriers and transforms narrow bathrooms into spaces that feel markedly larger and more breathable.
Add Layered Lighting to Reduce Dark Corners
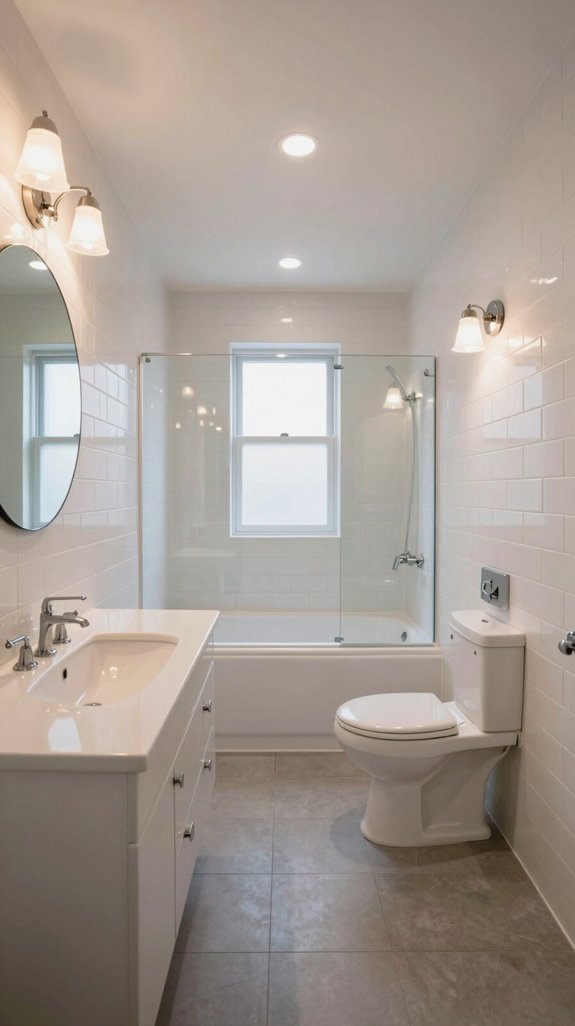
While light colors and reflective surfaces create visual spaciousness, strategic lighting layers actually illuminate those expanded dimensions and eliminate the shadowy corners that can undermine your design efforts.
You’ll want to combine ambient ceiling fixtures with task lighting flanking your vanity mirror, then add accent lights beneath cabinets or highlighting architectural details.
This three-layer approach guarantees consistent brightness throughout your narrow bathroom, preventing the dark zones that compress perceived space.
Dimmable controls let you adjust intensity by time of day, while motion sensors enhance efficiency.
Smart tunable-white fixtures adapt color temperature to your needs, creating both functionality and sophisticated ambiance simultaneously.
For a cohesive look, consider curating accent lighting kits that coordinate with your overall design aesthetic while delivering the layered illumination your narrow bathroom requires.
Select a Short-Projection Showerhead to Save Space
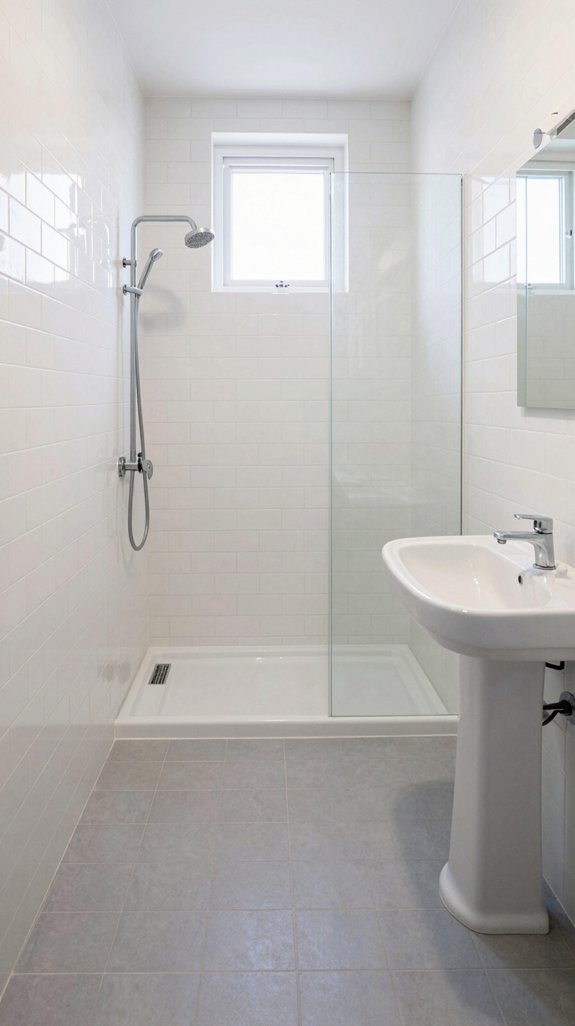
Because narrow bathrooms demand strategic fixture choices, short-projection showerheads offer an elegant solution that reclaims valuable floor space without sacrificing shower quality.
These compact fixtures mount closer to walls, minimizing protrusion and improving traffic flow through tight layouts. You’ll appreciate advanced aerator technology that integrates air with water streams, maintaining powerful pressure while reducing consumption by 40% or more.
Pairing fixed heads with handheld options maximizes functionality in confined areas. You’re investing in sustainable design that delivers environmental benefits, lowers utility costs through reduced water heating demands, and meets modern regulatory compliance standards.
Use Slotted Corner Shelves for Shower Storage
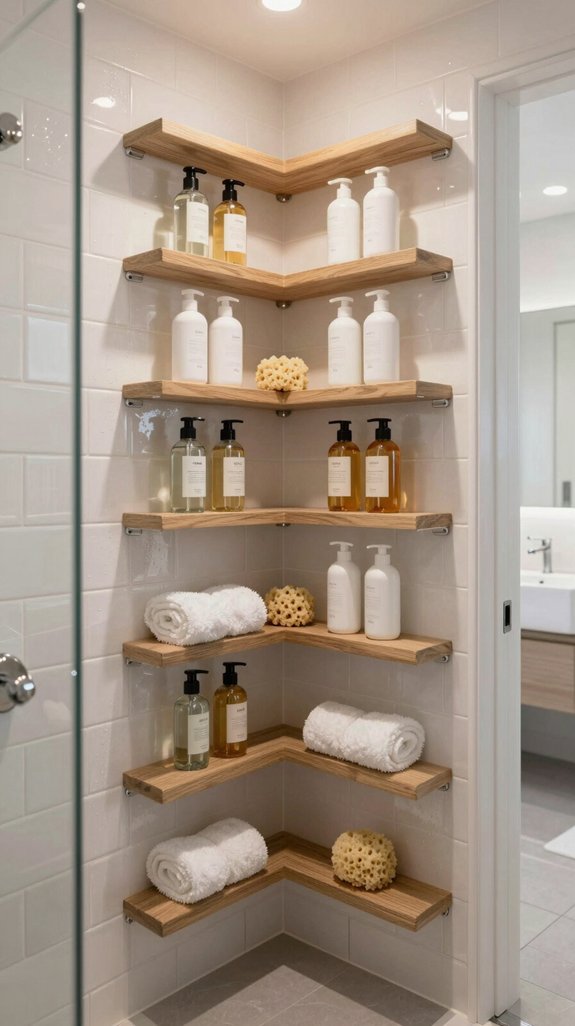
Now that you’ve optimized your showerhead and wall configuration, slotted corner shelves transform those neglected shower corners into smart storage zones.
These vertical solutions maximize your narrow bathroom’s functionality without consuming precious floor space. Install adhesive or suction-cup models at varying heights to accommodate diverse bottle sizes seamlessly.
The modular design adapts as your needs evolve, offering flexible placement customization. Choose rust-resistant materials like tempered glass or stainless steel for durability and visual appeal. Pair your shelving with stylish ceiling light fixtures to ensure adequate illumination throughout your shower area.
Customize Fixtures to Fit Your Exact Dimensions
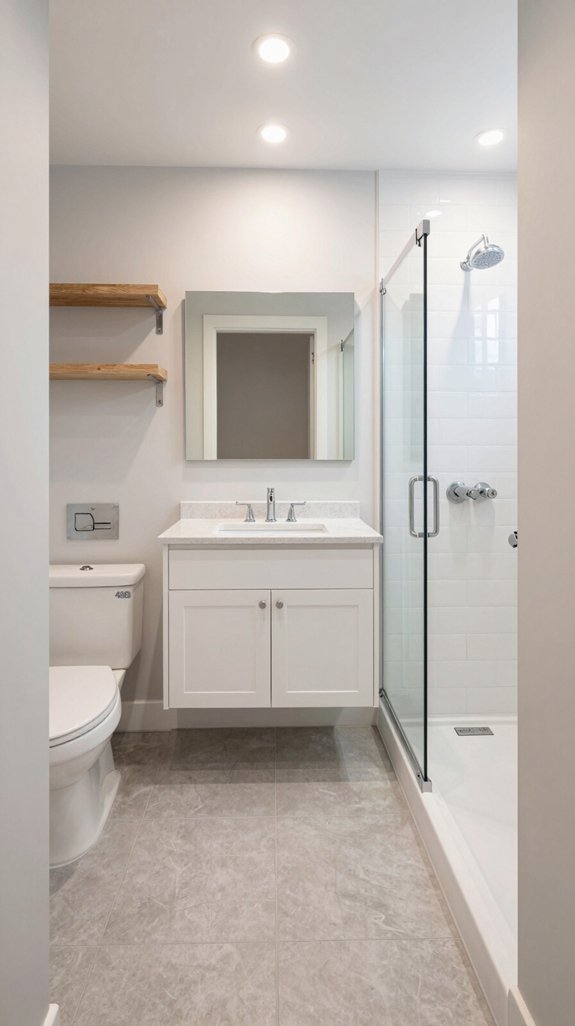
Three strategic fixture choices—wall-hung vanities, compact bathtubs, and narrow sanitary ware—transform cramped bathrooms into flowing, functional spaces.
You’ll maximize usable floor area by selecting wall-hung units with sleek push-to-open mechanisms that sit beneath mirrors without consuming vanity space.
Position compact bathtubs diagonally in corners to emphasize scenic walls and create visual movement.
For fixtures, you can arrange toilets and bidets along long walls when space permits, respecting required clearances.
Custom sink sizes and widespread faucets balance cabinet proportions while rectangular designs pair beautifully with vertical tile patterns.
Incorporating organized storage solutions within your fixture selections ensures every inch serves a functional purpose.
These tailored selections guarantee your bathroom functions flawlessly within exact dimensions.
Frequently Asked Questions
How Do I Choose Between a Corner Sink and Floating Vanity for My Narrow Bathroom?
You’ll choose based on your priorities: corner sinks maximize awkward spaces and ease installation, while floating vanities create modern aesthetics and visually expand tight layouts. Consider your storage needs and wall strength for mounting support.
What’s the Best Way to Arrange Multiple Fixtures in a Long, Narrow Bathroom Layout?
You’ll arrange, you’ll align, you’ll activate flow by positioning fixtures on parallel walls with a clear central path. Wall-mount your toilet and vanity opposite each other, situating your shower at the end.
Can I Fit a Freestanding Bathtub in My Narrow Bathroom Without Blocking Access?
Yes, you can fit a freestanding bathtub in your narrow bathroom. Choose models under 55 inches long and 30 inches wide, positioning them strategically to maintain clear walkways and preserve at least one foot of clearance from walls.
How Should I Plan Lighting to Avoid Dark Corners in a Long Narrow Bathroom?
You’ll eliminate dark corners by spacing recessed downlights every 2 feet along your ceiling’s perimeter, positioning vertical sconces at 60-65 inches, and layering under-cabinet LEDs for strategic accent illumination.
What Tile Size and Color Combination Works Best for Expanding a Narrow Bathroom Visually?
You’ll want to hit the ground running with large-format tiles (60×120) in light neutrals like soft gray or beige, paired horizontally. This combination minimizes grout lines while reflective finishes amplify your space’s perceived width dramatically.
References
- https://www.atlasplan.com/en-US/news/long-and-narrow-bathroom-ideas-with-shower/
- https://www.ideagroup.it/blog/en/how-to-furnish-a-long-narrow-bathroom/
- https://www.homesandgardens.com/bathrooms/narrow-bathroom-ideas
- https://averageinspired.com/2023/08/long-narrow-bathroom-renovation.html
- https://www.roomsketcher.com/floor-plan-gallery/bathroom/narrow-bathroom-floor-plans/
- https://www.youtube.com/watch?v=_-xhzcNSlbw
- https://www.houzz.com/discussions/4321147/need-ideas-for-reconfiguring-long-narrow-11-5-x-5-5-bath
- https://www.castlehavenconstruction.com/blog/walk-in-showers-vs-bathtubs-which-fits-your-remodel-best/
- https://teamdavelogan.com/blog/choosing-a-walk-in-shower-or-bathtub/
- https://www.safesteptub.com/blog/walk-in-shower-vs-tub-shower-combo/