You’ll transform your bathroom’s efficiency by strategically positioning fixtures along single walls or galley-style corridors, minimizing plumbing costs while maximizing flow. Corner utilization and L-shaped layouts reclaim dead space, while floating vanities and wall-mounted toilets amplify perceived square footage. Position showers near existing pipelines and maintain 24-inch clearance around entryways. Separate wet and dry zones to guide traffic seamlessly. These foundational principles establish functional sophistication, though exploring advanced positioning strategies reveals how subtle fixture angles and diagonal arrangements further optimize ergonomics and visual sightlines.
Single-Wall Layouts for Compact Spaces
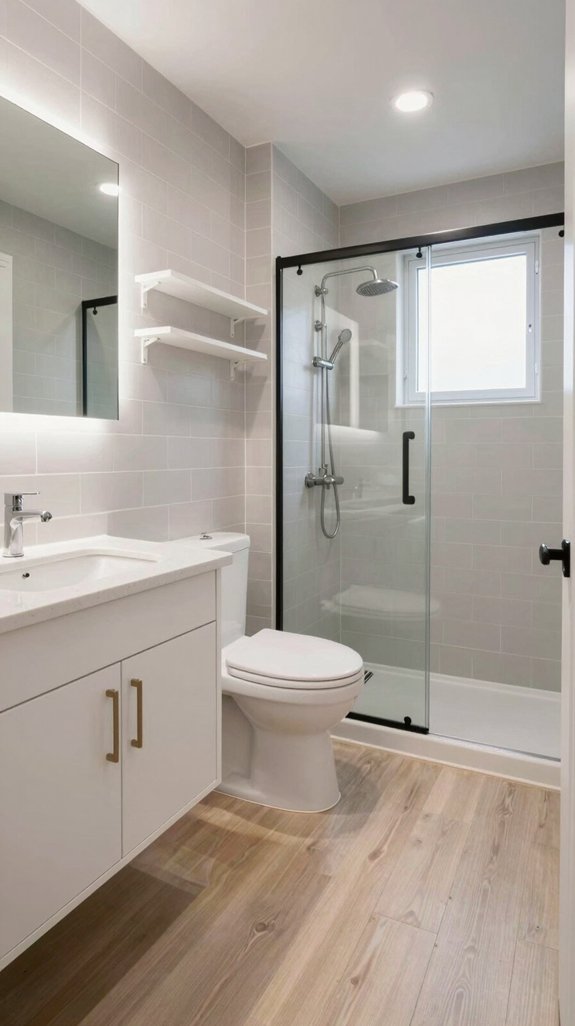
When you’re working with limited square footage, single-wall bathroom layouts offer an efficient solution that maximizes functionality within constrained dimensions.
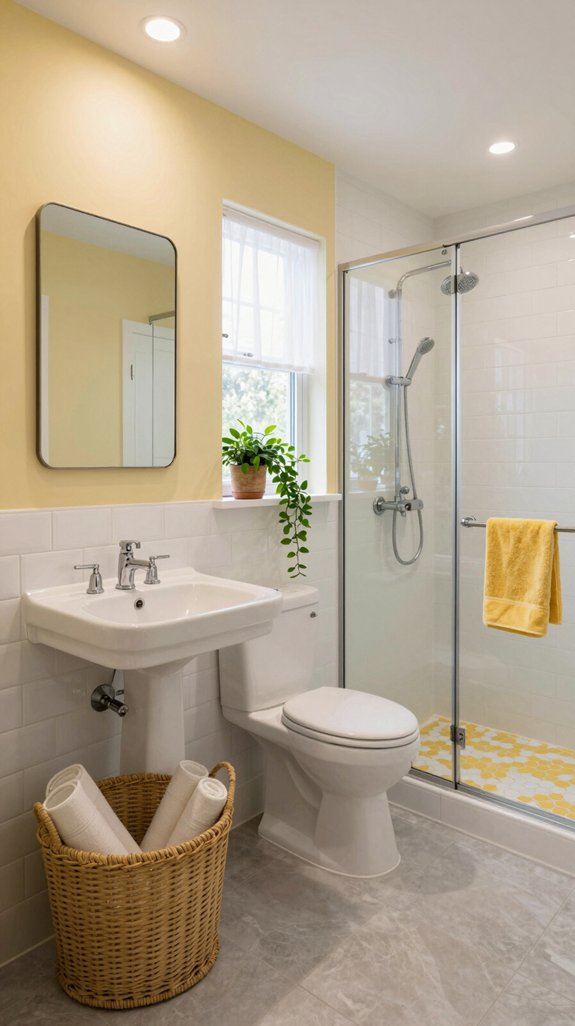
You’ll arrange your sink, toilet, and shower along a single wall, typically requiring just 5–6 feet width. This linear configuration streamlines plumbing and electrical infrastructure, reducing renovation costs and complexity. Vertical space utilization with shelves or slim units ensures adequate storage without consuming precious floor area. Consider incorporating decorative interior shutters to add visual interest while maintaining the clean aesthetic of your compact bathroom.
Strategic fixture placement—sink near the entrance, toilet centrally positioned, shower at the far end—optimizes workflow. Wall-mounted vanities and compact toilets preserve floor space, while pocket doors eliminate swing conflicts.
You’ll achieve a clean, uncluttered aesthetic with everything within arm’s reach, ideal for studios, guest suites, and secondary bathrooms.

APPLICATION: Ideal for small spaces, offering a practical and convenient lighting solution

Traditional and Modern Design:The matte black and brass gold wall sconce works beautifully in both styles - the warmth complements vintage charm while the metallic sheen adds sophistication to modern spaces.with features like adjustable mounting, dimmable capabilities, and corrosion-resistant finishes.Clear glass sconce for maximum light.
Galley Bathrooms That Maximize Linear Flow
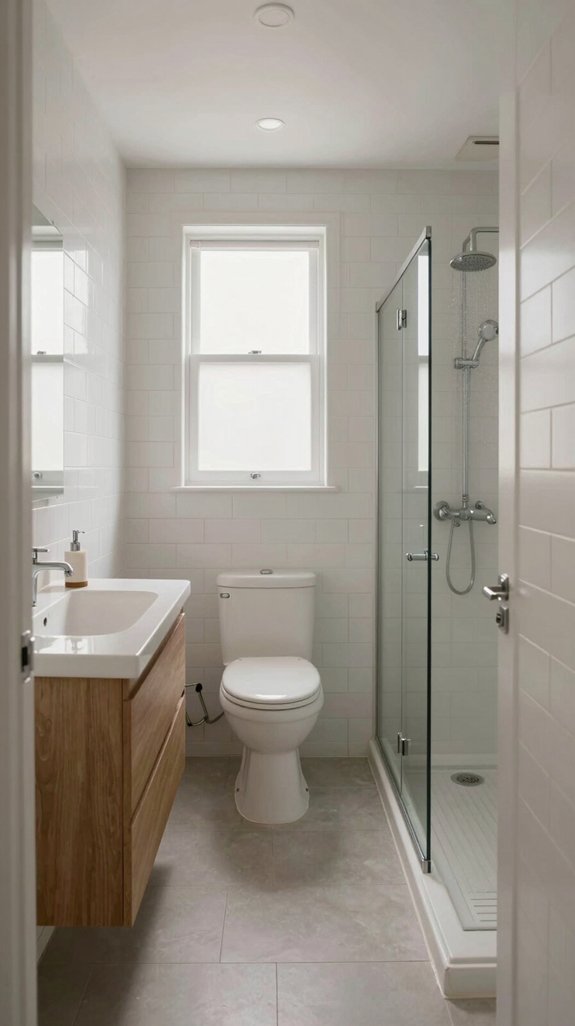
If you’re designing a bathroom in a narrow footprint, galley layouts offer a corridor-style configuration that transforms linear constraints into streamlined efficiency.
You’ll position fixtures—vanity, toilet, shower—sequentially along parallel walls, maintaining a central 36-inch walkway that eliminates dead zones. This alignment maximizes your usable square footage while preserving intuitive traffic flow.
Wall-hung toilets reclaim critical floor space, while alcove tubs anchor the endpoint. You’ll achieve unobstructed movement through strategic fixture placement and preserved clearances, delivering functional sophistication within compact dimensions that rival larger bathroom footprints.

Organize Your Home: This set of 4 corner wall shelves is the perfect solution for maximizing wall space in your home. Each wall shelf measures 11.4″ x 16.5″ with 5.9″ depth to provide ample space to display decorations, books, and household essentials for better organization.

【L-Shaped Design】YDKGL l shaped kitchen mat fits perfectly into corners and L-shaped spaces. As a corner rug, it covers awkward kitchen angles that standard mats cannot reach. The one-piece design increases floor contact area, making it a reliable choice for kitchen mats for floor in compact or irregular layouts.
![Crkmire [39"-68.5"] x [55"-84.2"] Large Corner Shower Curtain Rod, L Shaped Adjustable 90 Degree Right-angled Curved Bathroom Curtain Rod with 12 Hooks and Ceiling Support](https://m.media-amazon.com/images/I/41Xg9NfYtGL._SL500_.jpg)
EASY & FLEXIBLE INSTALLATION: Nomally 2 size methods to assembling this large corner curtain rod. Method 1 - [55"-68.5"] x [55"-68.5"], Method 2 - [39.3"-52.7"] x [71"-84.2"]. If need smaller size, take off 1 or 2 tubes on either side
L-Shaped Layouts for Corner Efficiency
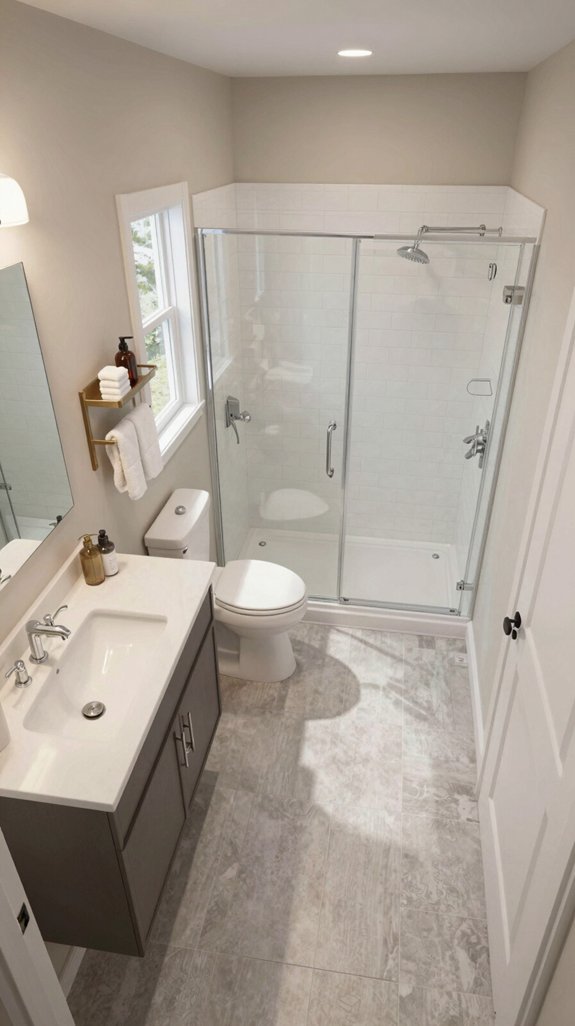
While galley bathrooms excel in linear efficiency, L-shaped layouts leverage two perpendicular walls to reveal exponentially greater design potential.
You’ll maximize corner zones by positioning your vanity on the shorter leg and wet fixtures on the longer leg, creating distinct functional areas. This configuration accommodates simultaneous multi-user access while establishing natural separation between wet and dry zones.
Install floating vanities and wall-hung toilets to amplify spatial perception. A frameless corner shower enhances visual openness.
You’ll achieve superior counter storage and design flexibility compared to single-wall layouts, without the claustrophobic feel that U-shaped plans impose.
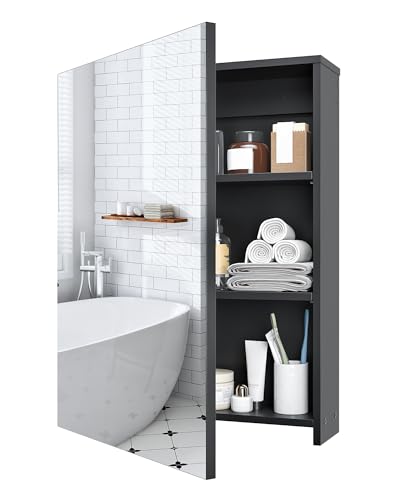
Crystal Clear Vision: The bathroom cabinet features a spacious 17.7" L * 23.6'' W mirror that captures every detail with stunning clarity. Whether for morning routines or evening skincare, it's your high-definition assistant, always by your side
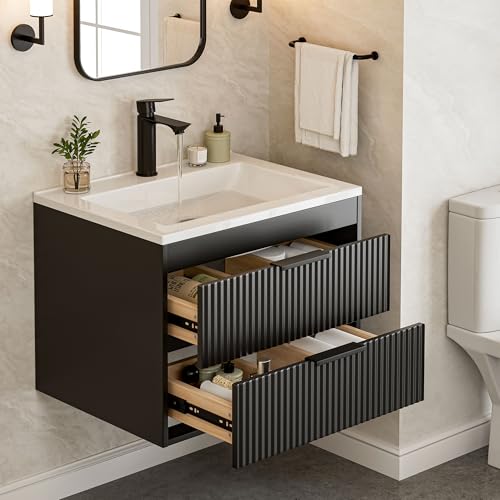
Stylish Design and Ample Storage: This modern style bathroom vanity adheres to minimalist aesthetics with clean lines. Paired with black handles, it exudes a sense of fashion. Equipped with two spacious drawers, it’s convenient for storing various bathroom essentials like skincare products and toiletries, helping you create a tidy and organized bathroom space

Brushed Gold Wall Mounted Style - This wall mounted soap dispenser adds a warm brushed gold look while helping keep the sink counter more open and organized.
Open-Plan Designs for Connected Spaces
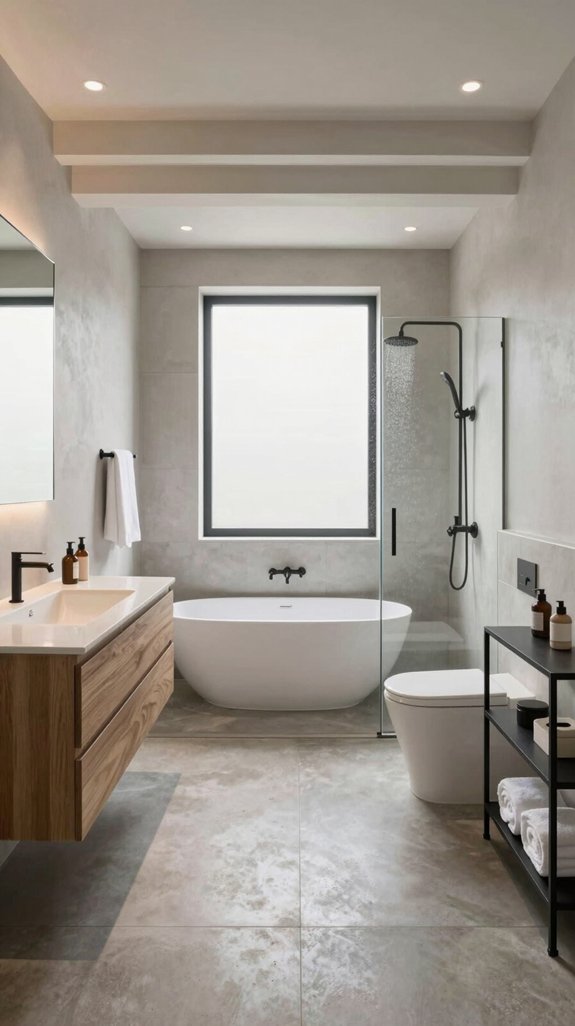
As you move beyond compartmentalized layouts, open-plan bathroom designs dissolve traditional barriers to create fluid, multifunctional spaces that amplify light, airflow, and accessibility.
You’ll eliminate corners that trap moisture and dirt, simplifying maintenance while promoting hygiene through enhanced ventilation. Natural light penetrates freely, reducing artificial lighting dependency and energy consumption.
This approach accommodates universal design principles, facilitating walk-in fixtures for multi-generational households. You’re investing in modern luxury that elevates home value while maximizing spatial perception.
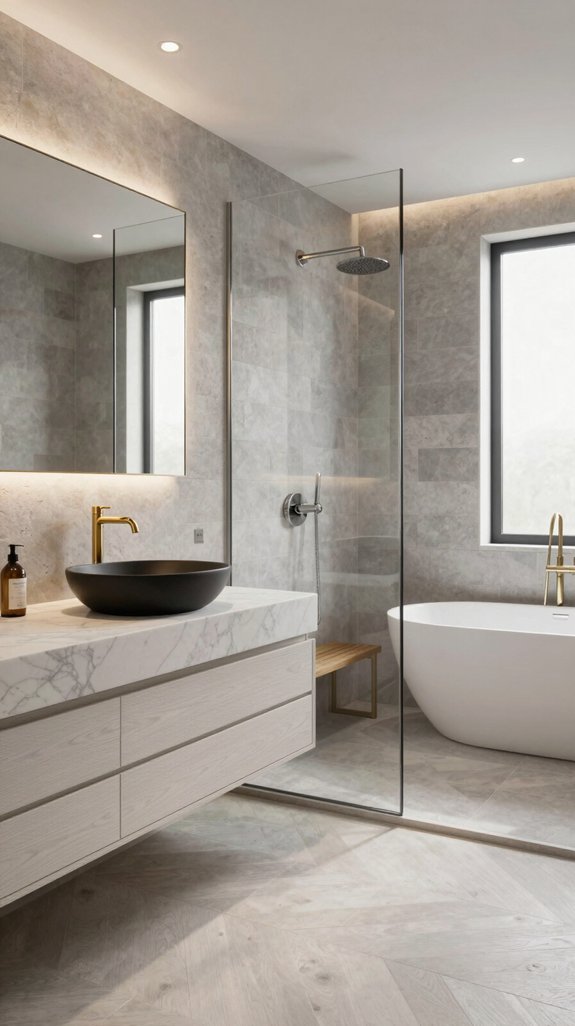
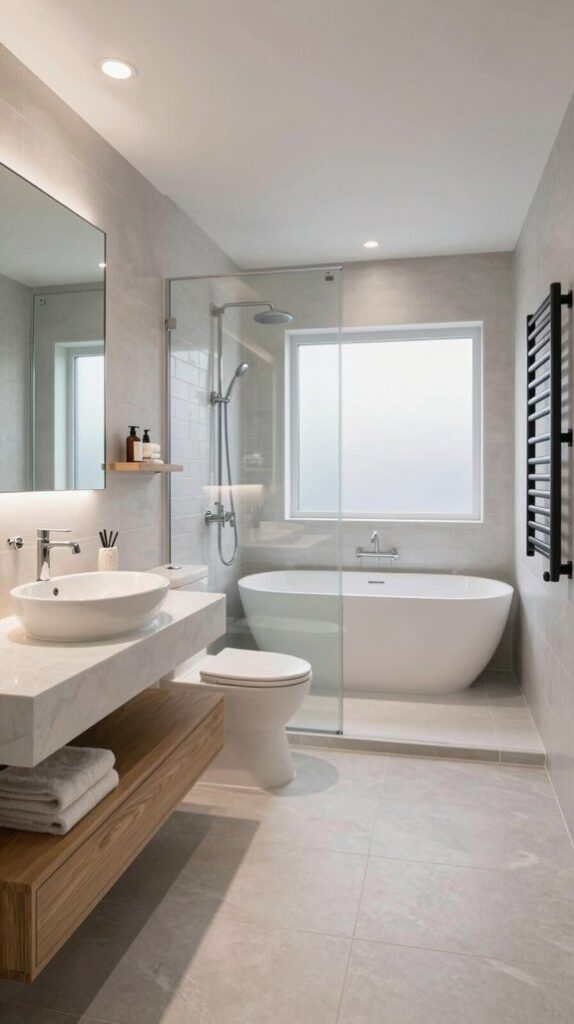
Integrated freestanding tubs and frameless showers create spa-like retreats without compromising functionality, delivering sophisticated solutions that transform daily routines into refined experiences.
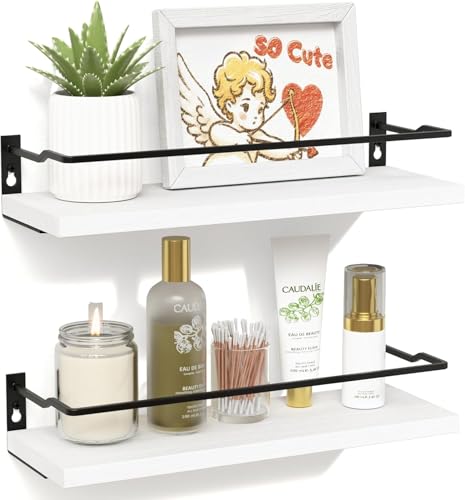
Unleash Possibilities -Christmas decor, maximize your wall space by transforming empty areas into functional storage and stylish displays. Whether you're seeking to declutter your bedroom with a chic sideboard, tidy up your bathroom with a convenient bathroom storage wall shelf, or enhance the ambiance of your dining room with an eye-catching display, our solution covers all your needs.

Expand Space and Modern Design: With clean lines and a warm finish, these small bathroom shelves expand wall space in dry bathroom zones and double as stylish bathroom organizers and storage. Effortlessly organize towels, toiletries, and decor with the invisible bracket that creates a sleek, modern display appearing to float seamlessly on your wall — perfect for over the toilet bathroom organizer setups and completing your bathroom wall decor

【Space-Saving Marvel】Compact Dimensions (LWH): Just 7.1 x 3.5x 1.56 inches! Transform any nook into valuable storage in a flash. Our petite shelf is your go-to solution for instantly adding extra storage space wherever you need it most—be it entryways, bathrooms, bedrooms, offices, kitchens, dorms, or even lockers. Say goodbye to clutter and hello to organized bliss!
How to Divide Wet and Dry Zones
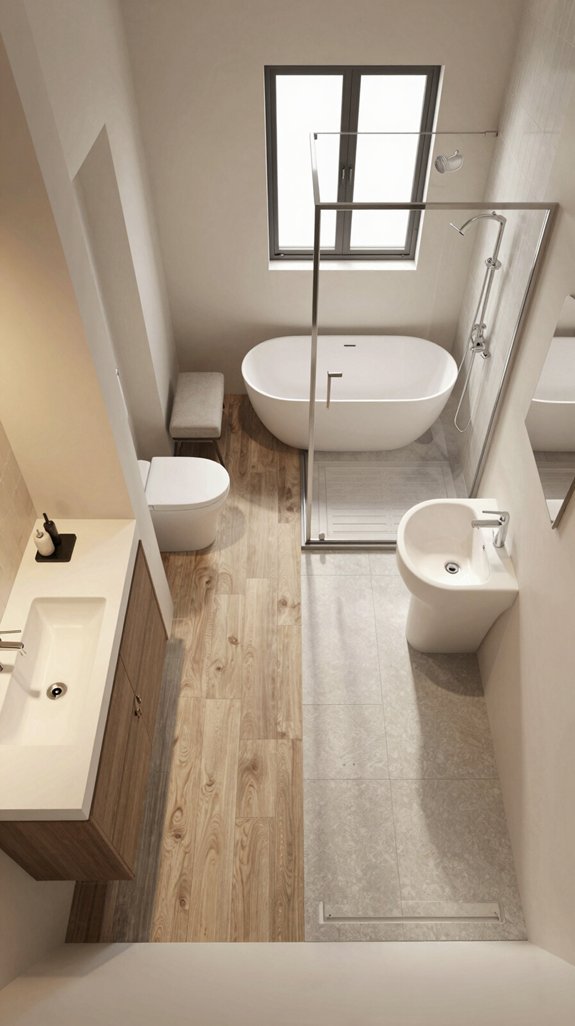
Strategic separation of wet and dry zones transforms your bathroom into a highly functional space by containing moisture, protecting fixtures, and optimizing maintenance.
You’ll position your shower and tub in the wet zone, keeping toilets and vanities in the dry zone. Implement frameless glass partitions or half-walls to establish visual boundaries without sacrificing light flow.
For compact bathrooms, enclosed shower stalls maximize efficiency. Slope shower floors toward drains and install exhaust fans to manage humidity effectively.
Use darker tile colors in wet zones for sophisticated contrast, creating distinct spatial definition while maintaining your bathroom’s contemporary aesthetic. Consider incorporating handmade tile accents in your wet zone to add artisanal character and warmth to this functional space.

Material: solid iron metal ring, very sturdy, black electroplated finish, waterproof and rustproof

[Vintage Brass Finish]. Crafted from premium metal in a hand-brushed antique brass finish, this one-light table lamp features a clear glass shade for timeless elegance. A tarnish-resistant coating ensures long-lasting beauty in wet environments.

OPEN ARM DESIGN FOR EASY ROLL CHANGES: European-style single post design allows quick and simple replacement of toilet paper rolls
Why Back-to-Back Fixtures Save Money
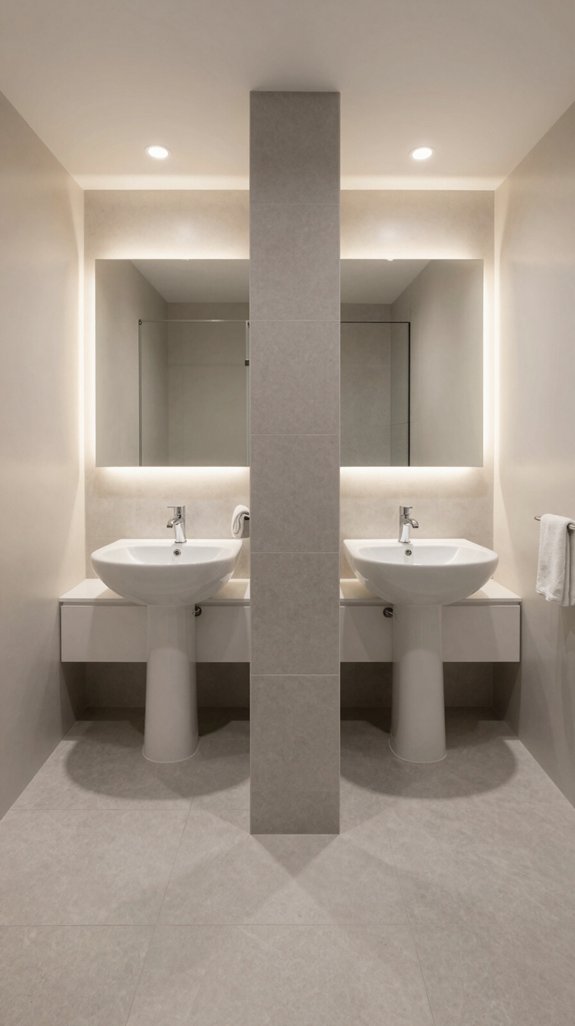
When you position toilets, sinks, and other plumbing fixtures back-to-back on a shared wall, you’ll dramatically reduce your renovation costs through simplified plumbing installation and material efficiency.
This strategic configuration consolidates drain lines and water hookups into a single consolidated infrastructure zone, cutting material requirements by half. You’ll minimize labor hours since plumbers access all connections from one wall, eliminating costly penetrations and rerouting.
Extension products like PVC offset flanges enable minor fixture adjustments without complete replumbing. By concentrating plumbing work strategically, you’ll compress installation timelines, reduce contractor fees, and lower overall project expenses while maintaining full functional capability. Addressing musty odors and moisture issues during bathroom planning prevents costly water damage and mold growth that could compromise your plumbing infrastructure.

【For Awkward Corners & Gaps】Tired of rectangular mats that never quite fit? Our corner rug is specifically designed with an L-shape to hug your square shower, bathtub, or toilet base perfectly. No more shifting, no more exposed wet spots—just seamless coverage that turns an awkward space into a secure, dry stepping area.
ADJUSTABLE ROD -- You can easily adjust the shower rod within 24"-37" x 24"-37". The telescopic design makes it easy and convenient to install

L‑SHAPED CORNER SHELVES: Unlike outward-curving shower caddies that bump into elbows, our space‑saving L‑shaped design hugs the corner snugly and frees up floor space. Move the clip buckle to adjust each tier’s height in seconds – customize spacing to fit tall conditioner bottles nd short body washes. Each shelf holds up to 22 lbs, plenty for family‑size shampoo and conditioner
Island Vanities That Expand Counter Space
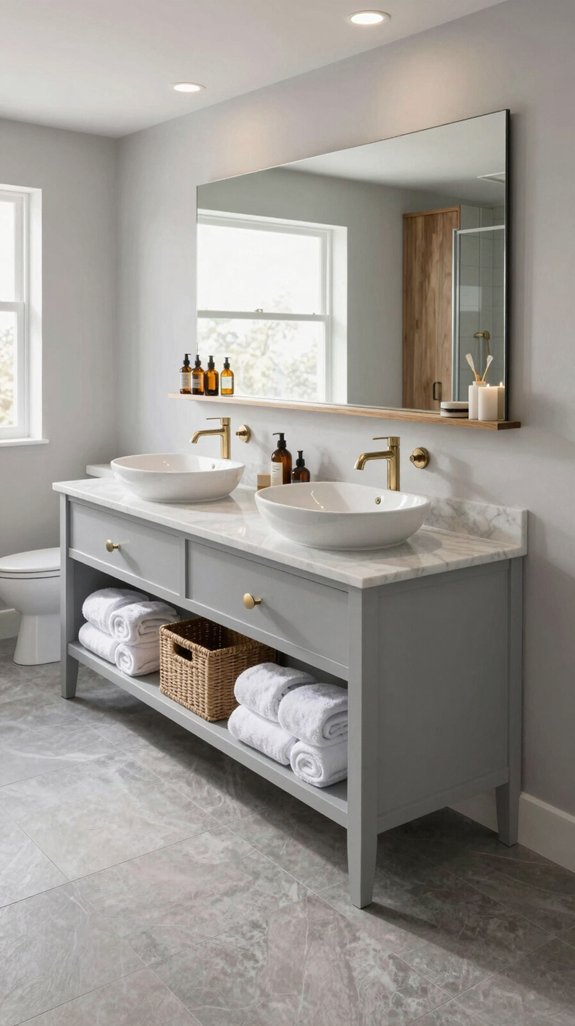
Beyond consolidating your plumbing infrastructure, you can further optimize bathroom functionality by reconsidering how you arrange your vanity itself.
Island vanities deliver unprecedented counter expansion without consuming wall real estate. You’ll gain multi-sided storage efficiency while exposing finished flooring—creating visual spaciousness in compact bathrooms.
These wall-mounted configurations adapt seamlessly to radiant heating systems and accommodate mobility aids beneath. You’re investing in flexibility: future renovations won’t require floor refinishing.
Choose from natural wood or lacquer finishes, customize heights for ergonomic comfort, and integrate under-cabinet lighting to showcase premium materials.
Island vanities function as architectural focal points, simultaneously solving storage constraints while elevating your bathroom’s contemporary aesthetic.

【Modern Floating Style】32-inch wall-mounted floating vanity matches diverse bathroom decor. Wall hanging frees floor room, eliminates hard-to-clean dead zones and delivers elegant modern aesthetics.

QUALITY AND CLASSIC WALL CABINET: Crafted from FSC-certified engineered wood, the bathroom wall cabinet with decorative beadboard paneling and silver knobs is built to ensure great stability and durability.

Crystal Clear Vision: The bathroom cabinet features a spacious 17.7" L* 23.6'' W mirror that captures every detail with stunning clarity. Whether for morning routines or evening skincare, it's your high-definition assistant, always by your side
Walk-In Showers Positioned for Easy Entry
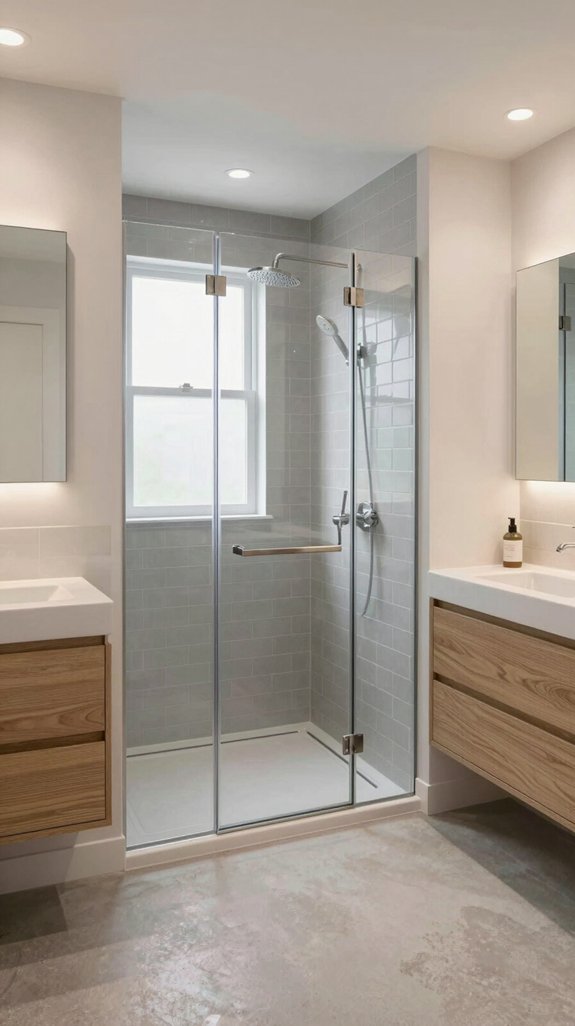
Eliminating architectural barriers at your shower’s threshold transforms bathing from a daily negotiation into an effortless routine.
You’ll benefit from walk-in showers featuring low-threshold entries—0.5 to 1 inch maximum—that accommodate wheelchairs, walkers, and aging-in-place requirements.
ADA-compliant dimensions start at 36×36 inches for transfer showers; roll-in models require 60×30 inches minimum.
Doorless designs maximize accessibility while non-slip surfaces guarantee safety.
You’ll appreciate the seamless modern aesthetic that eliminates institutional appearance, easier maintenance on flat surfaces, and enhanced home value.
This universal design solution serves your entire household’s evolving mobility needs.

Unleash Possibilities -Fall aesthetic, maximize your wall space by transforming empty areas into functional storage and stylish displays. Whether you're seeking to declutter your bedroom with a chic sideboard, tidy up your bathroom with a convenient bathroom storage wall shelf, or enhance the ambiance of your dining room with an eye-catching display, our solution covers all your needs.

Bathroom Wall Décor 3 Set - Farmhouse Style Combination – WOPTUES Farmhouse style black bathroom wall décor sets included: wall bathroom sign & floating bathroom shelves with guardrail & bathroom floating shelves with basket . Storage your bathroom, but not just storage. Let’s make your bathroom CUTE & RUSTIC. Add a funny touch to your half bath by using WOPITUES bathroom decor sets!
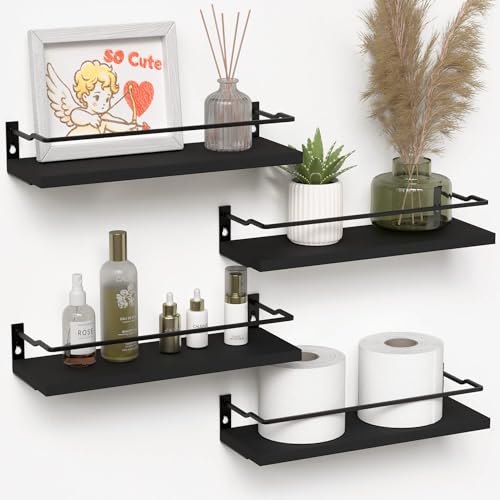
Unleash Possibilities -Our bathroom small shelves maximize your wall space by transforming empty areas into functional storage and stylish displays. Whether you're seeking to declutter your bedroom with a chic sideboard, tidy up your bathroom with a convenient bathroom storage wall shelf, or enhance the ambiance of your dining room with an eye-catching display, our solution covers all your needs.
Corner Fixtures That Reclaim Wasted Space
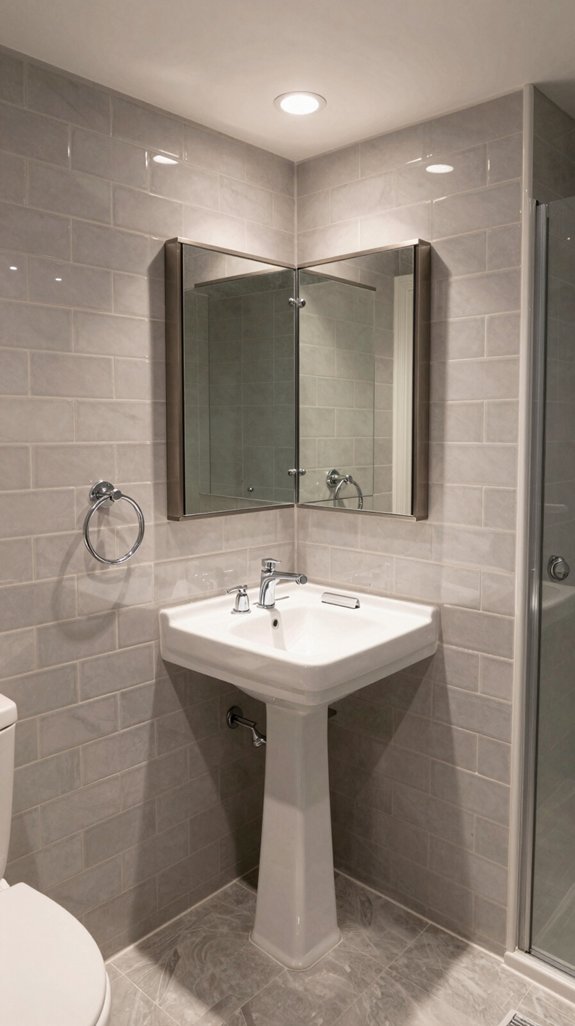
As bathroom square footage shrinks, corner placement transforms previously unusable angles into functional zones. You’ll maximize compact layouts by installing corner sinks paired with wall-mounted faucets, eliminating countertop clutter while preserving linear wall space.
Corner toilets angle efficiently into powder rooms, freeing adjacent walls for storage solutions. Corner showers utilize wasted areas without compromising traffic flow or fixture functionality.
Complement these primary fixtures with floating corner shelves and tall narrow cabinets that organize essentials vertically. This strategic approach reclaims dead space, improves layout balance, and enhances overall room openness through intelligent spatial optimization.

【Elegant Tulip Design】Inspired by blooming tulips, this gold vanity light features ribbed green glass shades for a fresh, vintage look. Thick 10mm glass softens the light to create a warm, cozy glow—perfect as bathroom mirror lights or bedroom and bedside lighting.

High-quality shatterproof glass shade. Whole Aluminium materials which resistant to rust and dampproof. The matte metal base is durable, the clear glass are blown by skilled craftsmen
Angled Vanities to Open Up Sightlines
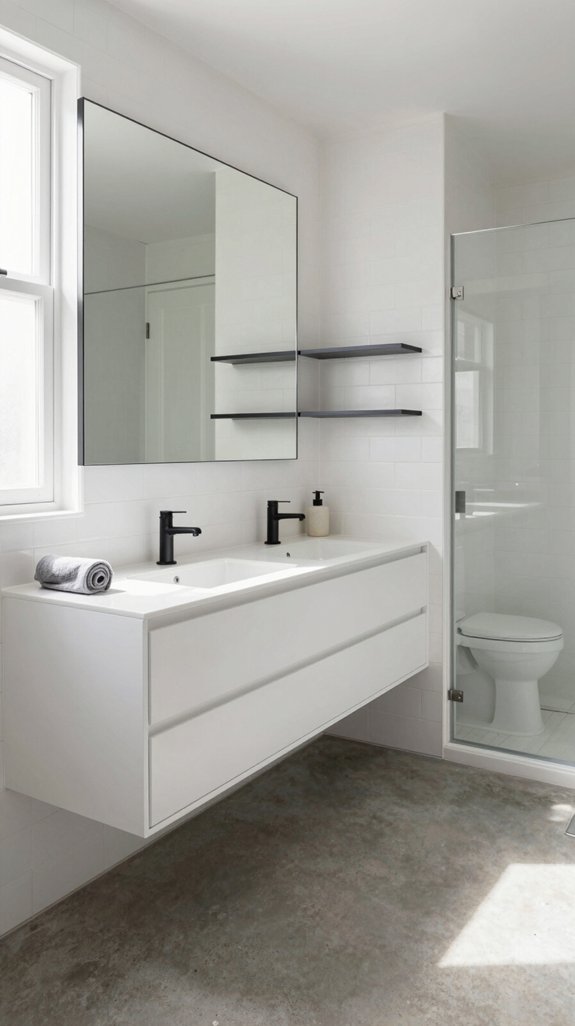
While corner fixtures address spatial constraints, angled vanities elevate the strategy by fundamentally reshaping how you perceive and navigate your bathroom.
Diagonal 45-degree designs cut across corners, disrupting predictable wall lines and opening sightlines across the space. You’ll experience enhanced visual flow as the angled geometry reduces perceived bulk, freeing central areas from cramped pathways.
Floating variants eliminate floor-level clutter, amplifying spaciousness. By strategically positioning your vanity off-axis, you preserve elbow room around showers and entrances while creating an intentional focal point that commands attention without dominating the layout.

Adjustable Sizes--Made of Heavy Duty Thickened 304 Stainless Steel, Please measure the length you need before you buy, this stretchable rod rack suitable for 24"-37"x24"-37"/61-94x61-94CM size.
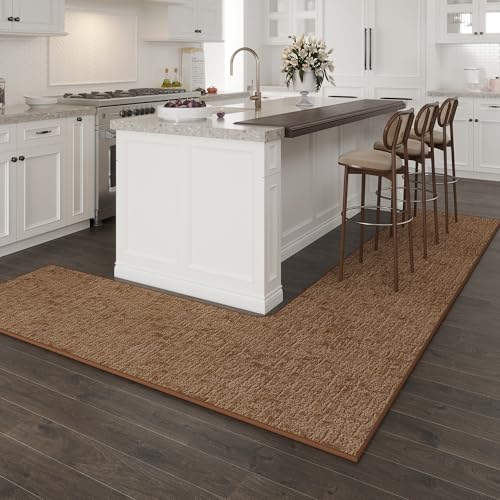
L-Shaped Design: Specially crafted 90 degree corner mat perfectly fits around kitchen islands, tables, and corner spaces for comprehensive floor protection. This versatile mat forms 1 piece L shape, allowing it to cover the floor in front of your sink and extend along the counter for a seamless, absorbent surface.
Pocket Doors That Eliminate Swing Space
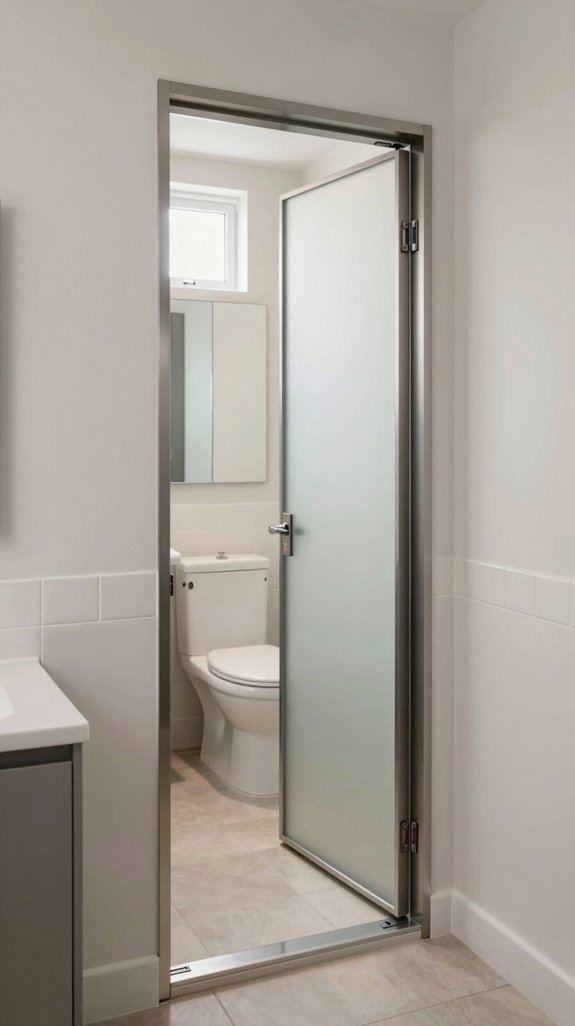
Pocket doors reclaim substantial floor real estate by concealing their operational mechanism entirely within wall cavities, freeing the 9–12 square feet typically consumed by hinged door swings.
You’ll optimize fixture placement and navigation in compact bathrooms without sacrificing privacy or functionality. They’re engineered for accessibility, requiring minimal force operation while maintaining unobstructed openings for mobility devices.
Soft-close mechanisms enhance usability, while integrated locks provide security in shared spaces. Modern finishes integrate seamlessly into contemporary design schemes.
When incorporated into stud walls via pocket door kits, they eliminate structural modifications, enabling intelligent layouts that maximize spatial efficiency and aesthetic coherence.
Floating Vanities to Amplify Small Bathrooms
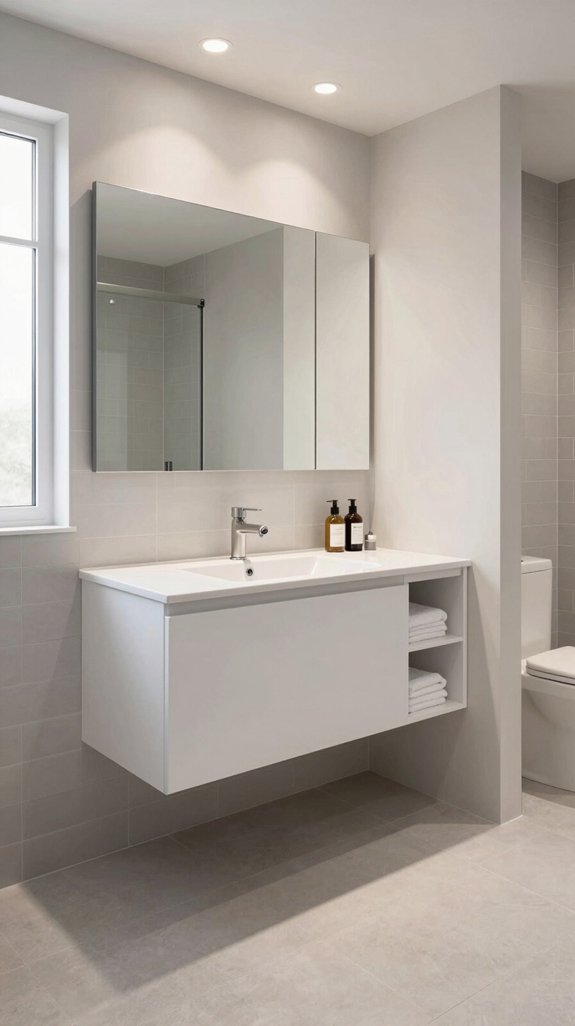
When you’re working with compact bathroom layouts, floating vanities deliver transformative spatial gains that traditional floor-mounted cabinetry can’t match.
By elevating the vanity, you expose flooring underneath, creating uninterrupted sightlines that expand perceived square footage without structural modifications. This design strategy amplifies light reflection and improves airflow, reducing moisture accumulation and mold risk.
You’ll also streamline cleaning—no toe-kicks or hidden grime areas to navigate.
Mounting at customized heights enhances ergonomics for your household’s needs, whether accommodating mobility challenges or varying user statures.
Smart internal compartments maximize storage efficiency, transforming limited volume into organized functionality.
Three-Zone Layouts for Larger Bathrooms
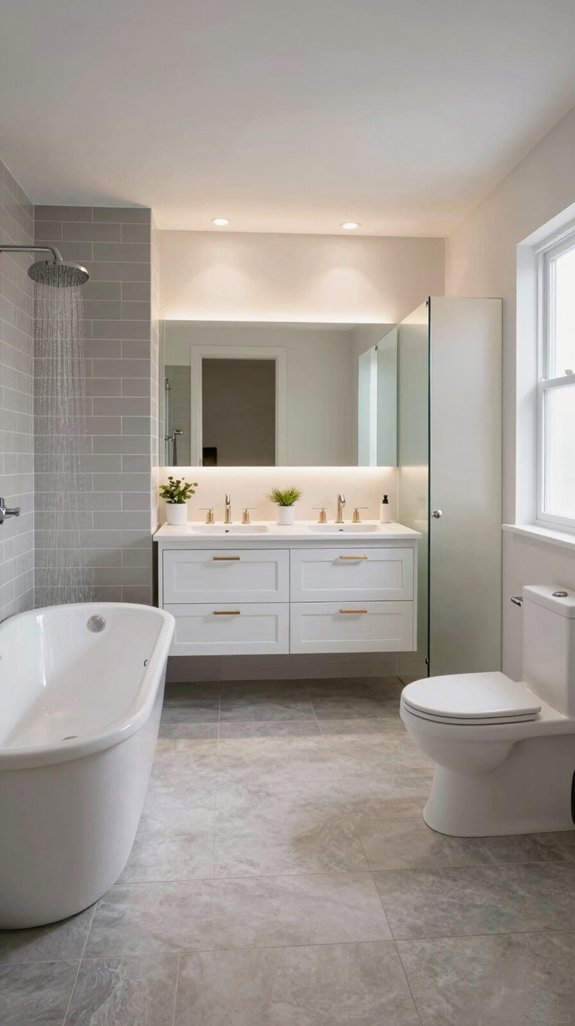
As your bathroom expands beyond compact constraints, you’ll reveal opportunities that floating vanities alone can’t address—namely, spatial compartmentalization that accommodates multiple simultaneous users and distinct functional zones.
Three-zone layouts strategically separate vanity, toilet, and shower/bath areas behind individual doors, enabling concurrent use without compromise. You’ll strategically position the toilet discreetly, away from entry sightlines, while integrating heated towel racks and storage solutions throughout.
This configuration transforms larger bathrooms—typically 3050mm x 2700mm—into sophisticated, privacy-conscious spaces. The approach maximizes functionality through intentional zoning, delivering professional-grade efficiency that elevates everyday routines while optimizing your home’s spatial investment.
Vertical Storage to Eliminate Floor Clutter
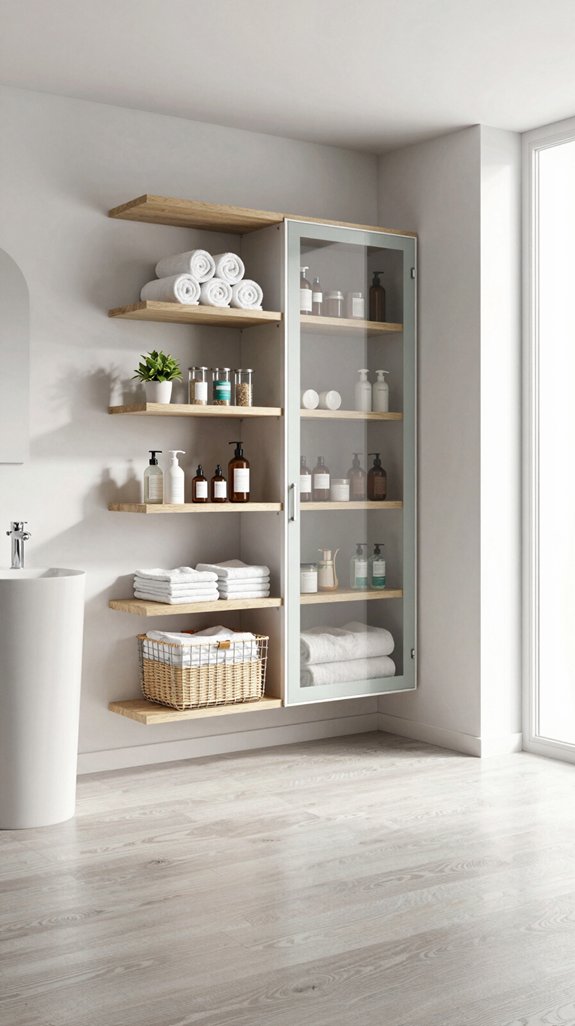
Once you’ve established your bathroom’s functional zones, you’ll quickly recognize that floor space remains your most valuable asset—and vertical surfaces offer the solution.
Wall-mounted units, tall cabinets, and floating shelves maximize your storage capacity without consuming precious floor area. Install medicine cabinets above your vanity, position tall cabinetry floor-to-ceiling to eliminate dust gaps, and deploy floating shelves strategically for everyday essentials.
Consider hybrid open-closed designs for balanced display and concealment. For additional spatial division, decorative screens can subtly separate different functional areas while maintaining an open feel. These vertical strategies create spatial illusion, enhance accessibility, and organize items hierarchically—from cleaning supplies below to linens above—transforming compact bathrooms into efficient, clutter-free environments.
Mirror Placement to Multiply Light and Sightlines
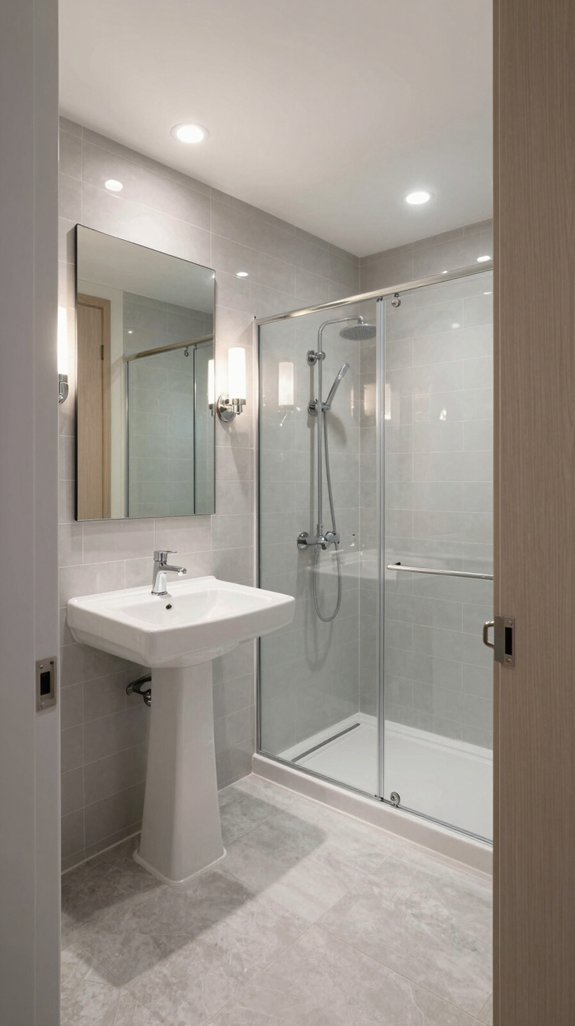
Mirrors function as force multipliers in bathroom design, transforming limited square footage through strategic light reflection and expanded sightlines.
Position your mirror at eye level—between 57 and 65 inches from the floor—to optimize daily functionality. Select dimensions matching your vanity width or 60–70% if side sconces flank the installation.
Metallic frames amplify ambient illumination, creating a glamorous aesthetic while brightening darker zones. Rectangular mirrors elongate walls, while round designs introduce visual softness.
Strategic placement above your sink maximizes natural light penetration, making compact spaces feel substantially larger and more open.
How to Space Fixtures for Safe Movement
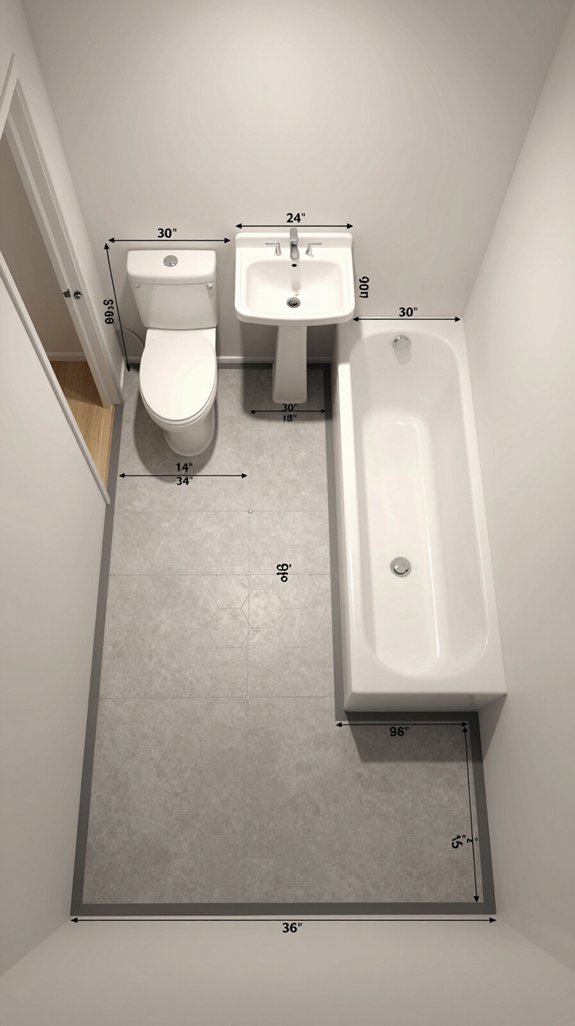
Three critical dimensions govern safe bathroom fixture spacing: minimum clearances, center-to-center distances, and circulation paths.
You’ll maintain 30 inches minimum width from toilet centerline to each side, with 21 inches front clearance.
Position sinks 15 inches from centerlines to walls; space dual vanities 36 inches apart for ideal comfort.
Showers require 30 inches from adjacent fixtures to prevent splashing.
You’ll verify circulation by taping floor outlines simulating movement patterns—this reveals whether your layout functions intuitively before construction.
Adding 2-4 inches beyond code minimums enhances usability considerably, transforming adequate spacing into genuinely accessible design.
Toilet Placement Away From the Door
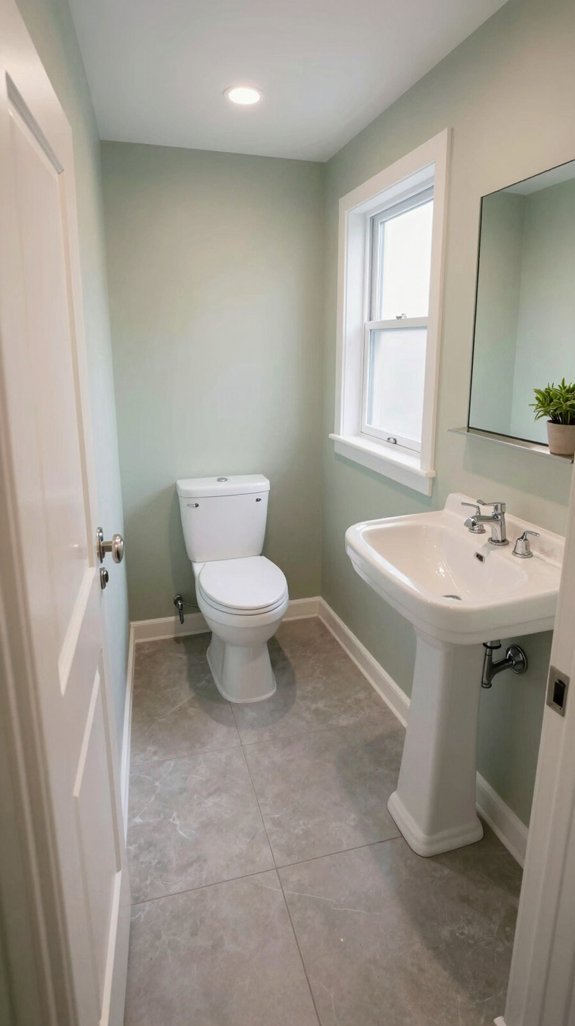
Because toilet placement fundamentally shapes both privacy and functionality, positioning it away from your bathroom entrance shouldn’t feel like an afterthought—it’s a strategic design decision that transforms how guests experience your space.
You’ll strategically conceal the toilet behind a partial wall or alcove, revealing your vanity first upon entry. This procession-based approach maintains the 30-inch clearance minimum in front of the fixture while preserving sightlines.
By positioning your toilet adjacent to plumbing infrastructure, you optimize both code compliance and spatial efficiency.
You’re basically engineering a buffer zone that enhances guest comfort while maximizing your layout’s functional potential.
Counter Heights for Children and Accessibility
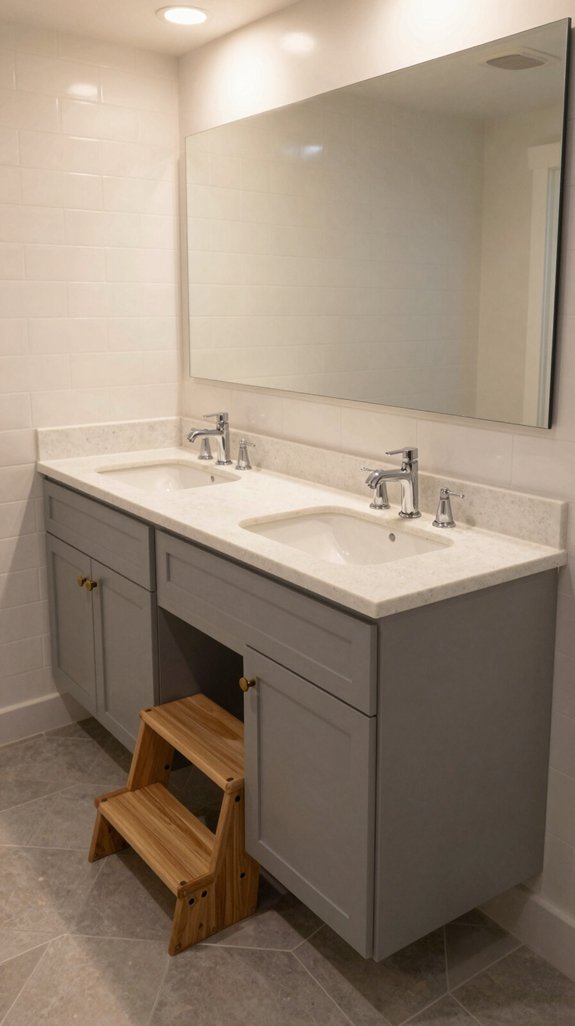
Just as strategic toilet placement creates sightlines that respect guest privacy, thoughtful counter height design accommodates the diverse physical needs of everyone using your bathroom—from wheelchair users to children.
You’ll maintain ADA compliance with a 34-inch maximum counter height while incorporating tiered solutions that serve varied users.
Guarantee 27 inches of knee clearance underneath, paired with 30 by 48 inches of unobstructed floor space.
Consider adjustable or dual-height vanities that eliminate step stool dependencies.
Protect exposed plumbing beneath lowered sections against injury.
Incorporate abstract decor accents that add visual interest without compromising accessibility or functionality in your bathroom design.
This inclusive approach transforms your bathroom into an intelligently engineered space serving everyone equitably.
Shower Entry Positioning for Traffic Flow
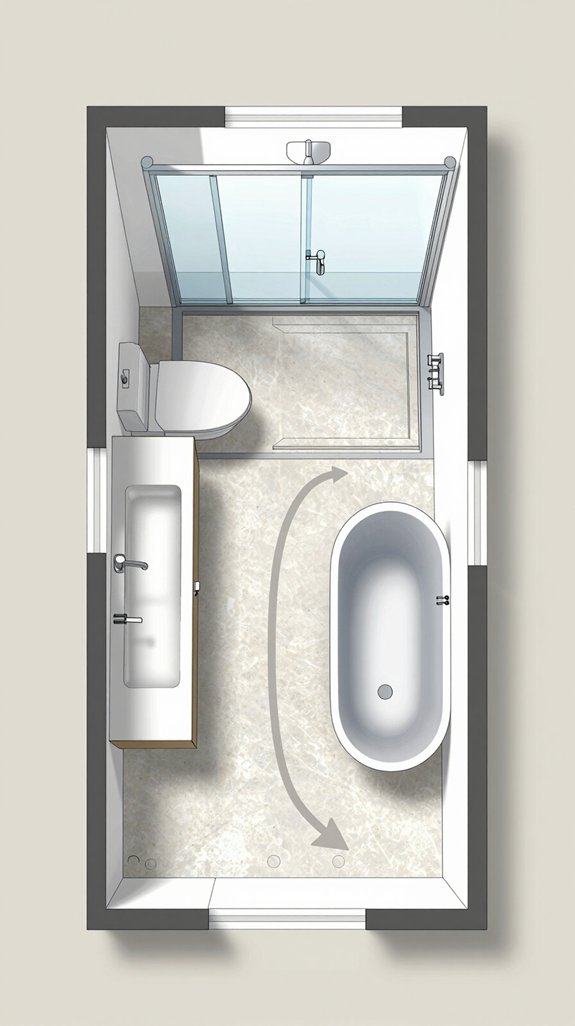
Where you position your shower entry fundamentally shapes how people move through your bathroom without collision or congestion. You’ll optimize traffic flow by aligning your shower entry perpendicular to primary pathways, maintaining 24-inch clearance minimum around the entryway.
Consider doorless walk-in configurations to eliminate swing obstruction—particularly effective in compact layouts. Position your control valve just inside the entry, enabling operation without full enclosure.
Strategic placement near existing pipelines simplifies plumbing while avoiding door conflicts. In L-shaped or split layouts, positioning your shower opposite fixtures creates distinct zones that enhance spatial efficiency and seamless circulation patterns.
Frequently Asked Questions
What Is the Minimum Clearance Required Between Double Lavatory Centerlines?
You’ll want to space your double lavatories like synchronized swimmers—maintaining a minimum 30-inch centerline-to-centerline distance. This clearance guarantees you’re meeting NKBA standards while optimizing your bathroom’s functional elegance and user accessibility.
How Much Floor Space Should Separate Wet and Dry Zones in Bathrooms?
You’ll want to establish a 5-10 cm floor elevation drop with a corresponding barrier edge to separate wet and dry zones effectively. This creates a physical threshold that prevents water migration while maintaining functional accessibility throughout your bathroom space.
What Shower Dimensions Does NKBA Recommend for Adequate Elbow Room?
You’ll find your elbows flowing freely in NKBA’s recommended 36″ x 36″ minimum shower—a quantum leap beyond the 30″ code baseline. This dimension opens up comfortable arm mobility for washing without wall contact, establishing your innovation standard.
Should Bathroom Vanity Height Always Be the Standard 36 Inches?
You shouldn’t default to 36 inches—customize your vanity height based on user ergonomics, countertop materials, and accessibility requirements. Wall-mount options offer adjustable configurations that optimize comfort and functionality for your specific spatial constraints.
What Is the Minimum Clear Floor Space Required Before Fixtures?
You’ll need 30 inches wide by 48 inches deep minimum clear floor space before fixtures. At toilets, you’re looking at 48 inches by 66 inches for forward approach, adjusting based on your preferred maneuvering strategy.