I’ll walk you through the essential steps to prep your bedroom walls properly. Start by clearing furniture and removing outlet covers, then fill holes and cracks with spackle or joint compound, feathering edges smooth. Sand all surfaces with medium then fine-grit sandpaper, vacuum thoroughly, and wash walls with mild detergent to remove dust and stains. Finally, tape your trim with painter’s tape and let it set before painting. Getting these details right makes all the difference in your final results.
Clear the Room and Remove Fixtures
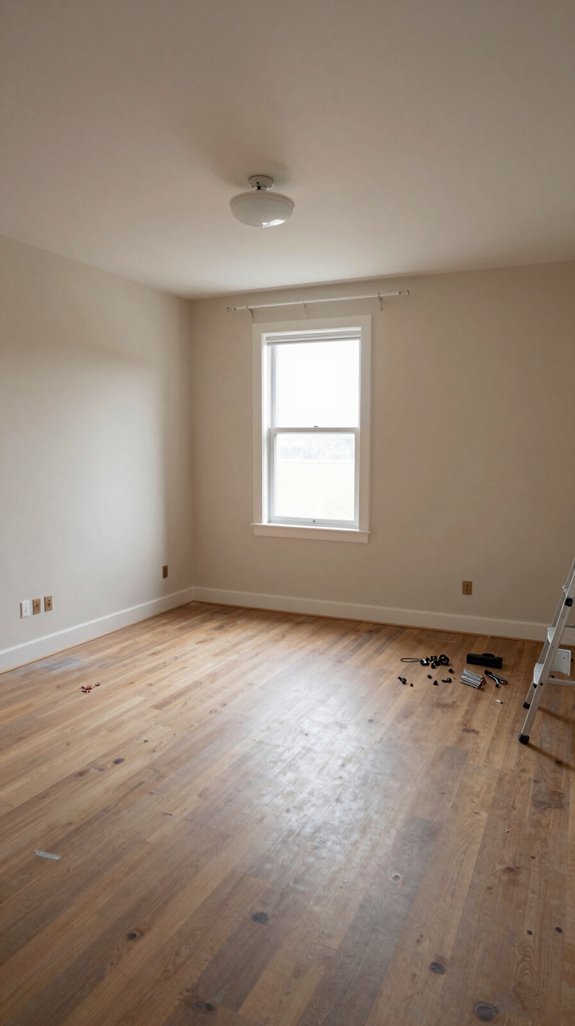
Before you can properly prep your bedroom walls, you’ll need to clear everything out of the space. Remove all small furniture and rugs completely, then use furniture sliders under large pieces to facilitate movement.
Take down wall decor and store it outside the painting area to prevent dust exposure. Remove electrical outlet covers and switch plates for unobstructed access. Use hand tools to extract nails, curtain rod holders, and vents.
Place all small hardware—screws, fasteners, rod holders—in individually labeled plastic bags consolidated in one designated location. This systematic approach prevents paint splatter on fixtures and enables cleaner, more efficient painting preparation.
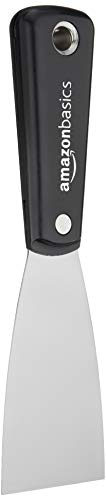
Flexible blade: works well for spreading spackle and adhesive; made of taper-ground, mirror-polished carbon steel

Two Different Sizes: This putty knives set includes the commonly used sizes of 2 inches and 4 inches, covering nearly all usage requirements. This selection helps minimize the clutter and waste of having multiple sizes
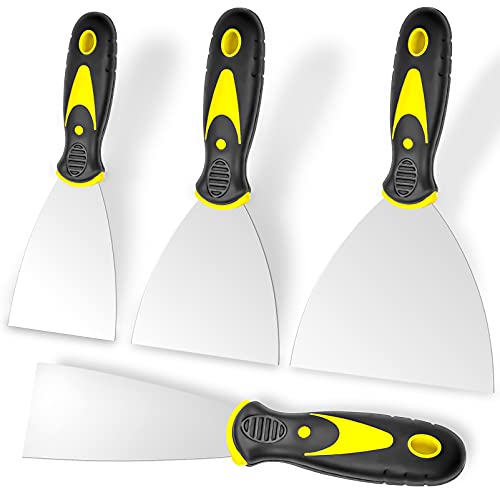
Sturdy Design: The blade and handle in our drywall knife are processed in one piece, which is very sturdy. Stainless steel blade has superior load-bearing performance for a long time to use
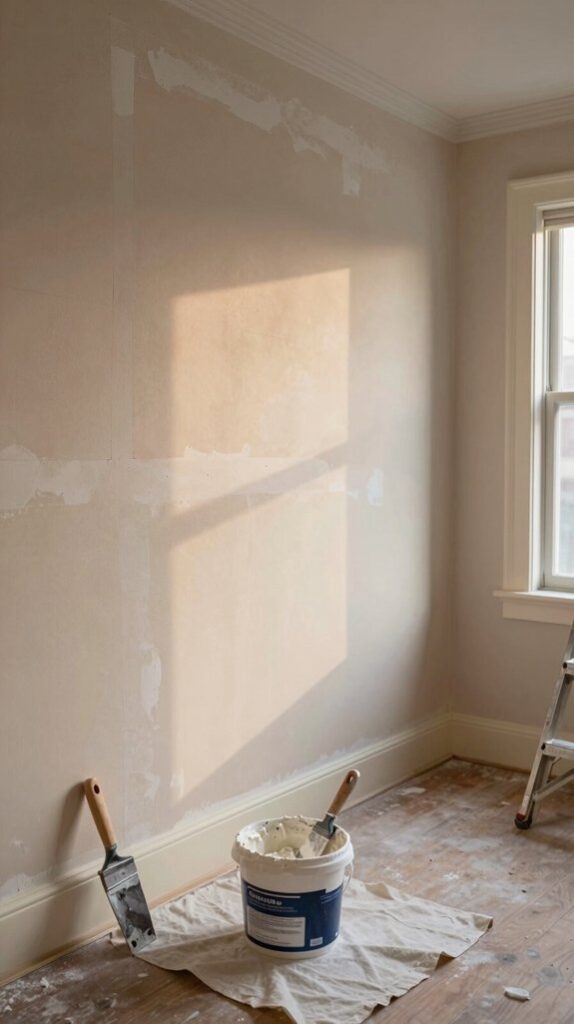
Fill Holes and Repair Drywall Damage
Once you’ve cleared the room and removed all fixtures, you’ll need to address any wall imperfections before painting.
For small holes, I apply lightweight spackle with a putty knife, allowing 15-30 minutes drying time before sanding smooth with 120-150 grit paper.
Cracks wider than half-inch require self-adhesive fiberglass tape and joint compound layered over 24 hours.
Large holes demand setting-type compound applied in multiple thin coats, feathering edges outward for seamless blending.
I extend feathering beyond the damaged area, applying multiple thin coats and sanding between applications.
Finally, I prime all patches to prevent flashing and guarantee uniform paint absorption across your bedroom walls.

【100% Fiberglass Mesh 】0.8mm Thickness -Made Of High-Quality Commercial 100% Grade Fiberglass Mesh.
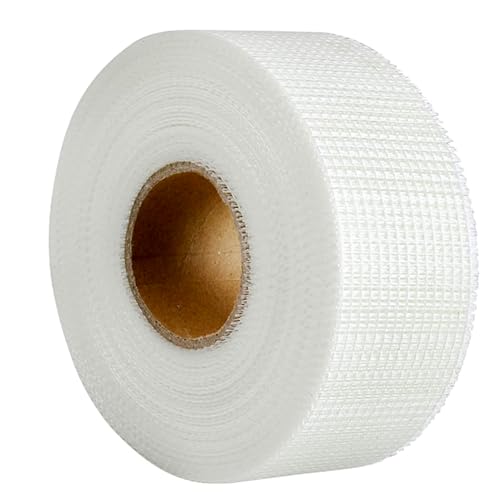
SIZE And MATERIALS: Size and material: 1 roll of 50 mm (width) x 45 m (length) fiberglass tape, made from fiberglass with 2.36 mm x 2.36 mm mesh holes.

100 percent fiberglass mesh
Sand All Surfaces Smooth
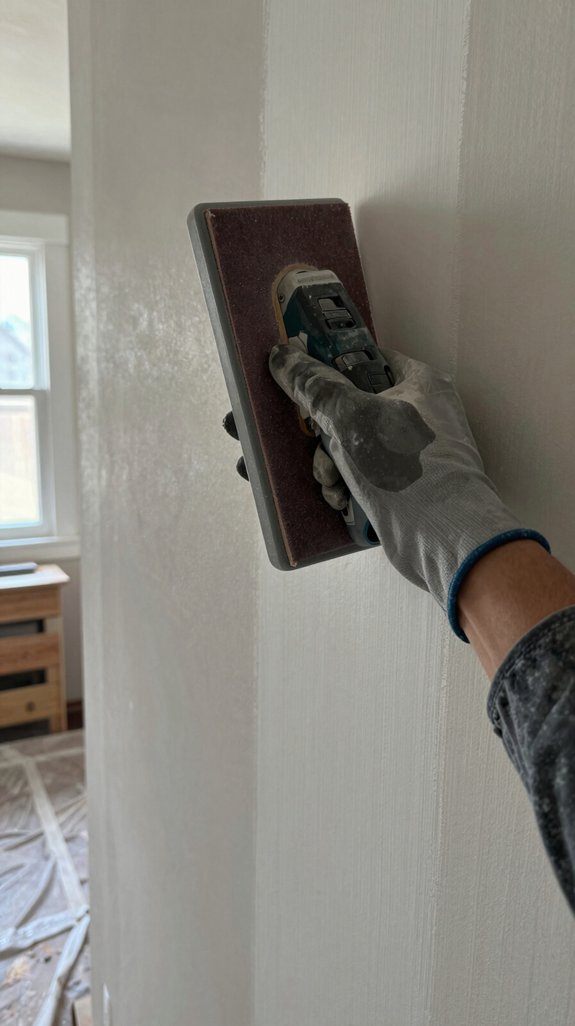
After patching and priming, I sand all wall surfaces to create a smooth, uniform foundation for paint.
I use medium-grit 120-150 sandpaper to degloss existing finishes, then progress to fine-grit 180-220 for feathering patched areas seamlessly.
Medium-grit 120-150 sandpaper degloss existing finishes; fine-grit 180-220 feathers patches seamlessly for optimal paint adhesion.
Hand sanding with rubber blocks provides superior control, while circular motions effectively remove excess compound. I sand ridges flat, checking tactilely for remaining texture. Light sanding enhances paint adhesion by creating subtle surface grittiness.
Similar to how microfiber cleaning tools remove dust from delicate surfaces, fine-grit sandpaper gently prepares walls without causing damage.
Throughout this process, I wear a NIOSH-approved respirator, goggles, and gloves, then vacuum thoroughly with a wide-nozzle attachment to eliminate all dust before painting.

Use it by hand, on a sanding block, or cut it to size for a power tool sander

120 Grits: Includes 8 sanding blocks (120 grit, medium), our sanding sponge is reusable, washable, and suitable for all your sanding needs

【PREMIUM MATERIAL】: Sandpapers Made Made from aluminium oxide for longer life; electro coated technology make grit distributed evenly; Will not fall apart, tear or crumble off during using。
Clean Walls and Ceilings Thoroughly
Thorough cleaning removes dust, grime, and contaminants that can compromise paint adhesion and finish quality.
I start by dry-dusting from top down with a microfiber cloth, then vacuum loose particles.
Next, I’ll wash surfaces using mild detergent and lukewarm water with circular motions—never soaking.
For stubborn stains, I’ll apply TSP or an ammonia-vinegar-baking soda mixture.
I rinse methodically with fresh hot water and clean sponges, changing water between rooms to prevent residue buildup.
Finally, I’ll thoroughly dry walls with microfiber cloths, ensuring no moisture remains before painting begins.

ODOR REDUCTION for use with certain non-harmful sprays/vapors from stains, varnishes, coatings and sealants

NIOSH-APPROVED 6001 OV CARTRIDGE HELPS REDUCE EXPOSURE to certain organic vapors encountered during activities involving latex and oil-based painting, including paint spraying, varnishes, stains, sealants, solvents, certain solvent-based cleaners or pesticides

NIOSH Approved : (NIOSH Approval Number: TC-84A-9276) - NIOSH Approved N95 respirator mask certified for at least 95% filtration efficiency against particulate aerosols free of oil.
Prime Walls Before Painting
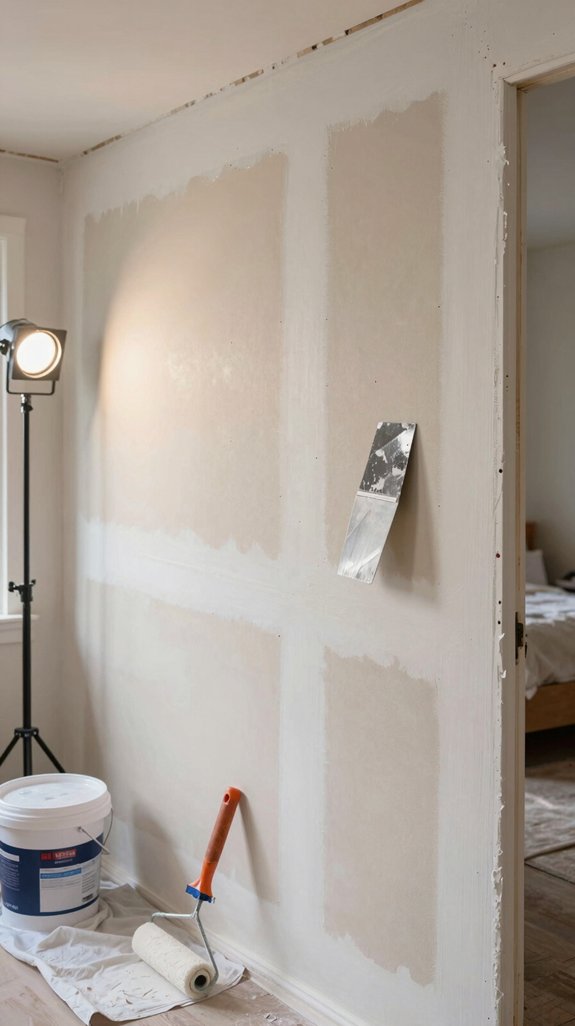
I’ll prime the walls next, and this step’s critical to your paint job’s success.
Primer creates an essential seal between surfaces, preventing peeling while enhancing adhesion for a flawless finish.
I’ll use an angled brush to cut in edges first, establishing clean lines around corners and molding.
Use an angled brush to cut in edges first, establishing clean lines around corners and molding.
Then I’ll apply primer in overlapping V-strokes using a roller, working top-to-bottom in manageable sections.
Once dry, I’ll lightly sand any imperfections with fine-grit sandpaper, then wipe the surface clean.
For detailed technique guidance, consider reviewing resources on grout brushes for tile cleaning to understand proper brush selection and application methods.
This preparation guarantees uniform color coverage and ideal topcoat performance.

BLUE PAINTER'S TAPE: Includes One 1.88 in x 60 yd roll of ScotchBlue Original Painter's Tape, a blue masking tape for painting that helps protect surfaces by preventing paint bleed

FOR MULTI-SURFACE USE: Frog Tape 2 inch wide paint tape with medium adhesion is ideal for a variety of surfaces such as cured painted walls, baseboards and trim, glass, carpet and metal

READY. SET. PAINT!: 1 ScotchBlue Original Multi-Surface Painter's Tape Applicator and Starter Roll (1.41 inch wide x 20 yards), the go-to tool for faster, easier precision paint prep
Tape Trim and Protect Floors
Once the primer’s dry and sanded, taping trim and protecting floors prevents paint from bleeding onto surfaces I don’t want colored.
I select Scotch Blue Painter’s Tape for its clean release and moderate adhesion on trim and baseboards. I lay six-inch sections incrementally, using the trim edge as my guide for straight application. I press firmly along edges with a credit card, sealing tightly around molding and ceiling-wall junctions to prevent bleeding.
I let the tape set thirty to sixty minutes before painting begins, ensuring peak performance and crisp lines throughout.

【Multipurpose】5pcs Spackling Knives Different Sizes Are Available, Perfect for Putty, Wallpaper, Applique, Backing, Repair, Paint, Plaster, Including Drywall, Plaster, Baking, Spackling, Patching, Stucco and Much More, Can Be Used to Repair All Kinds of Dents, Cracks, Holes, Spackle Tool Suitable for Any Work Project

3 Sizes for All Projects: The plastic putty knives Set Includes 2", 4", and 6" scrapers for precise detail work, patching filler, and smoothing large areas with ease.

Multiple Sizes Available - This putty knife set boasts six distinct widths: 1-inch, 1.5-inch, 2-inch, 3-inch, 4-inch, and 5-inch, catering to a wide range of applications. With its comprehensive array, you can acquire six efficient putty knives at an economical price, making it highly cost-effective.
Paint Walls in Even Coats
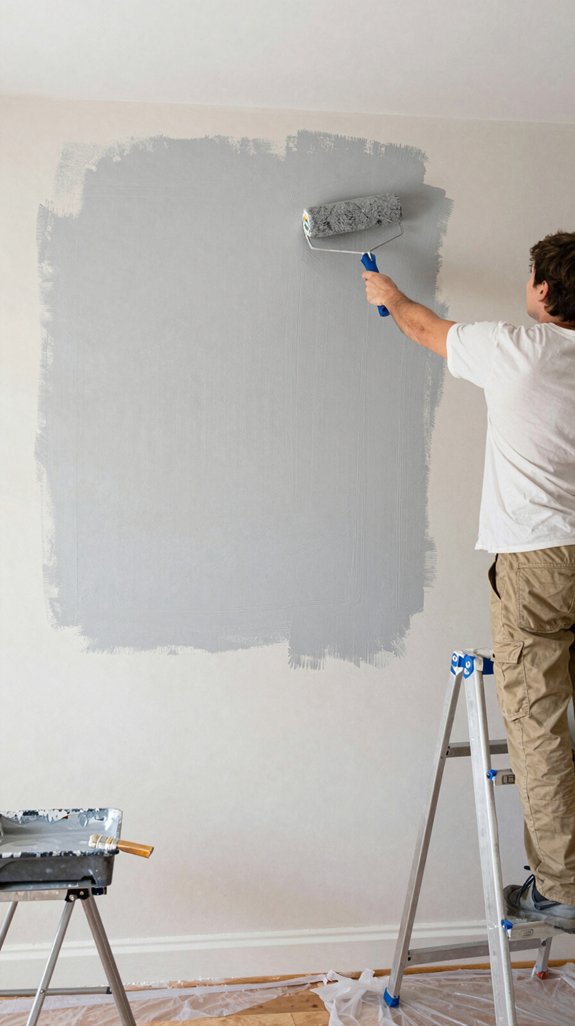
With my tape set and floors protected, I’m ready to apply paint in even coats that’ll deliver a professional finish.
Tape set and floors protected, I’m ready to apply paint in even coats for a professional finish.
I’ll employ the criss-cross technique—diagonal strokes from alternating directions, then horizontal spreading, finishing with light vertical passes. I’ll maintain consistent paint loading on my roller, removing excess from the frame to prevent thick spots.
Working left-to-right around the room guarantees smooth shifts. I’ll keep wet edges by overlapping already-applied sections, applying light pressure on edges to eliminate buildup. Immediate line detection prevents drying issues.
This methodical approach ensures uniform coverage and professional results.

APPLICATIONS: LLPT Drywall Fiberglass Tape is widely used for repairing and reinforcing wall cracks, ceiling joints, plasterboard seams, drywall repair, kitchen bathroom renovations, DIY projects, concrete walls, sanding, painting and curved edges; suitable for both exterior and interior applications; it provides a fast, neat, professional and permanent repair to cracks and holes; spackle the tape area is required for long time support. It's compatible with cement, wood, tile, concrete, plaster, paint and so on

Enhanced Strength: FibaFuse is proven to be 76% stronger than paper tape, providing superior joint reinforcement 24 hours after the second coat of compound is applied.

【Heavy-Duty Fiberglass Mesh】 Made from premium high-density fiberglass mesh, this drywall joint tape offers excellent tensile strength, crack resistance, and alkali resistance. Designed to reinforce drywall seams and help prevent future cracking for long-lasting repairs.
Frequently Asked Questions

【ASSORTED GRIT SANDING BLOCKS】 8 sand blocks, 4 sizes from coarse to ultra-fine sand, 60/80/120/220 grit, 2 blocks for each grit. There are four different colors, grey (corresponding to grit size - 220), blue (120), green (80), and orange (60), with different numbers of grains for different colors.
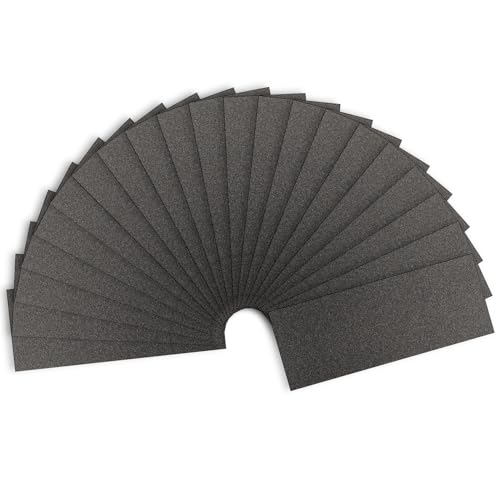
【PREMIUM MATERIAL】: Sandpapers Made Made from aluminium oxide for longer life; electro coated technology make grit distributed evenly; Will not fall apart, tear or crumble off during using。
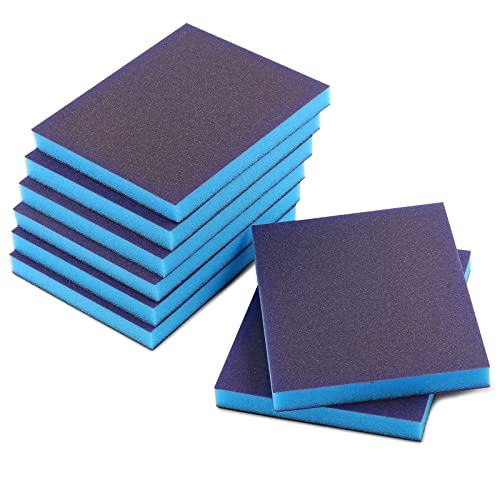
【Package Content】8 x Sanding Sponge. 150 Grits (Grade 400 to 500). Size: 4” x 4-3/4” x 0.5” / 100 x 120 x 13mm.
How Long Should Primer Dry Before Applying the First Coat of Paint?
I’d recommend you wait a minimum of 1-2 hours before applying paint, though I suggest overnight drying for best results. Always consult your primer’s label, as latex, oil-based, and shellac formulations vary considerably in cure times.
What Type of Sandpaper Grit Is Best for Different Wall Surface Conditions?
I’ll guide you through selecting the right grit. For heavily damaged walls, I’d recommend 40-60 coarse grit. Medium 80-120 handles most prep work effectively. Fine 150-180 smooths imperfections, while 220+ delivers professional finishes.
Can I Paint Over Glossy Surfaces Without Sanding Them First?
Yes, I’d recommend using an adhesion primer like Zinsser BIN. For instance, applying it over your bedroom’s glossy walls eliminates sanding, allowing direct emulsion coverage while ensuring superior paint adhesion and durability.
How Do I Remove Painter’s Tape Without Damaging the Fresh Paint?
I’ll remove painter’s tape while paint’s still wet, pulling back at a 45-degree angle slowly. If tape resists, I’ll switch to 90 degrees or score the edge with a putty knife first to prevent paint lifting.
What’s the Ideal Temperature and Humidity for Painting Bedroom Walls?
I’d paint your bedroom in a climate-controlled laboratory if I could. You’ll want 50°F to 85°F with 40-50% humidity for ideal results. I’ve found staying within these parameters prevents peeling, blistering, and tackiness issues that’ll compromise your finish’s durability.