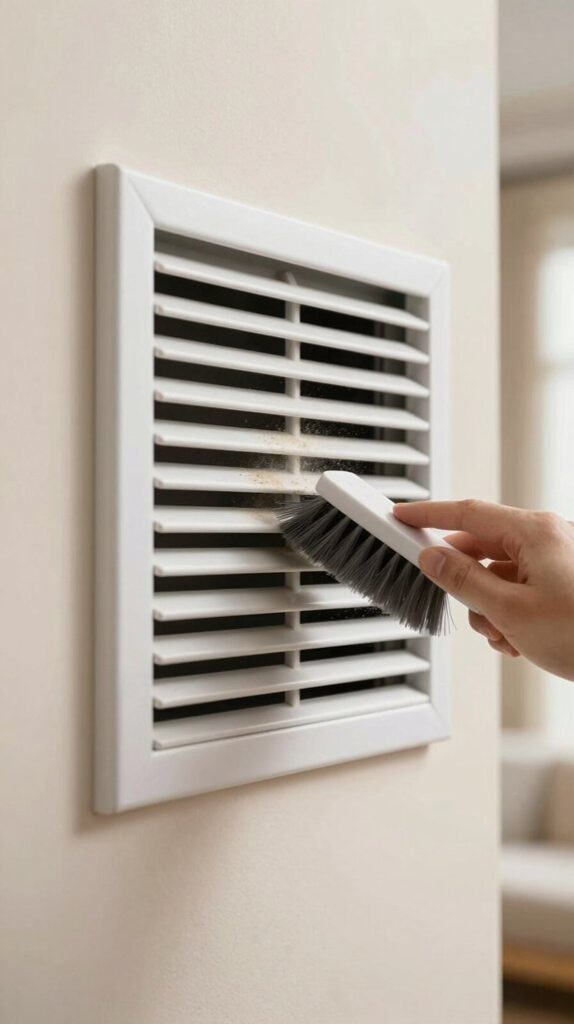

I’ve found that you can make your bedroom vent spotless in minutes by following a focused approach. First, turn off your HVAC system and remove the vent cover. Scrub both sides with mild soap and rinse thoroughly. Use a vacuum with strong suction to extract deep dust from accessible duct sections, then wipe down the walls with a damp cloth. Reinstall the cover securely and you’re done. However, there’s a systematic method that guarantees you don’t miss anything important.
Signs Your HVAC Vents Need Cleaning
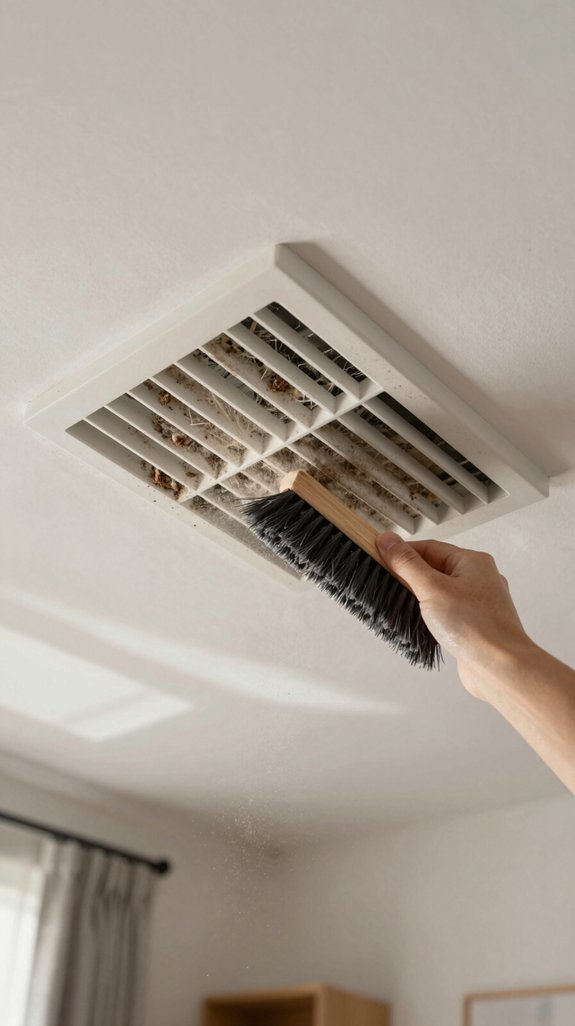
If you’ve noticed dust accumulating on surfaces throughout your home or spotted dark debris around your vent covers, your HVAC system’s probably signaling that it’s time for a cleaning.
Dust accumulating on surfaces and dark debris around vents signal your HVAC system needs professional cleaning.
I’ve found that visible dust on return air registers and musty odors from vents are reliable indicators.
You’ll also notice reduced airflow or hear unusual noises from ducts. Rising energy bills suggest your system’s working harder against blockages.
If your air filter clogs faster than every three months or you haven’t cleaned ducts in over a decade, professional cleaning becomes essential. Frequent clogging may indicate that your ductwork requires professional attention to restore optimal performance. For stubborn debris and mineral deposits within your ducts, ultrasonic cleaning technology can enhance the effectiveness of professional duct cleaning services.
These signs mean improved air quality and efficiency await you.

【Deep Cleaning, Done Right】 Flexible stainless-steel shafts bend effortlessly into dryer vents, fridge coils, AC units, and behind heavy appliances—removing lint, dust, and debris from hard-to-reach areas.
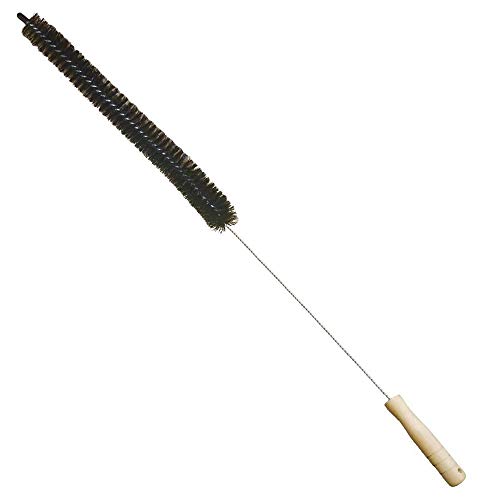
Deep Cleaning Dryer Brush – Effectively removes trapped lint, dust, and pet hair from dryer vents, exhaust ports, and hard-to-reach spaces under appliances—helping reduce fire hazards and boost dryer efficiency.

【All-in-One Dryer Duct Cleaning Kit】No more running to the hardware store for missing parts. This complete vent cleaning kit includes a heavy-duty dryer vent cleaning brush for 4-inch pipes, a set of flexible nylon rods, a dedicated lint brush, a dryer vent cleaner drill attachment, and protective gloves—everything you need in one box, ready to use right away.
Gather Your Tools and Protective Gear
Before you tackle your bedroom vent, you’ll want to assemble the right equipment to protect yourself and work efficiently.
I recommend starting with safety essentials: ANSI-rated safety goggles prevent dust exposure, while nitrile gloves shield your hands from contaminants. A respirator or N-95 mask protects your lungs during cleaning.
Gather microfiber cloths for wiping surfaces, drop cloths for containing debris, and a vacuum with HEPA filtration for thorough cleanup. Include a flashlight for visibility inside ducts and duct tape for sealing access points afterward.
For shared spaces like offices or schools, consider using commercial disinfectants approved for ventilation systems to eliminate pathogens that may accumulate in ductwork.
These tools guarantee you’ll work safely while achieving professional results.
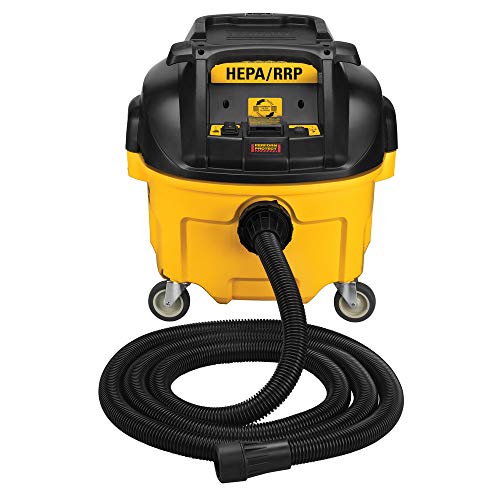
Automatic Filter Clean of the dust extractor pulses every 30 seconds for continuous operation without stopping to clean filter

[FITS MOST VACUUM CLEANERS ] Sealegend dryer vent vacuum attachment features a premium universal connector design, compatible with most vacuum cleaners, solving compatibility issues!

Home Improvement Helper: Use Sealegend dryer vent cleaner kit remove years of buildup lint to maintain your appliance performance. Fits most dryer models; check product size specs to verify fit prior for better shopping experience
Turn Off Your HVAC System Before You Start
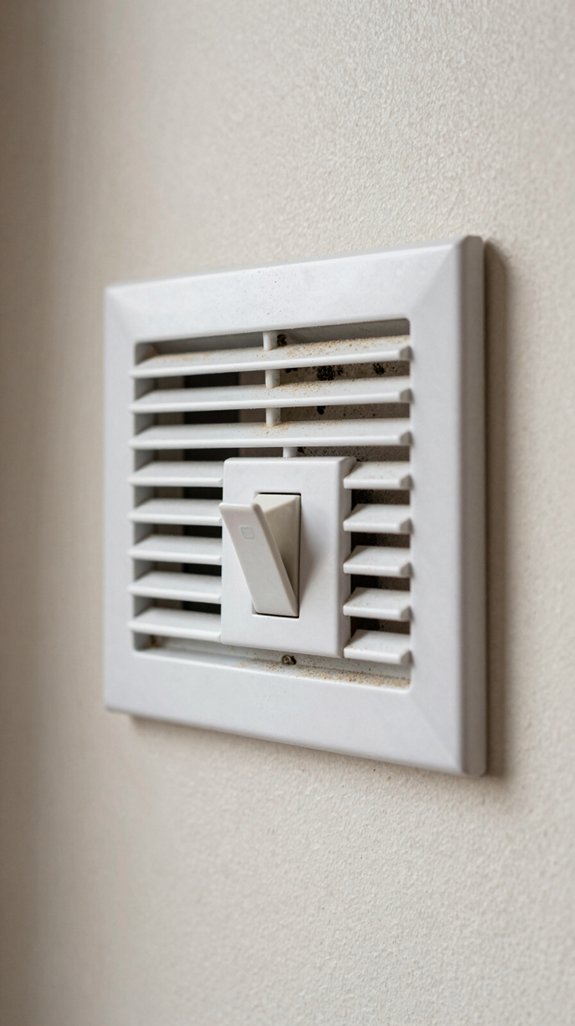
Now that you’ve gathered your tools, the next critical step is powering down your HVAC system before accessing any internal components.
I’ll switch off the dedicated breaker at your main electrical panel, then wait a few minutes for residual charge to dissipate safely. This disconnection prevents electrical shock hazards and protects against unexpected blower motor rotation.
I verify power’s off by adjusting your thermostat—no response confirms success. This foundational safety measure enables me to access your blower compartment, inspect internal components, and clean drain channels without risking water exposure to live electrical connections.
Professional protocols always prioritize this essential first step.

5 Pack Trim Tools Kit : There are 5 pcs different kinds of trim tools, including 4 pcs car door panel removal tool and 1 pcs fastener remover

Non-Scratch Pry Tools: Made from durable nylon, this auto trim removal tool kit protects your car’s surfaces from scratches while offering strong leverage for trims, panels, and dashboards

Nylon Material: Made of impacted resistant nylon fiber material with high level craftsmanship, it’s non-toxic, durable and not like brittle material which is prone to bent or crack
Seal Air Registers to Contain Dust
With your HVAC system safely powered down, I’ll now seal the air registers to prevent dust from circulating through your ductwork during the cleaning process.
I’ll apply HVAC film covering over return ducts, which self-adheres and attracts airborne particles. This innovative containment method isolates dust within your workspace without requiring complex setups.
For register gaps, aluminum foil tape provides durable adhesion and heat resistance. The specialized mesh option reinforces seals around curves and connectors.
Together, these solutions create a detailed barrier, maintaining system integrity while protecting against cross-contamination and ensuring thorough cleaning results. Consider using boxes for hiding cables that may be near your registers to keep your workspace organized during the cleaning process.

DEWALT ToughCoat hard coated lens provides tough protection against scratches.

✔️ LAB GOGGLES CHEMISTRY – PROFESSIONAL EYE PROTECTION – Trusted lab goggles for women in classrooms, workshops, and experiments. Built for teachers, students, and lab professionals.

Fog-Get About It! Our advanced anti-fog coating ensures a crystal-clear view without any haze, so you can focus on the task at hand, whether in the lab or at home.
Remove Your Vent Covers One at a Time
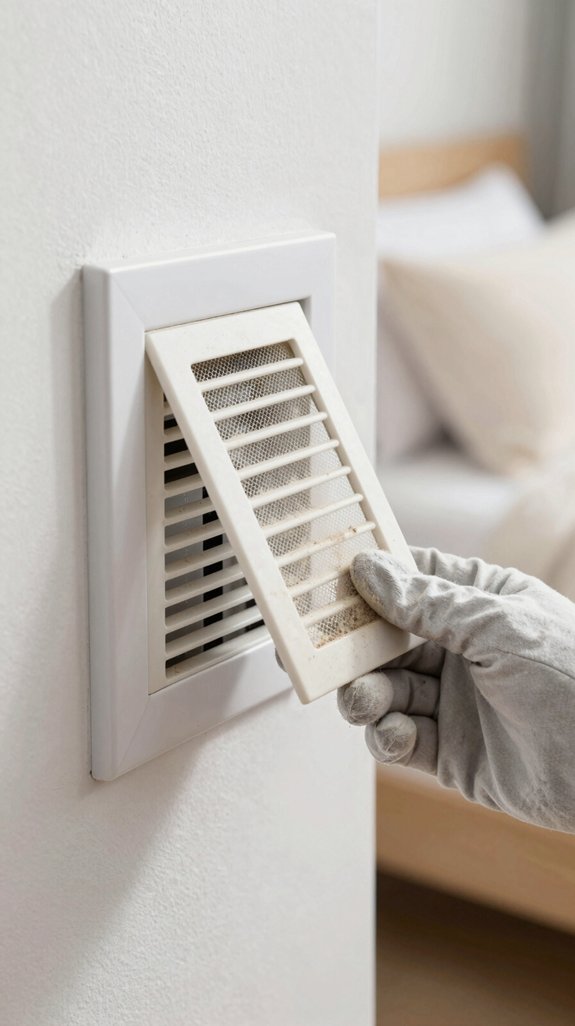
Since you’ve sealed your air registers and prepared your workspace, I’ll now remove each vent cover systematically to prevent dust from spreading throughout your HVAC system.
Remove each vent cover systematically to prevent dust from spreading throughout your HVAC system after sealing air registers.
I recommend tackling one cover at a time—this methodical approach minimizes airflow disruption and contains debris effectively.
For floor vents, I simply lift the covers by hand; they detach easily without tools.
Wall and ceiling vents require a screwdriver to remove screws, which takes roughly fifteen seconds per cover.
I’ll guarantee my ladder’s stable and wear gloves throughout.
This sequential removal keeps my HVAC system clean and my workspace manageable.

Ensures Home Safety - Our dryer duct cleaning kit helps maintains the safe operation of your clothes dryer thus ensuring the safety of your home while reducing drying times and lowering utility bills.

STEP-1 Quickly cuts through soils, grime, rust, allergens, mold, and other microbial growth, contamination, and debris.
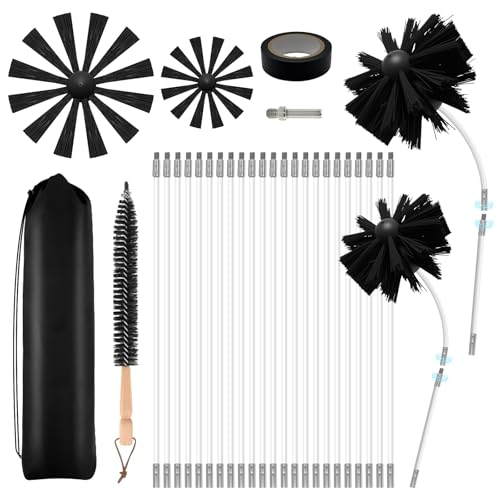
Value package: 29 piece dryer vent cleaning kit, 23 16 inch PP flexible bendable rods, 2 brush heads of different sizes -4 inches and 6 inches, 1 storage bag, 1 drill bit adapter, 1 electric tape, and 1 wooden handle brush. When you use our dryer cleaning kit, you don't need to pay for professional cleaning services every time
Vacuum Loose Dust and Inspect for Damage
Once you’ve removed all vent covers, I’ll use a shop vacuum with attachments to extract the loose dust accumulating inside your ducts.
Heavy-duty vacuum models deliver superior performance when removing debris from vent systems.
I’ll operate the vacuum along all accessible duct walls, maximizing dust extraction through systematic coverage.
While vacuuming, I’ll inspect for visible damage, cracks, or deterioration that compromises system integrity.
Fiberglass-lined ducts require careful attention since their rough surfaces trap organic dust, creating conditions for mold growth.
For stubborn residue buildup, consider using washing machine cleaning tablets to ensure your vacuum filters remain clean and effective throughout the process.
This inspection phase identifies any issues requiring professional intervention before completing your bedroom’s vent restoration.

Home Essentials: Holikme dryer vent cleaner kit can easily help you to remove years of built up lint from your dryer vent, making your appliance runs more efficiently and securely; Suitable for most dryer types, please kindly check our product size information for reference in order to better shopping experience

【Size and Quantity】You will receive 12 feather dusters, with 6 colors: red, orange, green, light blue, blue, and rose red. There are two of each color. The sufficient quantity and rich colors can easily meet your various gap cleaning needs.

Home Essentials: Fireplace chimney brushes includes two high quality synthetic brush head and flexible rods that extend up to 30 feet
Check for Mold, Odors, or Heavy Buildup
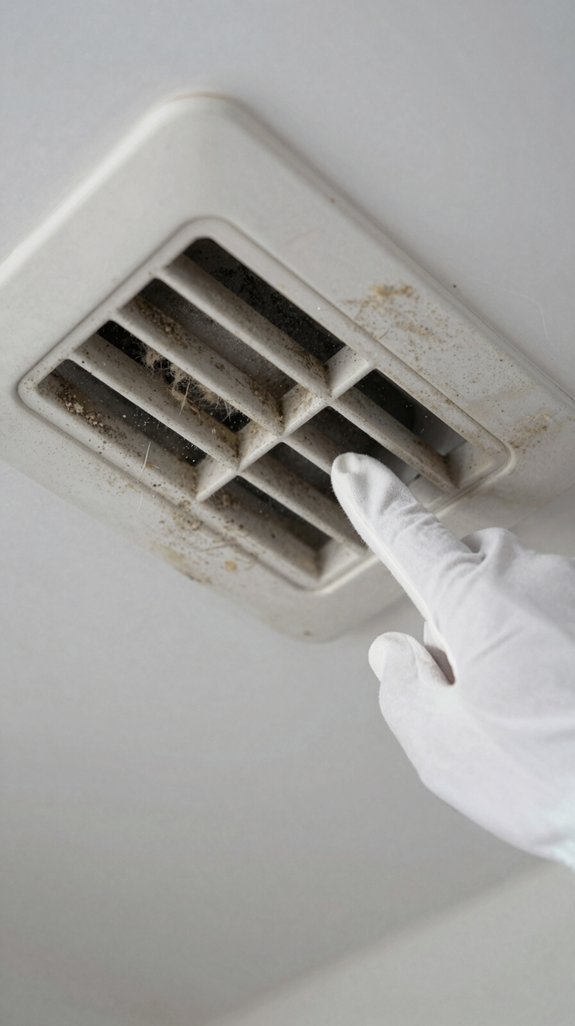
How can you tell if your bedroom vents harbor mold that’s compromising your indoor air quality? I recommend conducting a systematic inspection using multiple detection methods.
First, visually scan vent grilles and interiors using a flashlight to spot black or green patches, water stains, or dark discoloration. Next, perform a sniff test near vents—persistent musty or earthy odors signal mold colonization.
Check for heavy buildup by observing thick residue, clumped debris, or reduced airflow. Finally, measure humidity levels above 60% and monitor increased allergy symptoms. Combining these assessments guarantees you catch mold before it escalates into serious health risks.

Dual-mode Operation for Versatile Cleaning: This shop vac switches between standard vacuum mode for everyday messes and dust extractor mode for connecting to power tools during woodworking.

Certified HEPA system prevents harmful dust from bypassing filter

Must-Have Home Improvement: Sealegend dryer lint vac attachment can help you remove lint and duct that has accumulated for many years in your dryer vent, this dryer vent cleaning hose kit help make your dryer run efficiently
Clean Vent Covers With Vinegar Solution
After you’ve identified mold and buildup in your bedroom vents, I’ll walk you through cleaning them effectively with a vinegar solution.
Mix white distilled vinegar and water in a 1:1 ratio for general sanitation. Spray this solution directly onto your vent covers, or submerge them in a basin for 10-15 minutes for stubborn grime. The acetic acid dissolves mineral deposits and kills bacteria efficiently.
Use soft brushes to gently remove loosened debris without scratching metal surfaces. Like other household cleaning tasks, having essential cleaning tools on hand ensures you can tackle the job without damaging delicate surfaces. Rinse thoroughly with clean water, then air-dry completely before reattachment to prevent moisture damage and mold regrowth.

SAVE TIME, FRUSTRATION AND MONEY -There are 5 pcs different kinds of trim tools, including 4 pcs car door panel removal tool and 1 fastener remover to facilitate your needs when repairing.

【Full Toolkit】Not just a basic pry kit—Includes 4 pry tools + 1 clip remover — designed for dashboards, door panels, trims, audio units, and interior clips. Designed to handle delicate trims and tough disassembly jobs. Multiple colors available for easy tool identification.

19 Pcs Trim removal tools - Works great for car audio/radio system installing or removing, door panel, moldings, emblems, window trims or automotive interior repairing and furniture restoration
Scrub Grime and Rinse Covers Dry
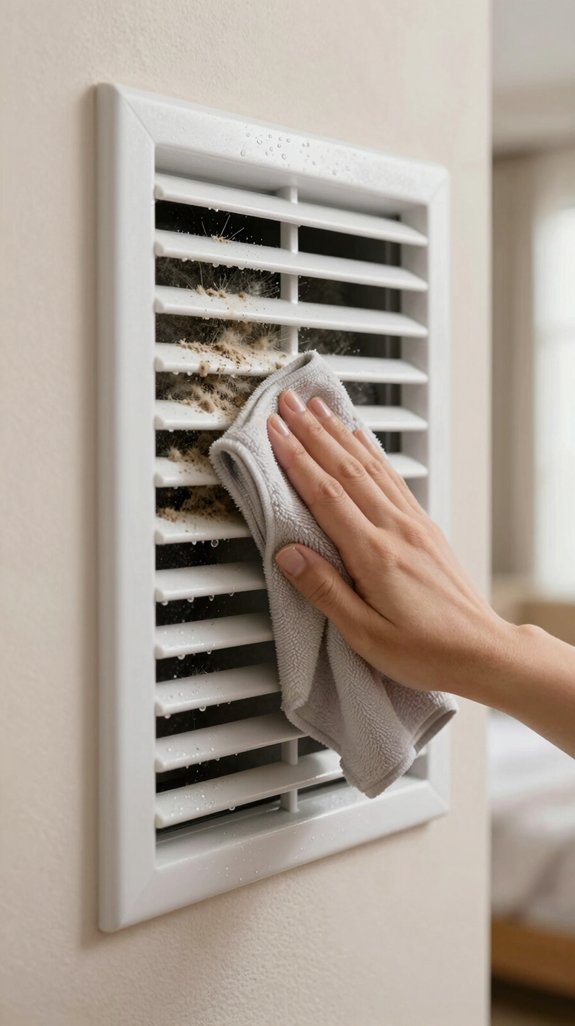
With your vent covers soaked and ready, it’s time to scrub away the loosened buildup. I use a soft-bristled brush for gentle scrubbing, then apply extra elbow grease on stubborn spots.
A stiff-bristled brush tackles the duct walls effectively. After scrubbing both sides thoroughly, I rinse under running water until all soap residue vanishes completely. For larger vents, a detachable shower head guarantees thorough rinsing.
Next, I lay covers on a towel to air dry while vacuuming the duct itself. Bone-dry covers prevent particles from sticking when reattached. This streamlined process delivers spotless results efficiently.

【Industrial Grade Lab Safety Goggles】YunTuo safety goggles meet the ANSI Z87.1 industrial protection standards, designed for industrial, commercial and household use. They are the ideal protective picks for laboratory goggles, mowing goggles and work goggles, suitable for men, women and teenagers.

SMOOTH FIT OVER YOUR PRESCRIPTION EYEGLASSES — Want to wear your safety goggles over eyeglasses? These safety goggles fit most prescription eyewear, so you don't have to compromise on your sight. The soft TPR frame gasket with built-in slots creates a secure seal without squeezing your eye goggles or frames.

ANTI-FOG AND ANTI-SPLASH: The lens surface is treated with a specialized anti-fog and impact resistant coating, ensuring that your vision remains clear even in high humidity environments or during strenuous activities and preventing chemical splashing effectively.
Loosen Debris in Accessible Duct Sections
Once your covers are dry and the outer surfaces are clean, I tackle the debris lurking inside the duct itself. I use flexible brushes to navigate corners and curves, leveraging their bendable design to reach tight spots without damaging duct surfaces.
For stubborn buildup, I employ stiff-bristled brushes that dislodge tough debris effectively. Long-handled scrub brushes loosen dust along duct walls systematically. This mechanical agitation approach breaks contaminants free, preparing them for extraction. Just as safe play surfaces require regular maintenance to prevent dust accumulation, bedroom vents need consistent cleaning to maintain air quality and prevent buildup.

Dryer vent brush can be used with or without any kind of power drill. The risk of the rod falling off could be solved by sealing the connection parts of the rods with tape.

CLEAN MINI-SPLITS WITHOUT MESS - Our mini split cleaning kit is made from high-density waterproof material and designed specifically for mini-split AC units. It acts like a protective barrier, easily installed beneath the AC to catch all cleaning runoff with its unique bib-style design, keeping your walls and floors dry and clean for a worry-free cleaning experience.

The Solution to Stubborn Grime: The Creworks 30L ultrasonic cleaner, equipped with 600W of power, a 600W heater, a timer, and a digital control panel, ensures effortless and thorough cleaning even in intricate and hard-to-reach areas
Use Strong Suction to Extract Deep Dust
Now that I’ve loosened the debris, I’ll extract the deep dust using strong suction—the critical next step in achieving a spotless bedroom vent.
Now that debris is loosened, strong suction extraction becomes the critical next step toward a spotless bedroom vent.
I’m choosing a vacuum system with high suction lift rather than excessive airflow volume. I’ll seal adjacent vents with foam plugs to create targeted negative pressure through my bedroom vent.
Connecting my hose directly to the access point, I’ll maintain continuous extraction as dislodged particles get pulled away.
For maximum efficiency, I’m combining a high-suction shop vacuum with specialized nozzle attachments that control air pressure. This approach prevents contaminant spread while thoroughly removing embedded dust.
Wipe Down Duct Walls You Can Safely Reach
After extracting the deep dust, I’ll wipe down the duct walls I can safely reach to capture any remaining particles and guarantee a truly spotless finish.
I’ll use a damp cloth with mild cleaner, focusing on corners where dirt accumulates. For sticky kitchen residue, I’ll apply degreaser or rubbing alcohol.
I’ll gently rotate a soft-bristled brush through accessible sections, scrubbing walls thoroughly. For mold or mildew, I’ll deploy a vinegar and water solution.
I’ll combine vacuuming and wiping strategically to minimize grime spreading, ensuring efficient particle removal without recirculation throughout your bedroom space. Microwave cleaning sprays can also be effective for stubborn buildup on vent surfaces that standard cleaners won’t penetrate.
Reinstall Covers and Verify Everything Fits
Before I secure the cleaned vent cover back in place, I’ll measure the vent opening carefully to guarantee proper fit and avoid installation errors.
I’ll align the cover properly, ensuring it sits flush and centered over the opening. For floor registers, I’ll position the wider lip facing upward.
Align the cover flush and centered over the opening, positioning the wider lip upward for floor registers.
I’ll check pre-drilled screw holes and use the original fasteners if they’re undamaged, tightening them securely without over-tightening.
Finally, I’ll verify the cover’s stability, confirming no gaps exist around edges and inspecting that all fasteners remain tight during operation.
For vents in hard-to-reach areas above or behind furniture, an extendable duster can help me reach and clean any remaining dust from the vent cover before final installation.
Schedule Annual Vent Cleaning for Best Results
Once you’ve reinstalled and verified your vent cover, you’ll want to establish a regular cleaning schedule to maintain peak performance and safety.
I recommend scheduling professional vent cleaning annually at minimum, though households managing multiple laundry loads every couple days benefit from twice-yearly service.
This proactive approach prevents lint accumulation that causes 34% of residential fires and reduces energy consumption by 25-40%.
Annual maintenance also extends your dryer’s lifespan, minimizes costly repairs, and creates documented records that insurance companies recognize for potential premium reductions.
I’ve found this investment pays dividends through reliability and protection.
Frequently Asked Questions
How Often Should I Clean My Bedroom Vents to Maintain Optimal Air Quality?
I recommend you clean your bedroom vents every 3-5 years for ideal air quality. However, you’ll want more frequent cleaning if you’ve got pets, allergies, or live in dusty environments. Watch for visible buildup as your signal.
Can I Clean Vents Without Turning off My HVAC System Entirely?
I’ll help you navigate HVAC cleaning like threading a needle through cloth. You can clean vent covers without powering down your system, though I recommend shutting it off to prevent air blasts during vacuuming and dust circulation.
What Should I Do if I Discover Mold During the Cleaning Process?
I’ll stop the HVAC system immediately to prevent spore dispersal. I’ll seal affected vents, wear protective equipment, and apply white vinegar or hydrogen peroxide solutions. For extensive growth, I’ll contact professional remediation specialists for air quality testing.
Is Vinegar Solution Safe for All Types of Vent Cover Materials?
I’ve found vinegar works like a universal key—it releases cleanliness safely on most vents. Metal, plastic, and non-waxed materials handle it well, but I’d avoid natural stone or waxed wood surfaces where acidity causes etching damage.
How Can I Prevent Dust Accumulation Between Professional Vent Cleaning Appointments?
I’ll help you minimize dust buildup between cleanings. Vacuum return vents weekly using HEPA filters, wipe vent covers monthly with microfiber cloths, maintain 40-50% humidity levels, and keep furniture away from vents to guarantee maximum airflow.